USE Components Gravel Cockpit: Dialed In for Distance


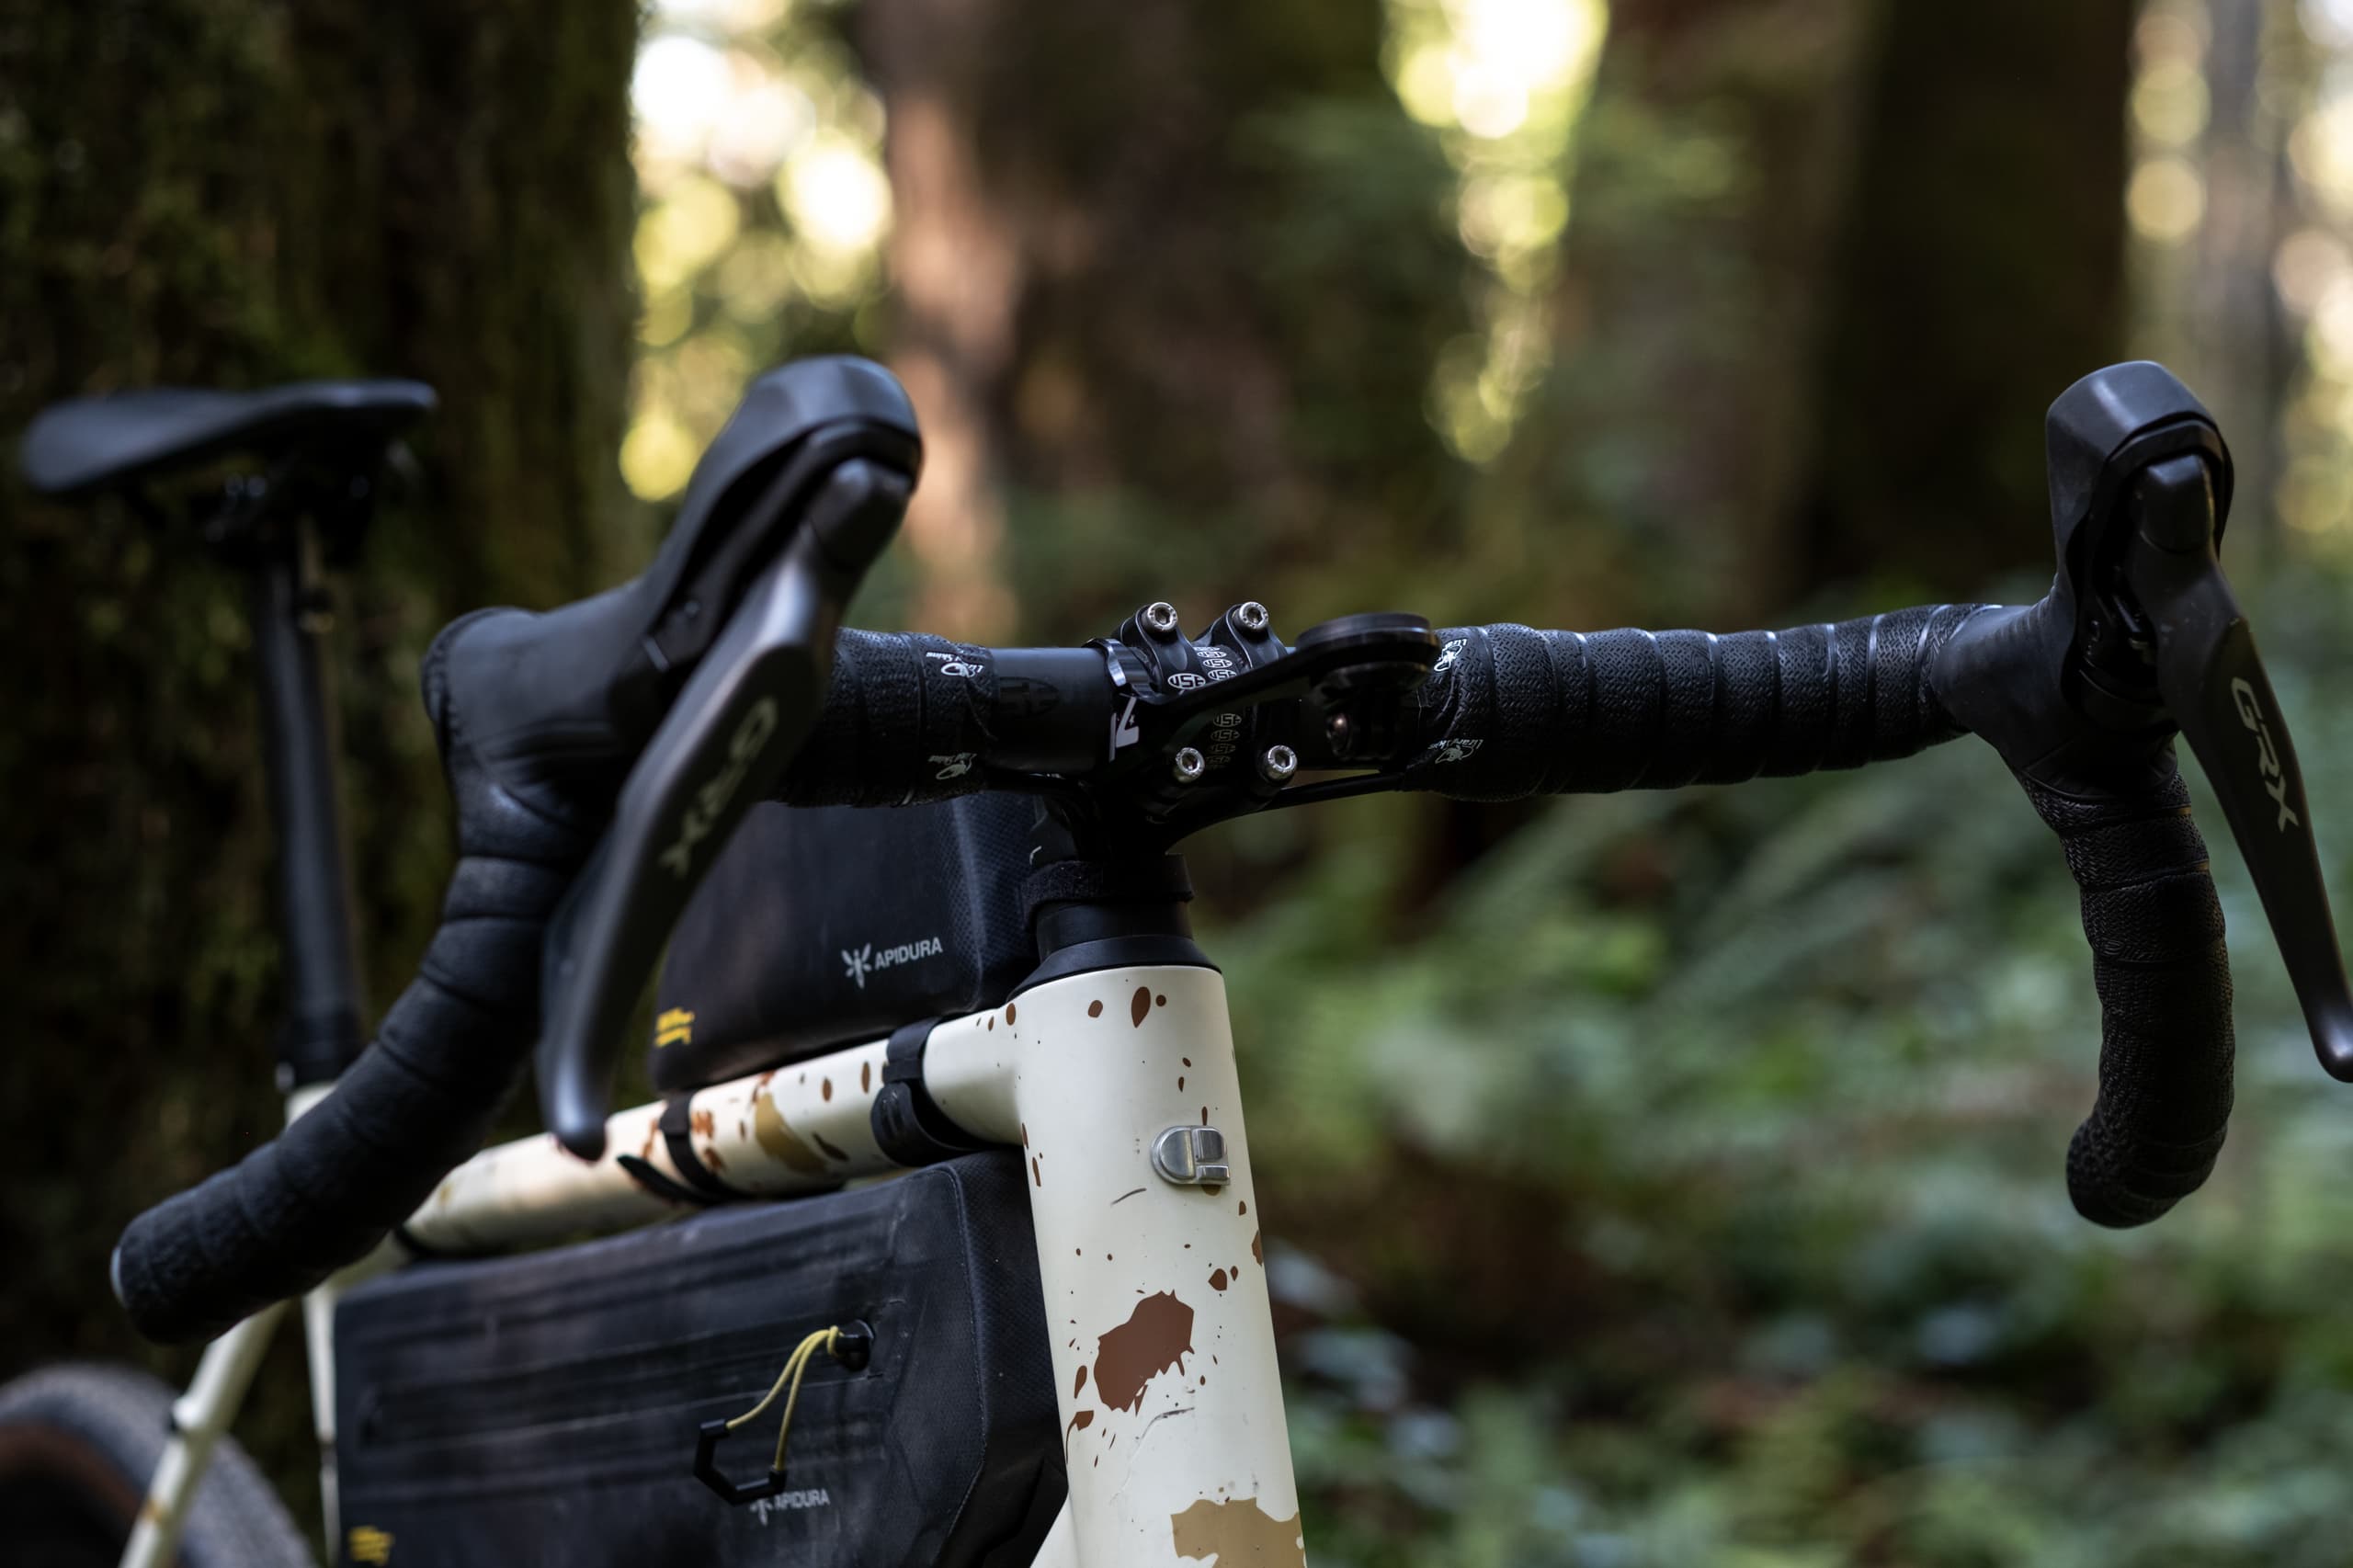
When my Chapter 2 Kaha frame came back from warranty, I had a choice to make. The integrated handlebar and stem pairs with the frame beautifully. The fully internal cable and brake routing just looks clean. Zero visible cables or brake lines. But it's also a major headache. Adjusting or replacing handlebars takes hours, not minutes.
When building it up this time, I decided to make life easier. I ran the shifter cables and brake lines internally through the headtube but externally along my stem and handlebars. This way, I can easily swap between the Chapter 2 Mana GRVL cockpit and the USE Components gravel cockpit I was waiting to review. USE sent me their complete setup, the VYBE stem, Escape GR 24 bars, TR2 Clip-On Chassis, and Carbon Hi-Rise Extensions, to try this spring, but at the time, I was without a suitable bike because of the warranty claim.
This was months ago now. I've been riding the VYBE Suspension Stem and Escape GR 24 bars on every ride since the rebuild. The TR2 aero bars come on and off with just four bolts, so I've spent the summer choosing when to add them and when to remove them.
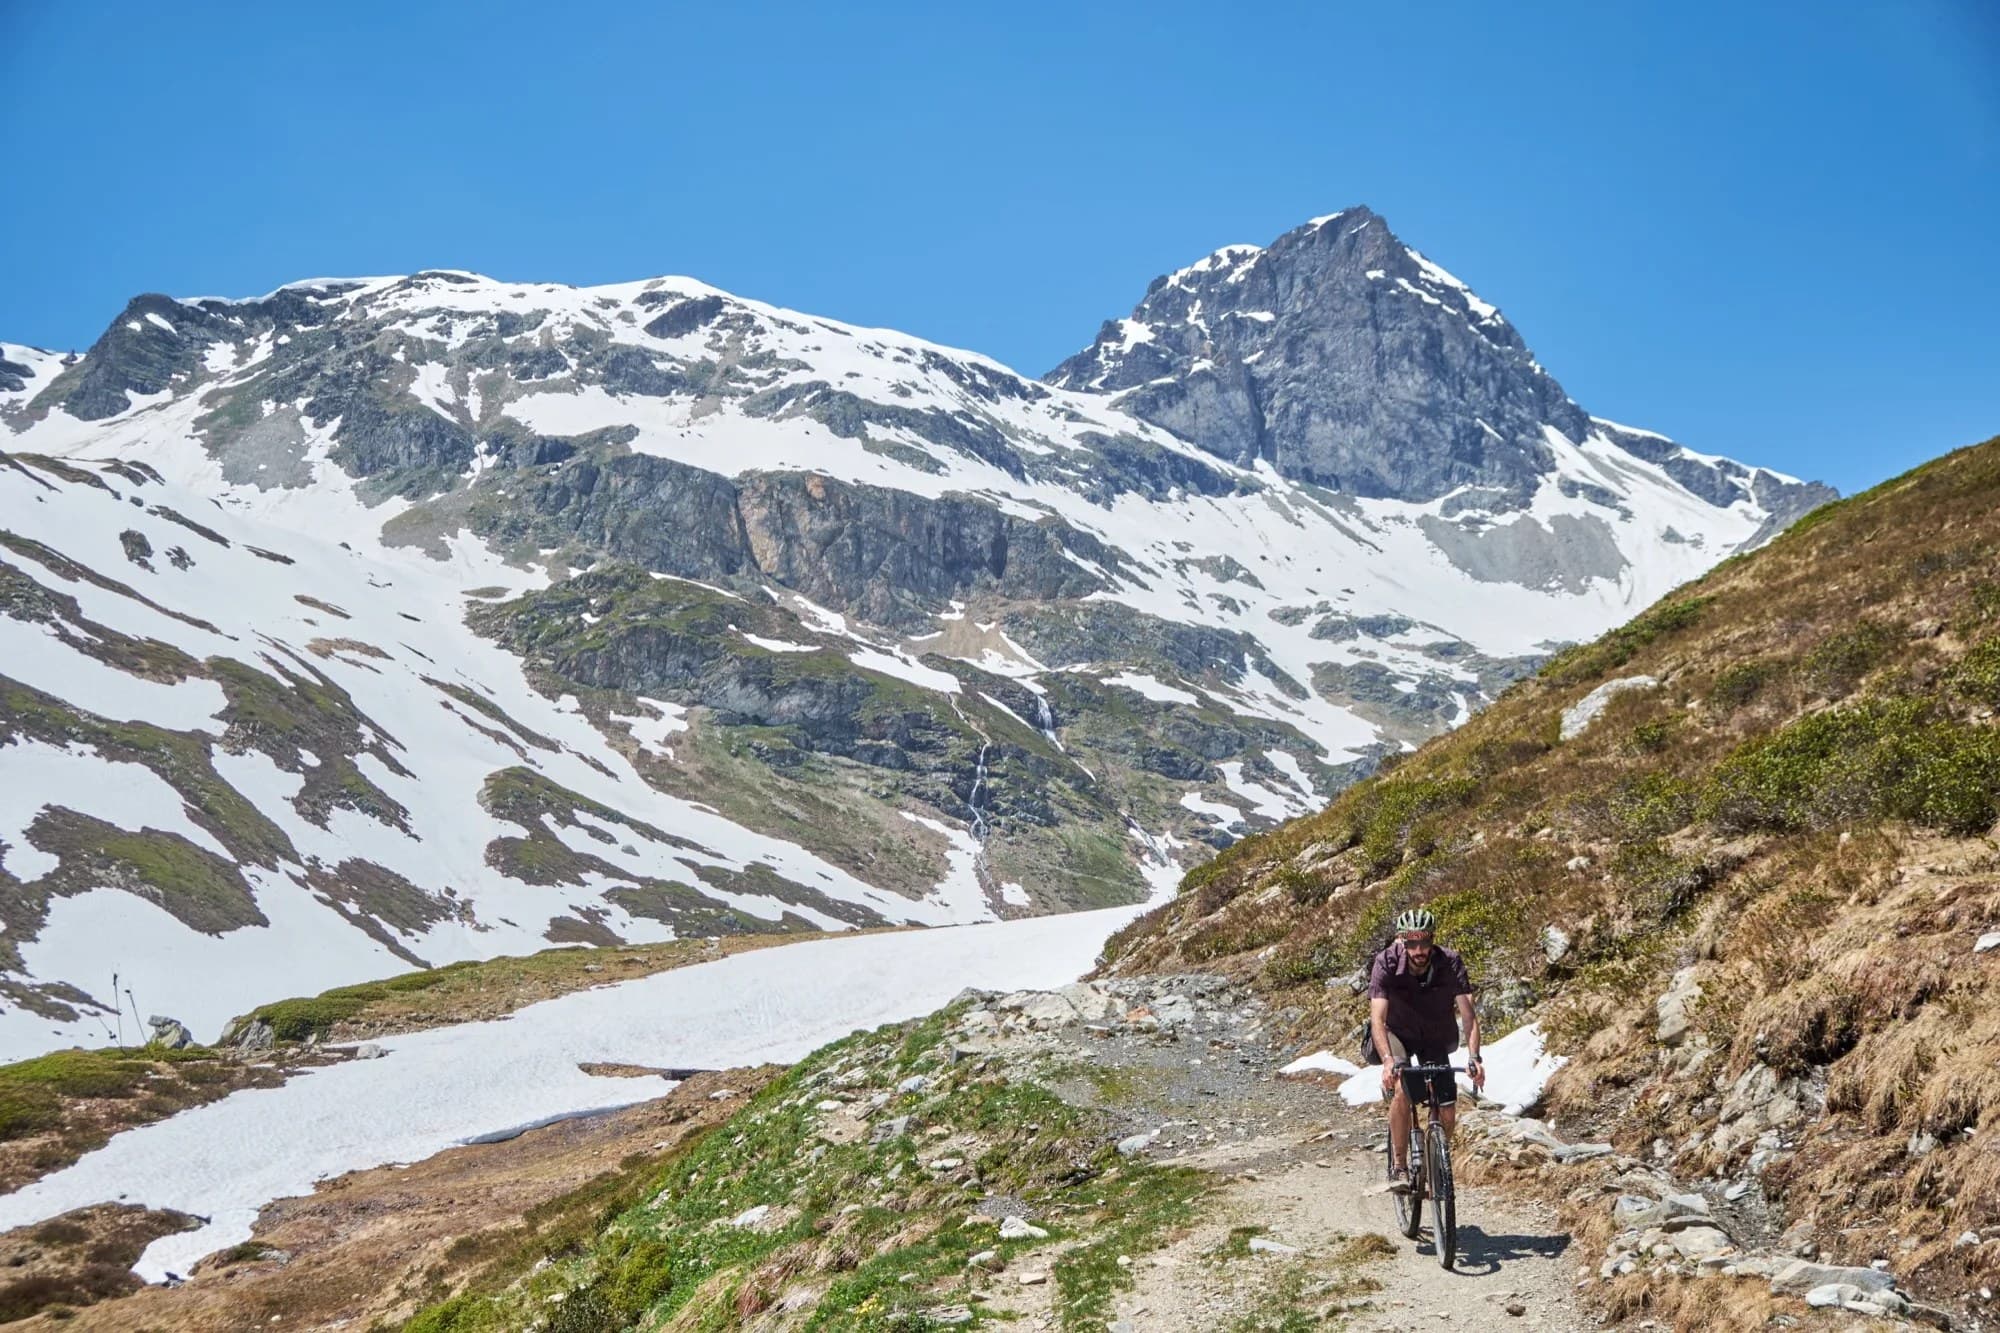
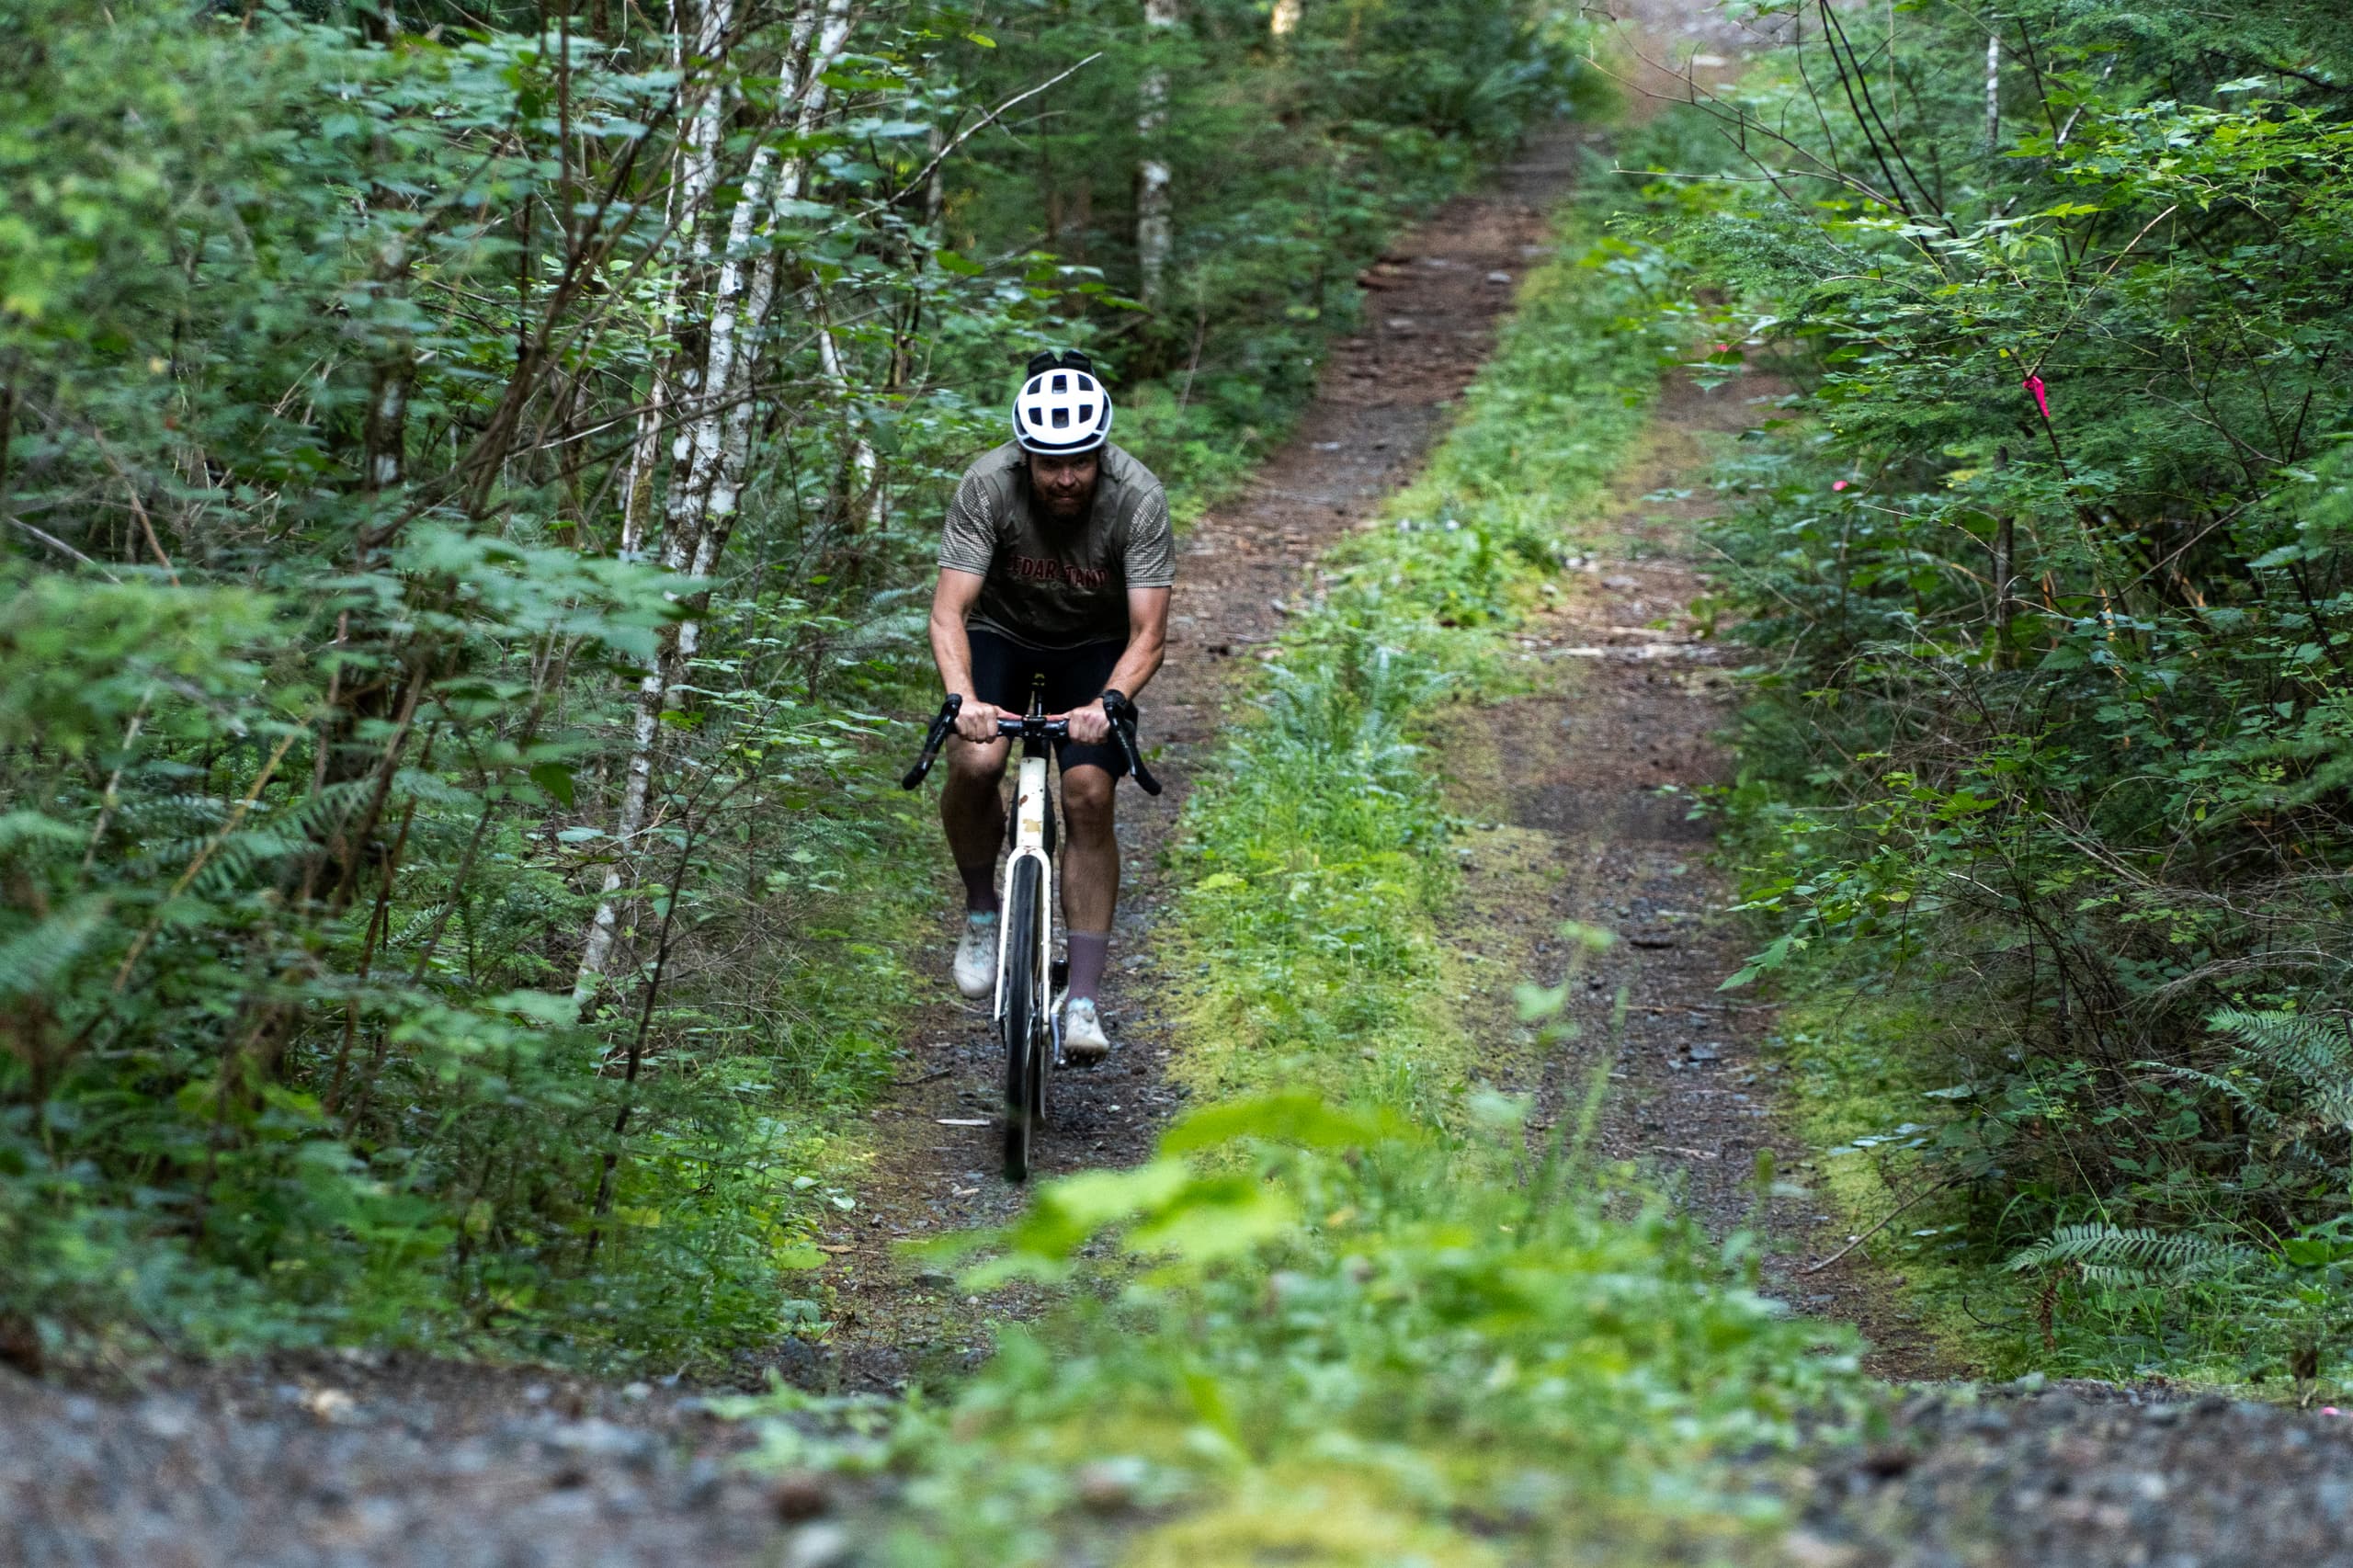
As the rides add up, I've discovered I love the stem and handlebars. I am slowly growing more comfortable holding an aero position. On my go-to local loop, Duncan Bay Road to Rossiter Main to Piggott Main, the entire setup gets a chance to prove itself. This 113.7-kilometer gravel route from Cumberland mixes flat valley bottom, rolling gravel, and a proper climb up the back side of Mt Washington before a scary-fast descent drops back down to valley bottom while views clear across the water to the coast mountains pull your attention away from the road. From there, it inevitably turns into a headwind for the return journey. It's the kind of ride that tests every part of this setup.
Same Roots, Different Focus
USE Components isn't a name most gravel riders know yet, but the family is familiar. Last year I reviewed Exposure Lights after a rough night at Girona's Traka Adventure, and Exposure is the more famous half of the same UK operation. USE Components (Ultimate Sports Engineering) is the 35-year-old parent company Exposure Lights grew from.
Despite being well versed in Exposure's product line, I had never heard mention of USE until they reached out. It turns out that was almost by design. USE took a back seat as the founders focused on Exposure and its rapid growth.
The timing wasn't random. USE told me they were pushing the TR2 aero bars and Escape gravel bars hard in the run-up to Unbound, aiming at riders prepping their bikes for the biggest gravel race on the calendar. I haven't raced Unbound XL, but the target market is exactly who I am. I constantly look for ways to make my bike faster and more comfortable for those stupidly long days in the saddle.
The VYBE Suspension Stem: Smoothing the Chonk
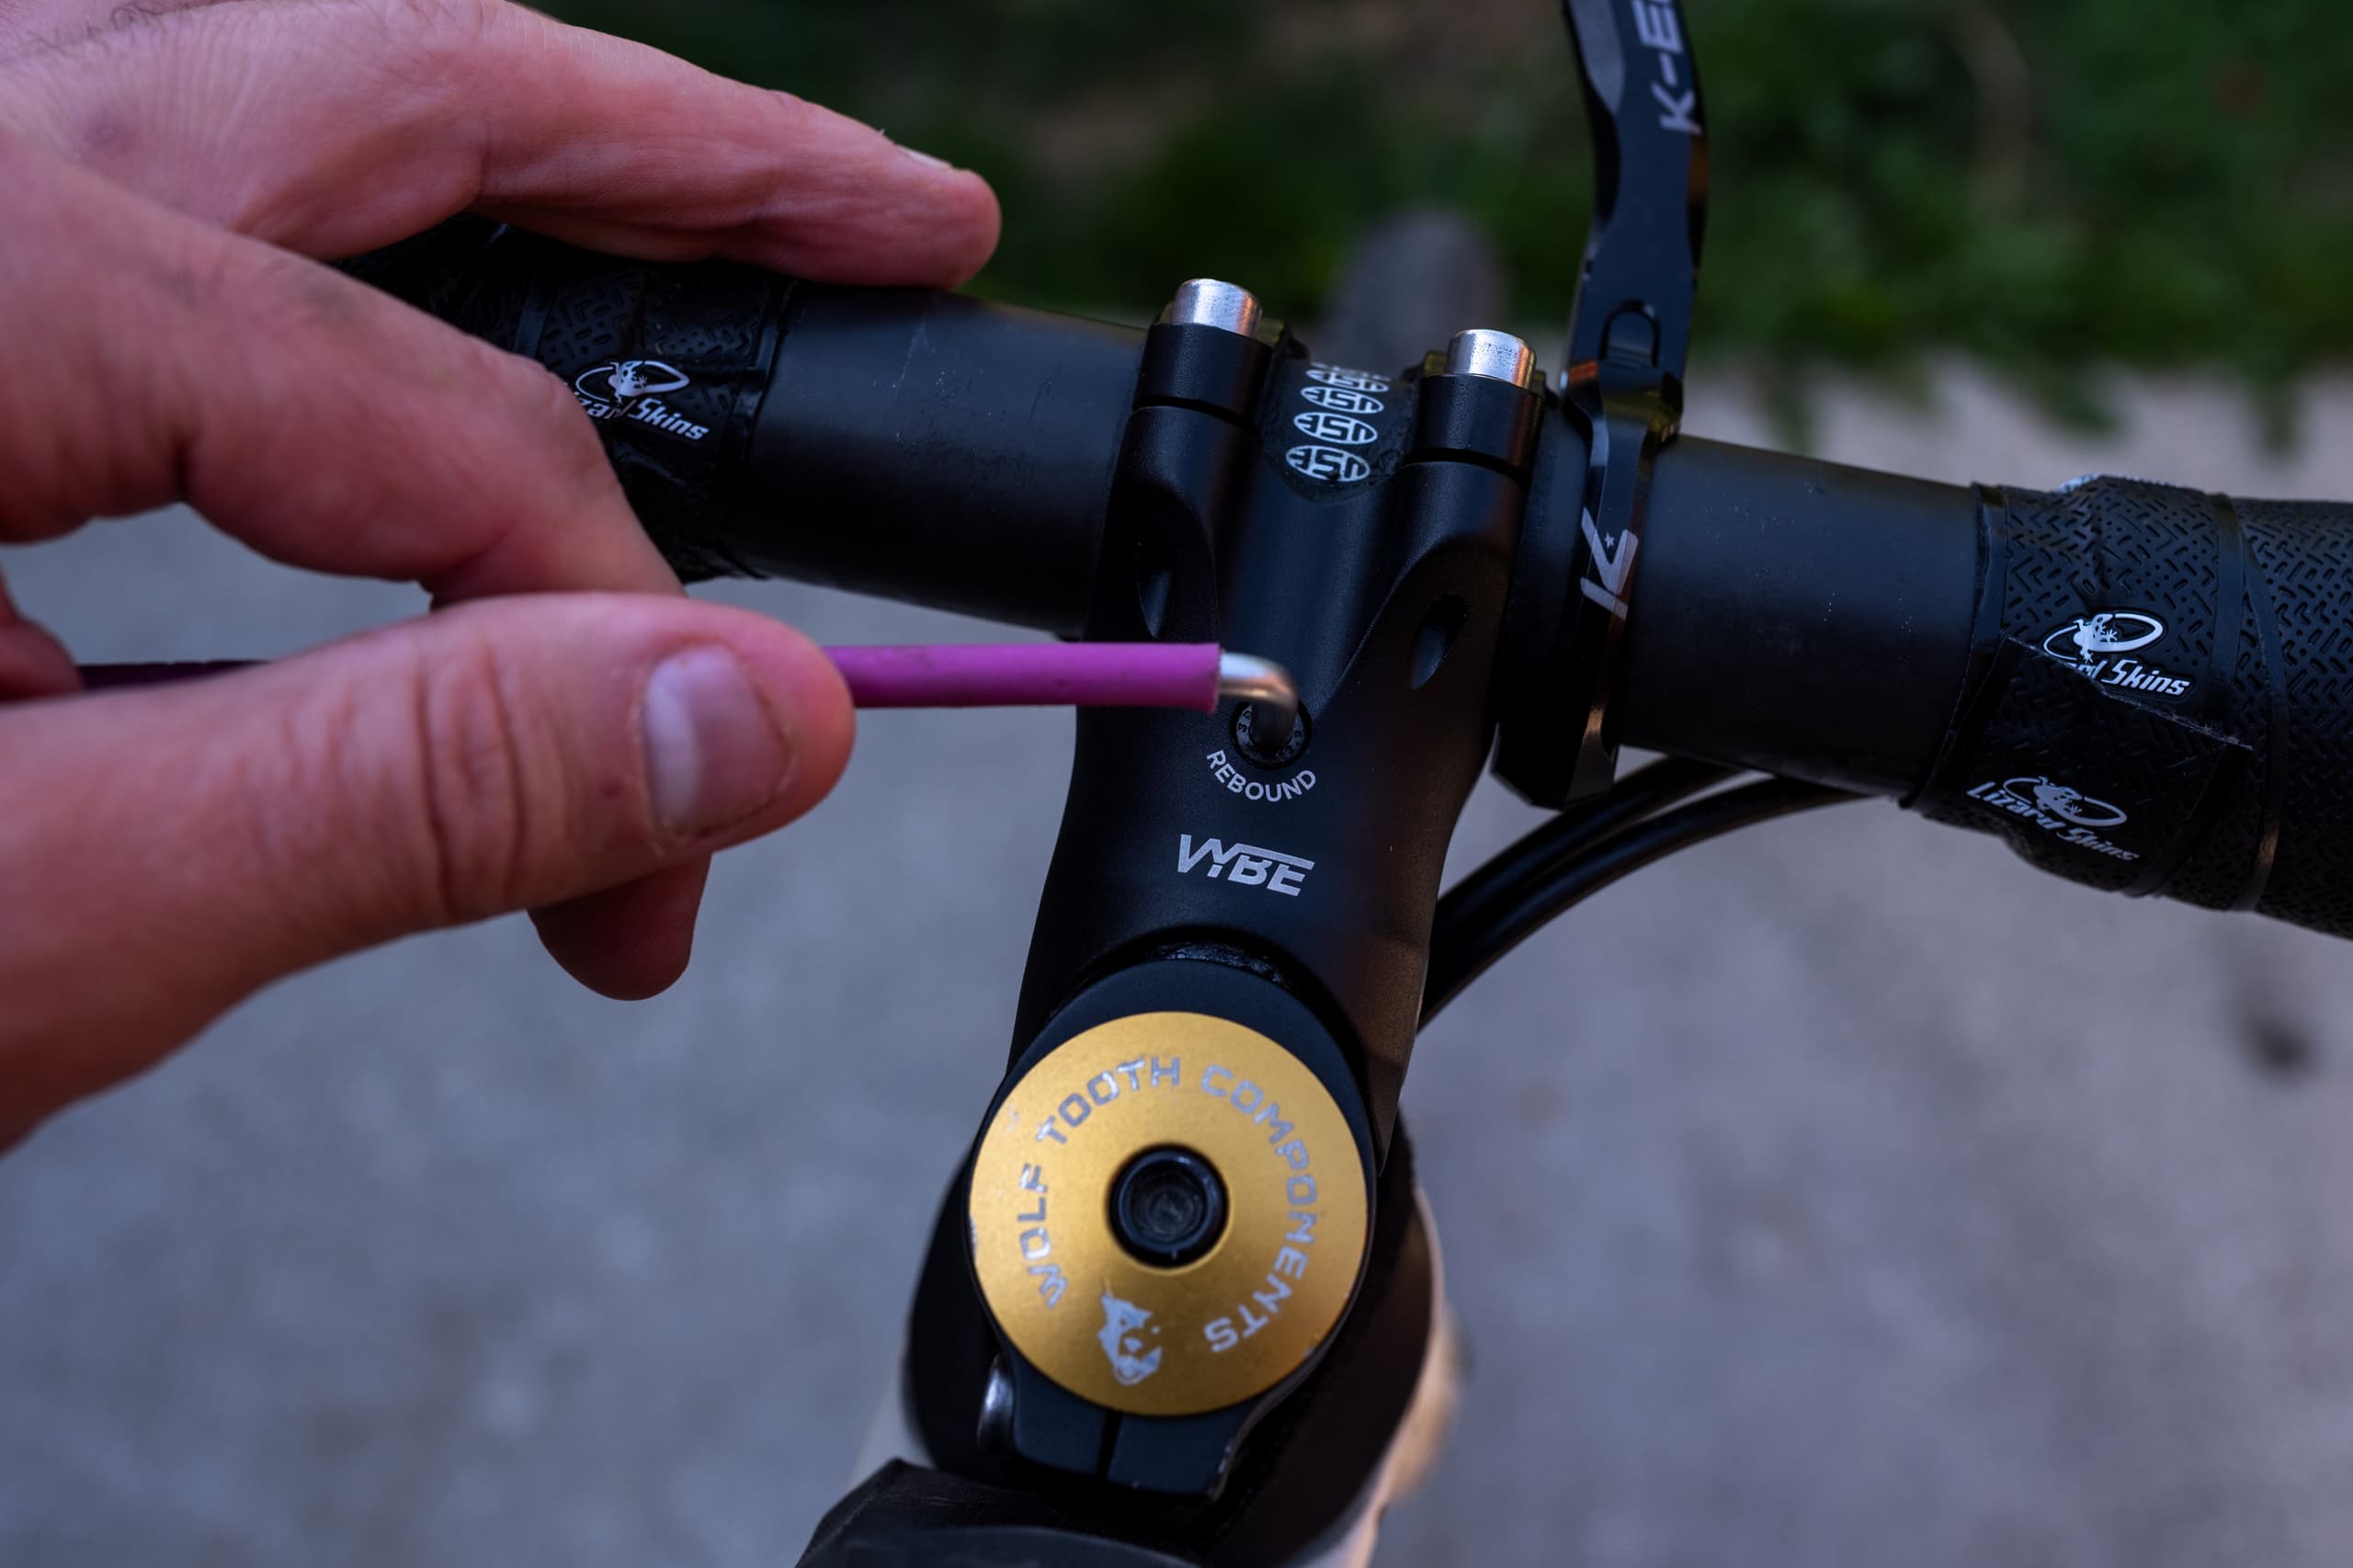
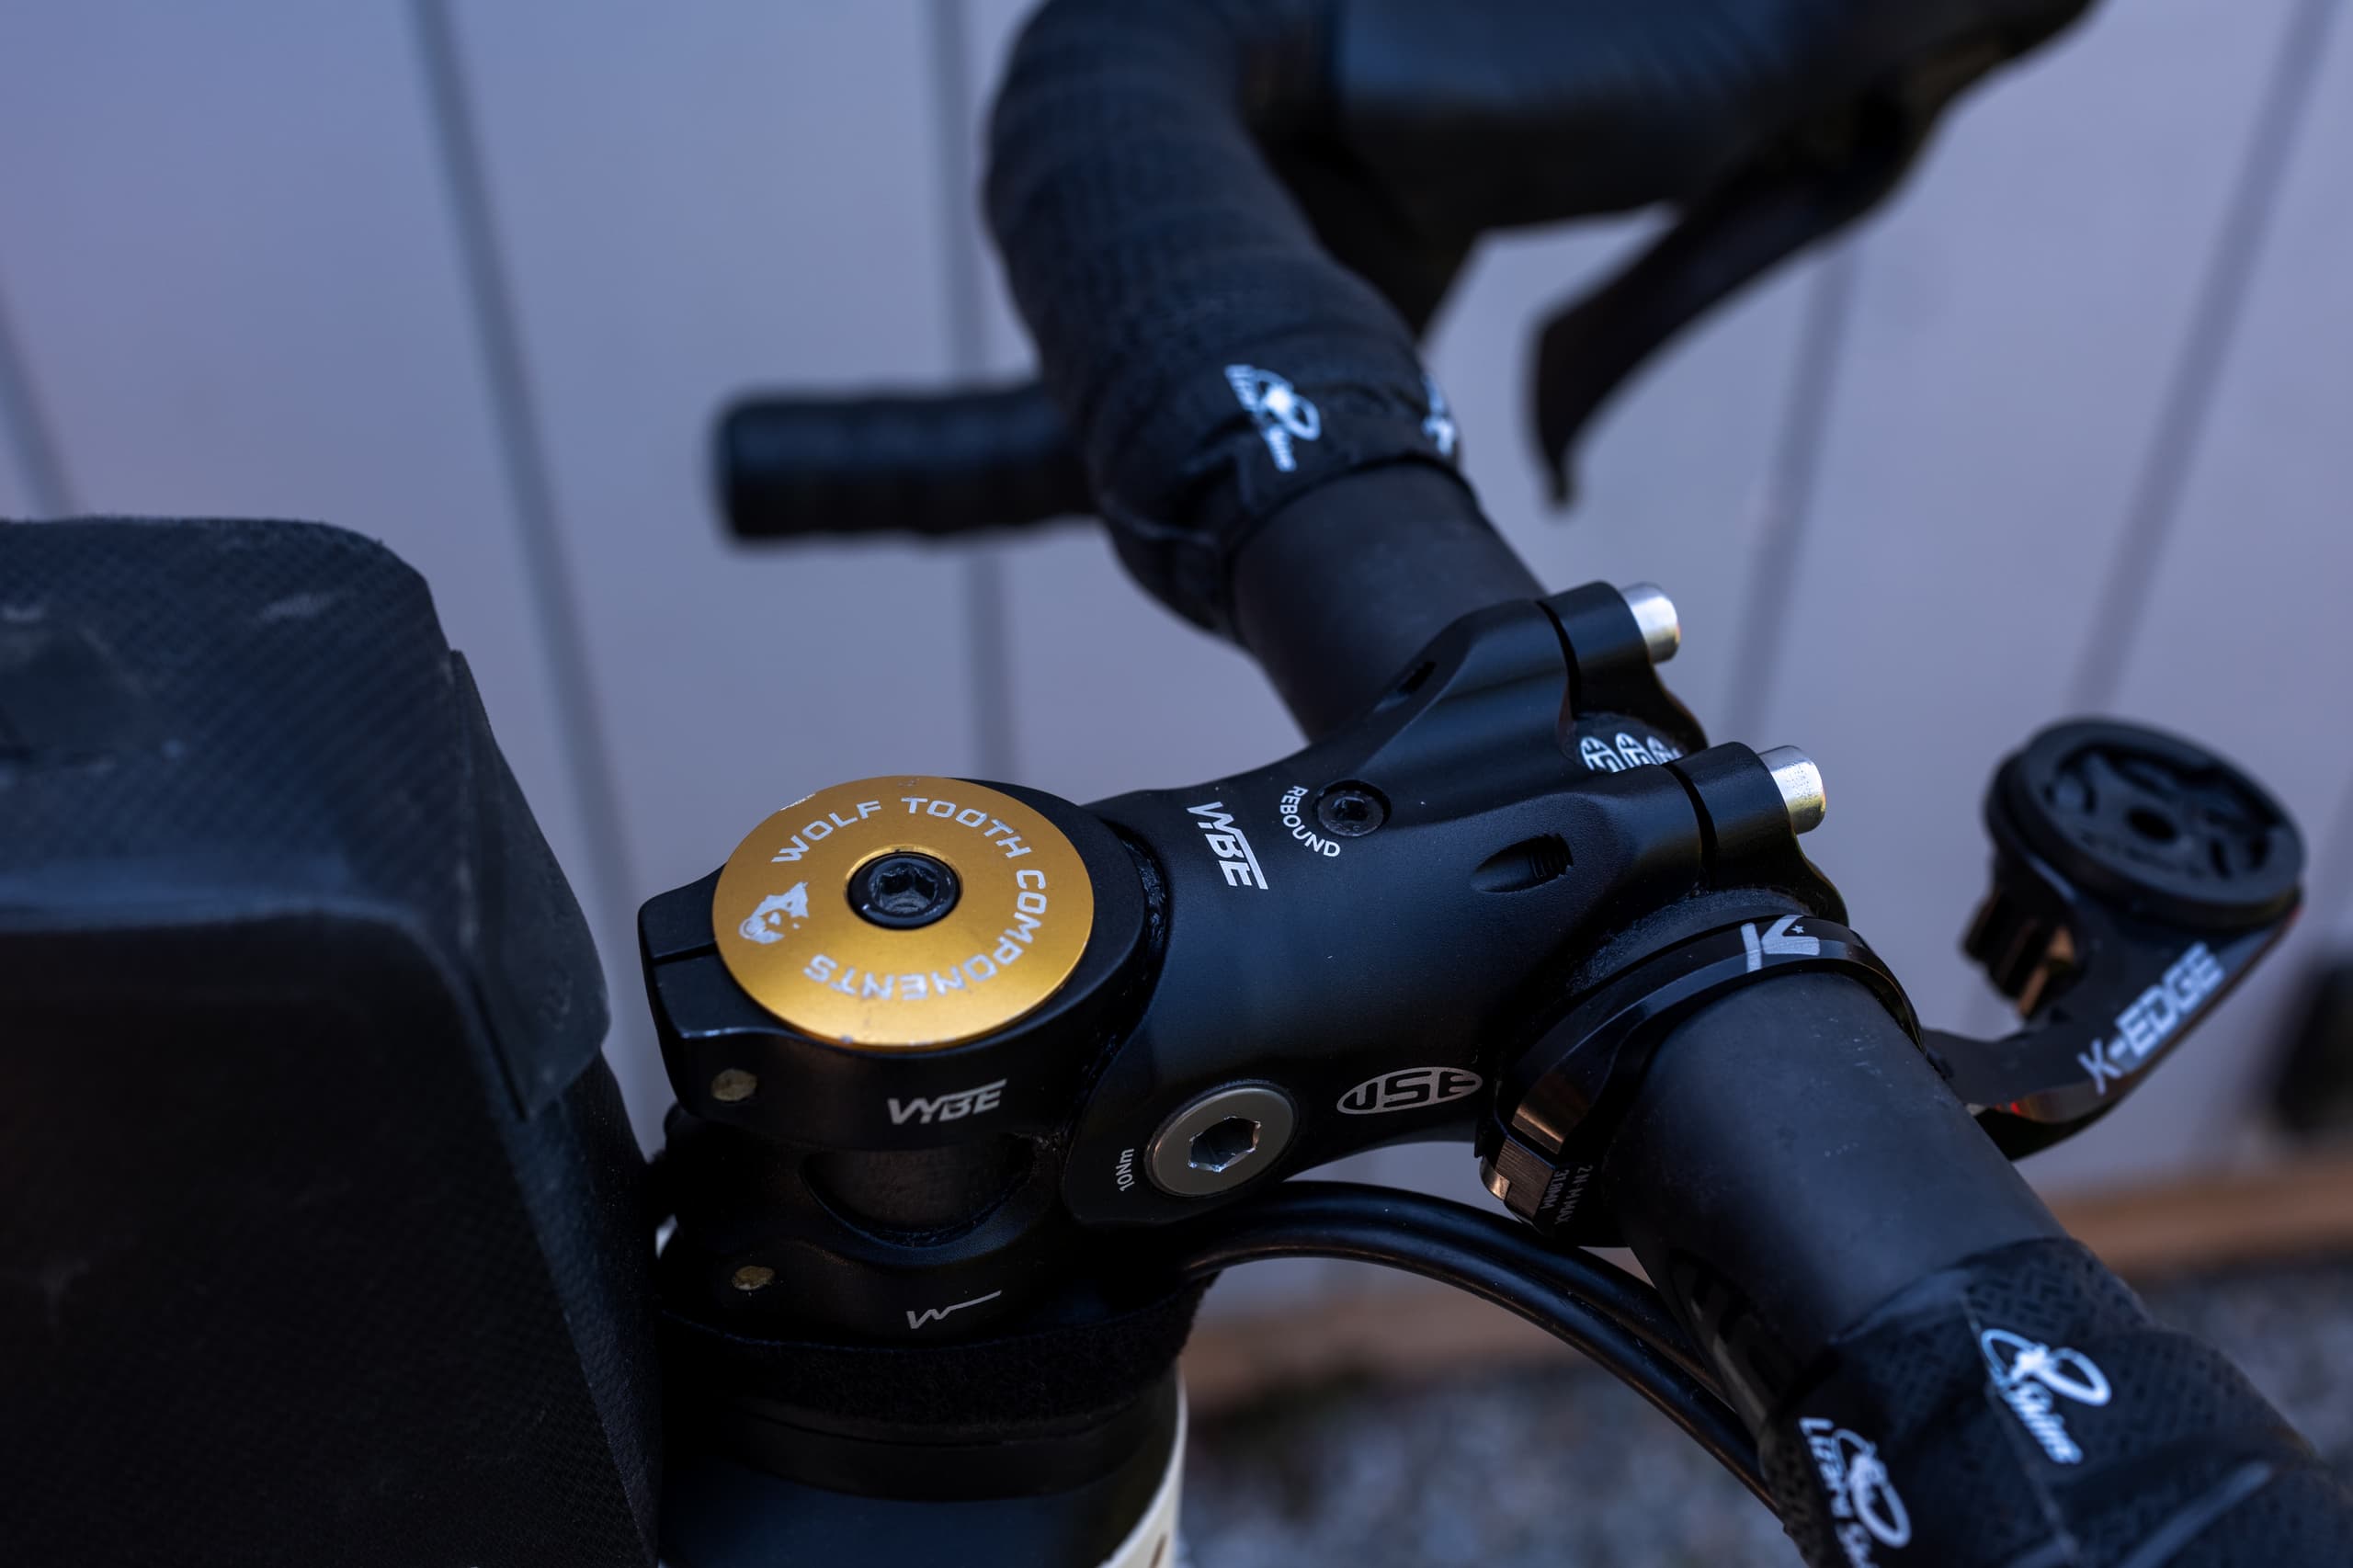
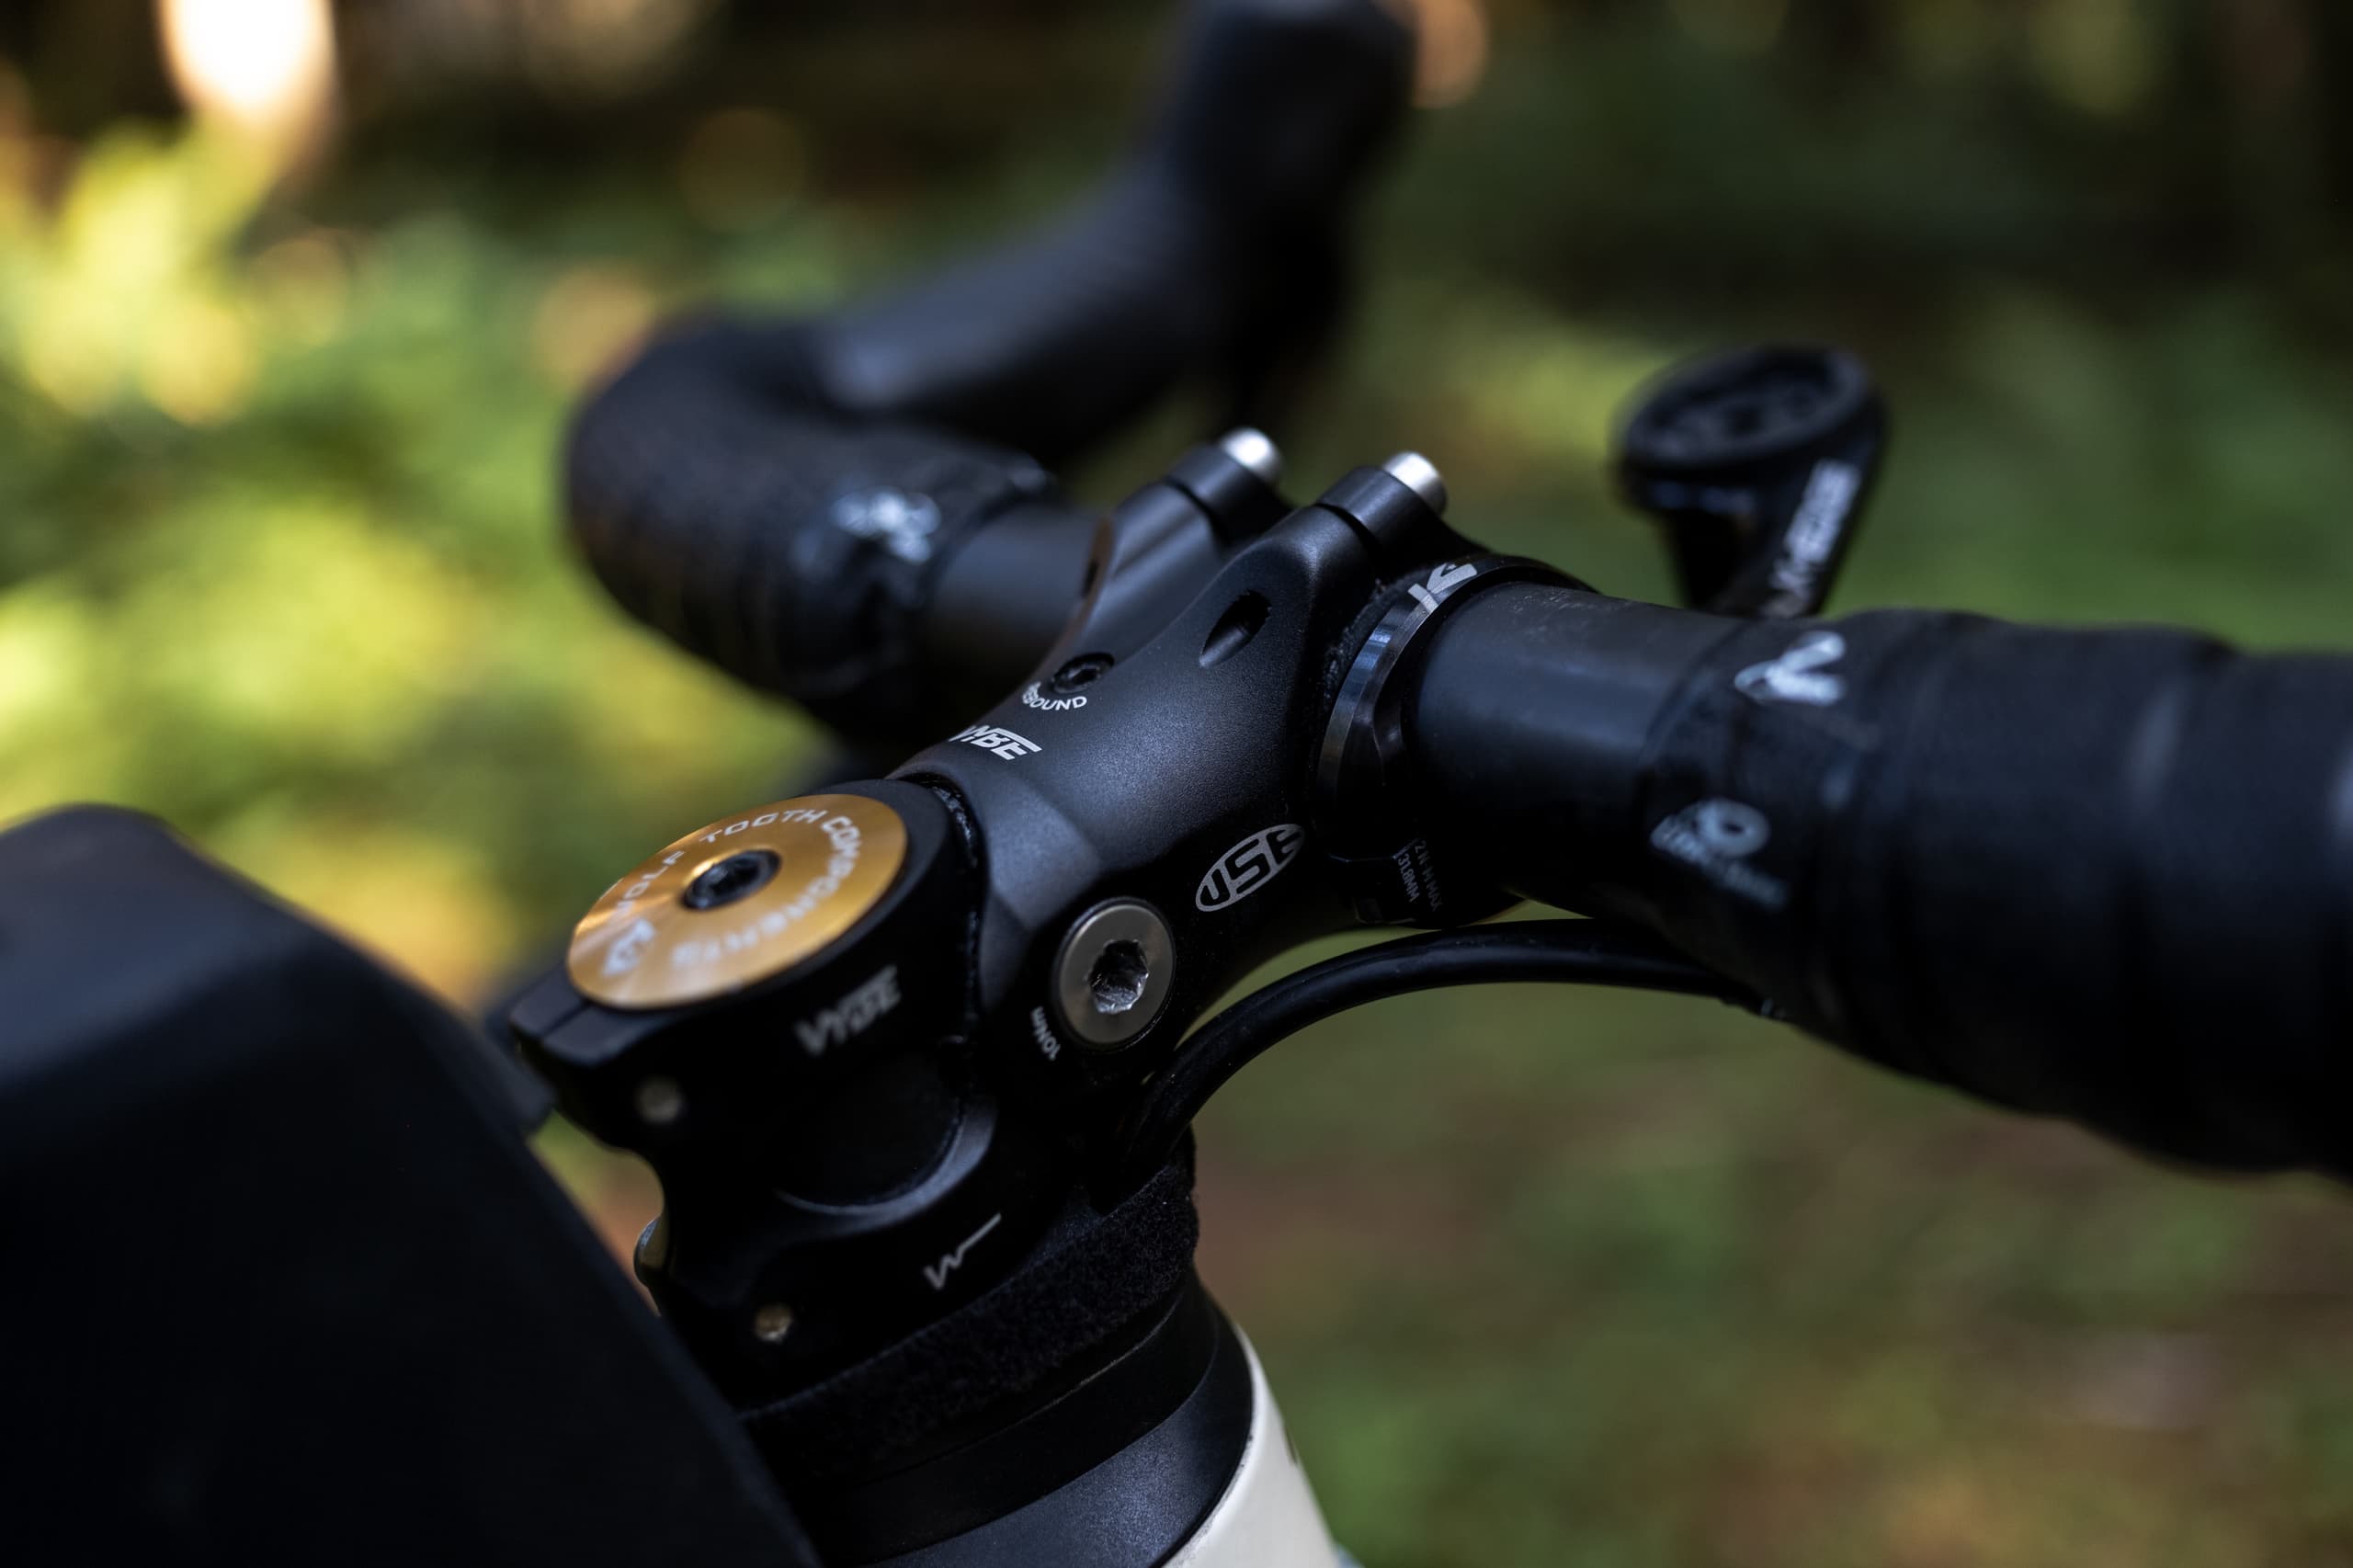
The VYBE ($205 USD / $290 CAD, 70mm on my build) packs 20mm of active suspension travel, four elastomer options sorted by rider weight, and both rebound and preload adjustments to fine-tune performance into the stem.
Installation was simple. I matched the elastomer to my weight, set the preload according to the supplied chart, and I was done. What surprised me is how personal it ends up feeling once it's dialed. I can feel the 20mm of travel working on the chunkier sections of any ride, especially when I'm pushing the Kaha into underbiked territory. It's noticeable on smoother pavement, too, when things just feel smoother than I would expect.
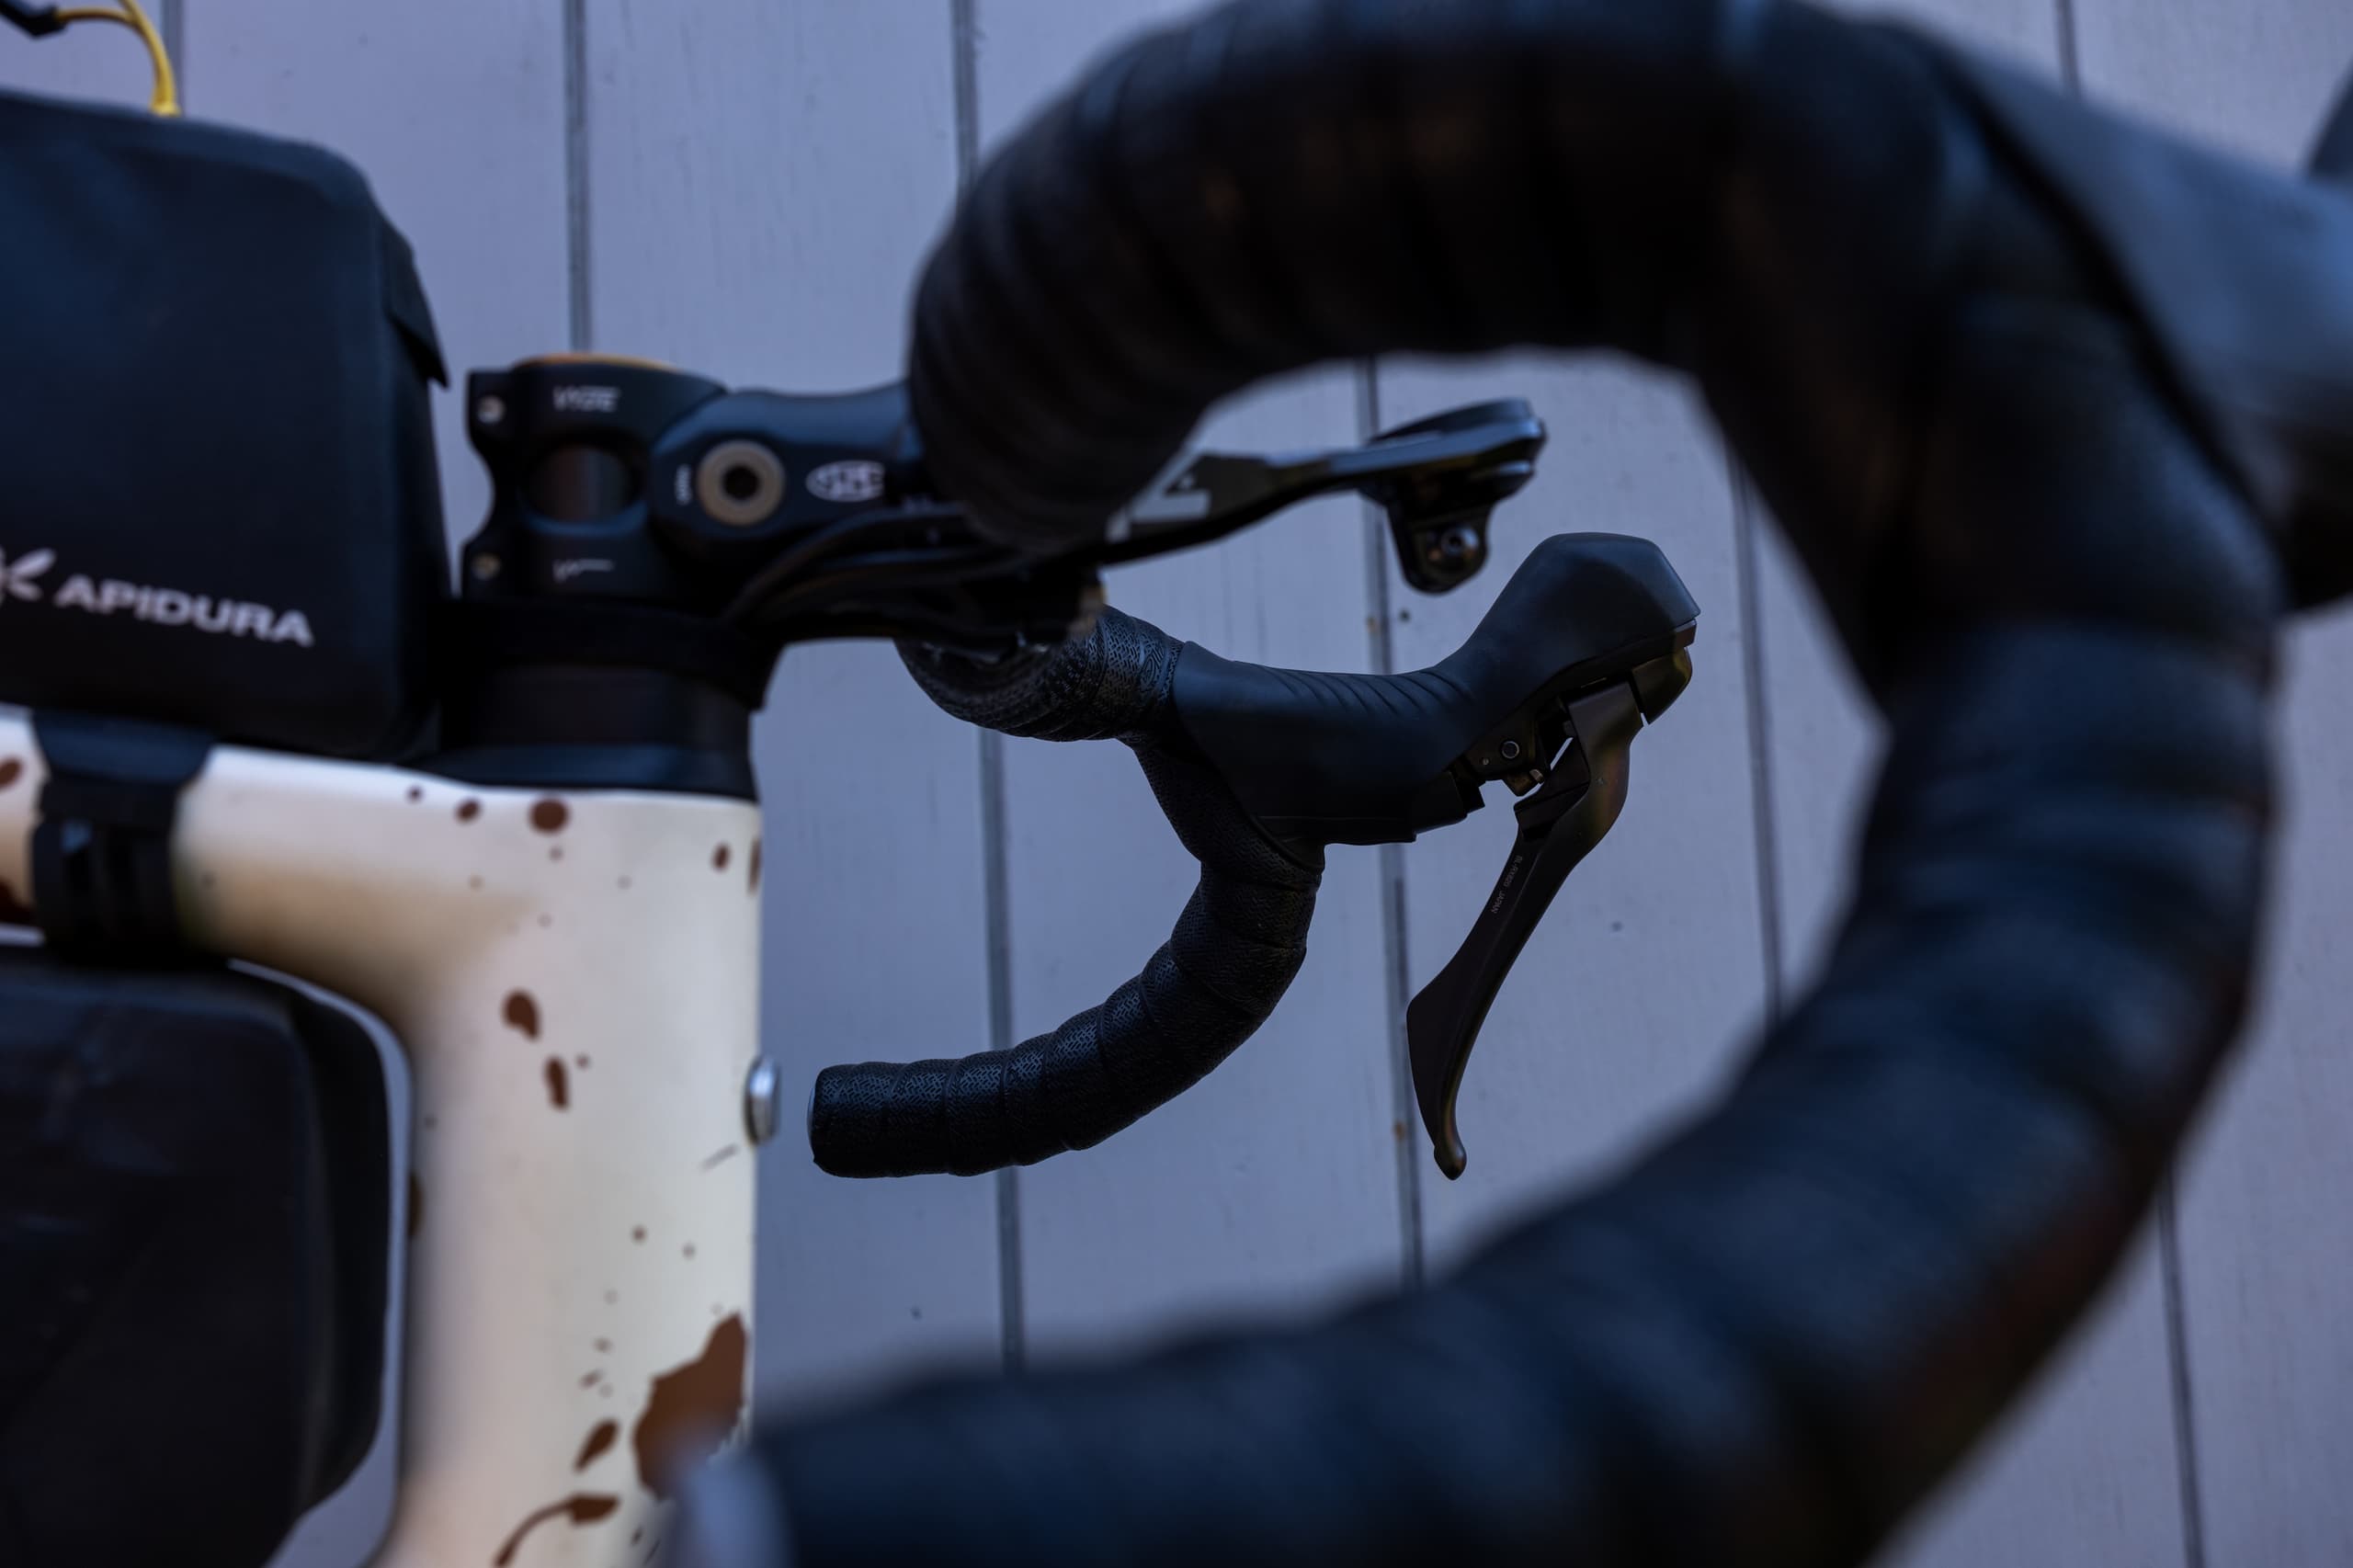
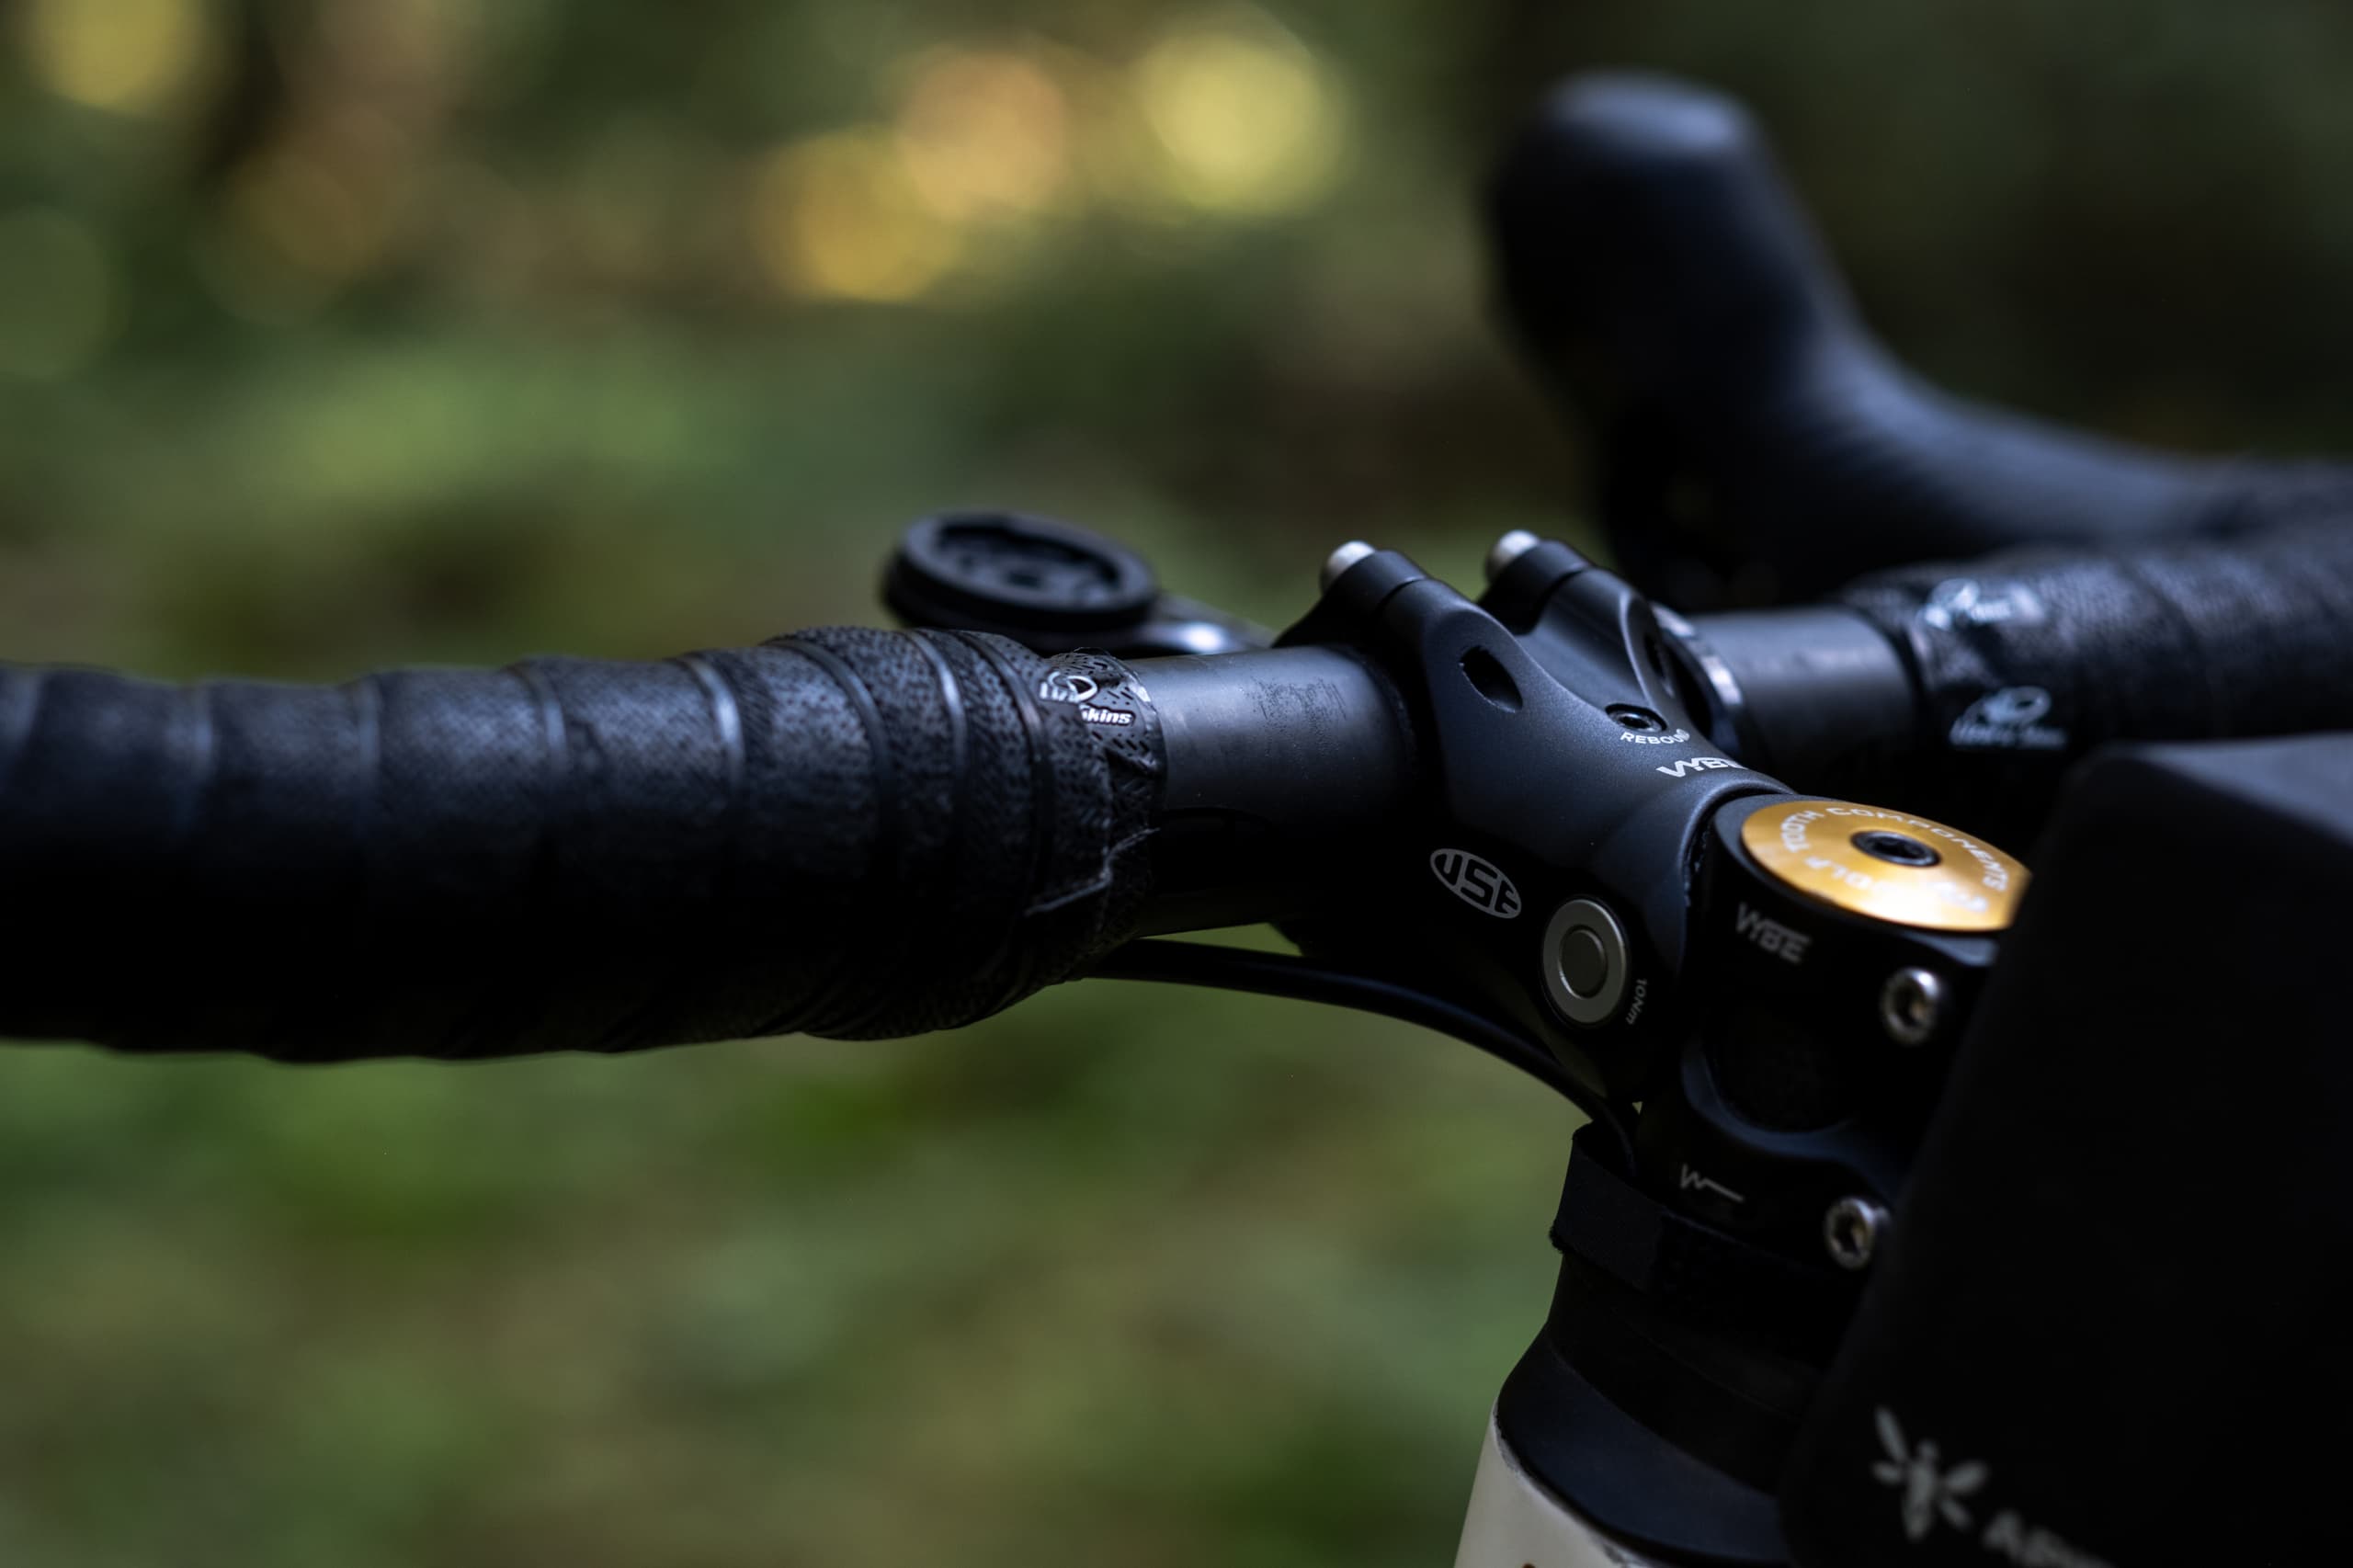
There are two big catches. First, on a big, unexpected hit, the stem can feel like it's "diving." The small drop took me a while to trust rather than flinch at. Second, the suspension disappears the moment my hands are in the drops, because the leverage that makes it work is gone. From the drops, my hands sit beside the stem instead of out ahead of it, removing the arcing motion that makes the VYBE work. In the drops, it rides stiff, like a normal stem. From the hoods, the suspension works great.
My wife runs the Redshift ShockStop suspension system on her own gravel bike. While it didn't show up in the review, that system experiences the same issue when riding in the drops. It seems largely a design reality, not a design flaw.
The Escape GR 24 Bars: Wide, Swoopy, Built for the Drops
I'm running the Escape GR 24 Carbon Bars in the Max 420mm width ($370 USD / $520 CAD). The Max choice was easy. It's the version compatible with aero extensions, at a 40g penalty over the SL layup.
I have ridden 400mm bars since first building my Chapter 2 Kaha, so the jump to 420mm was easy. It's still a narrower handlebar than many people choose on gravel bikes, but I find it naturally more comfortable than 460-500mm options. I know this isn't the technical specificity I try to bring to reviews, but their shape appears noticeably rounder and swoopier than my Mana GRVL handlebars.
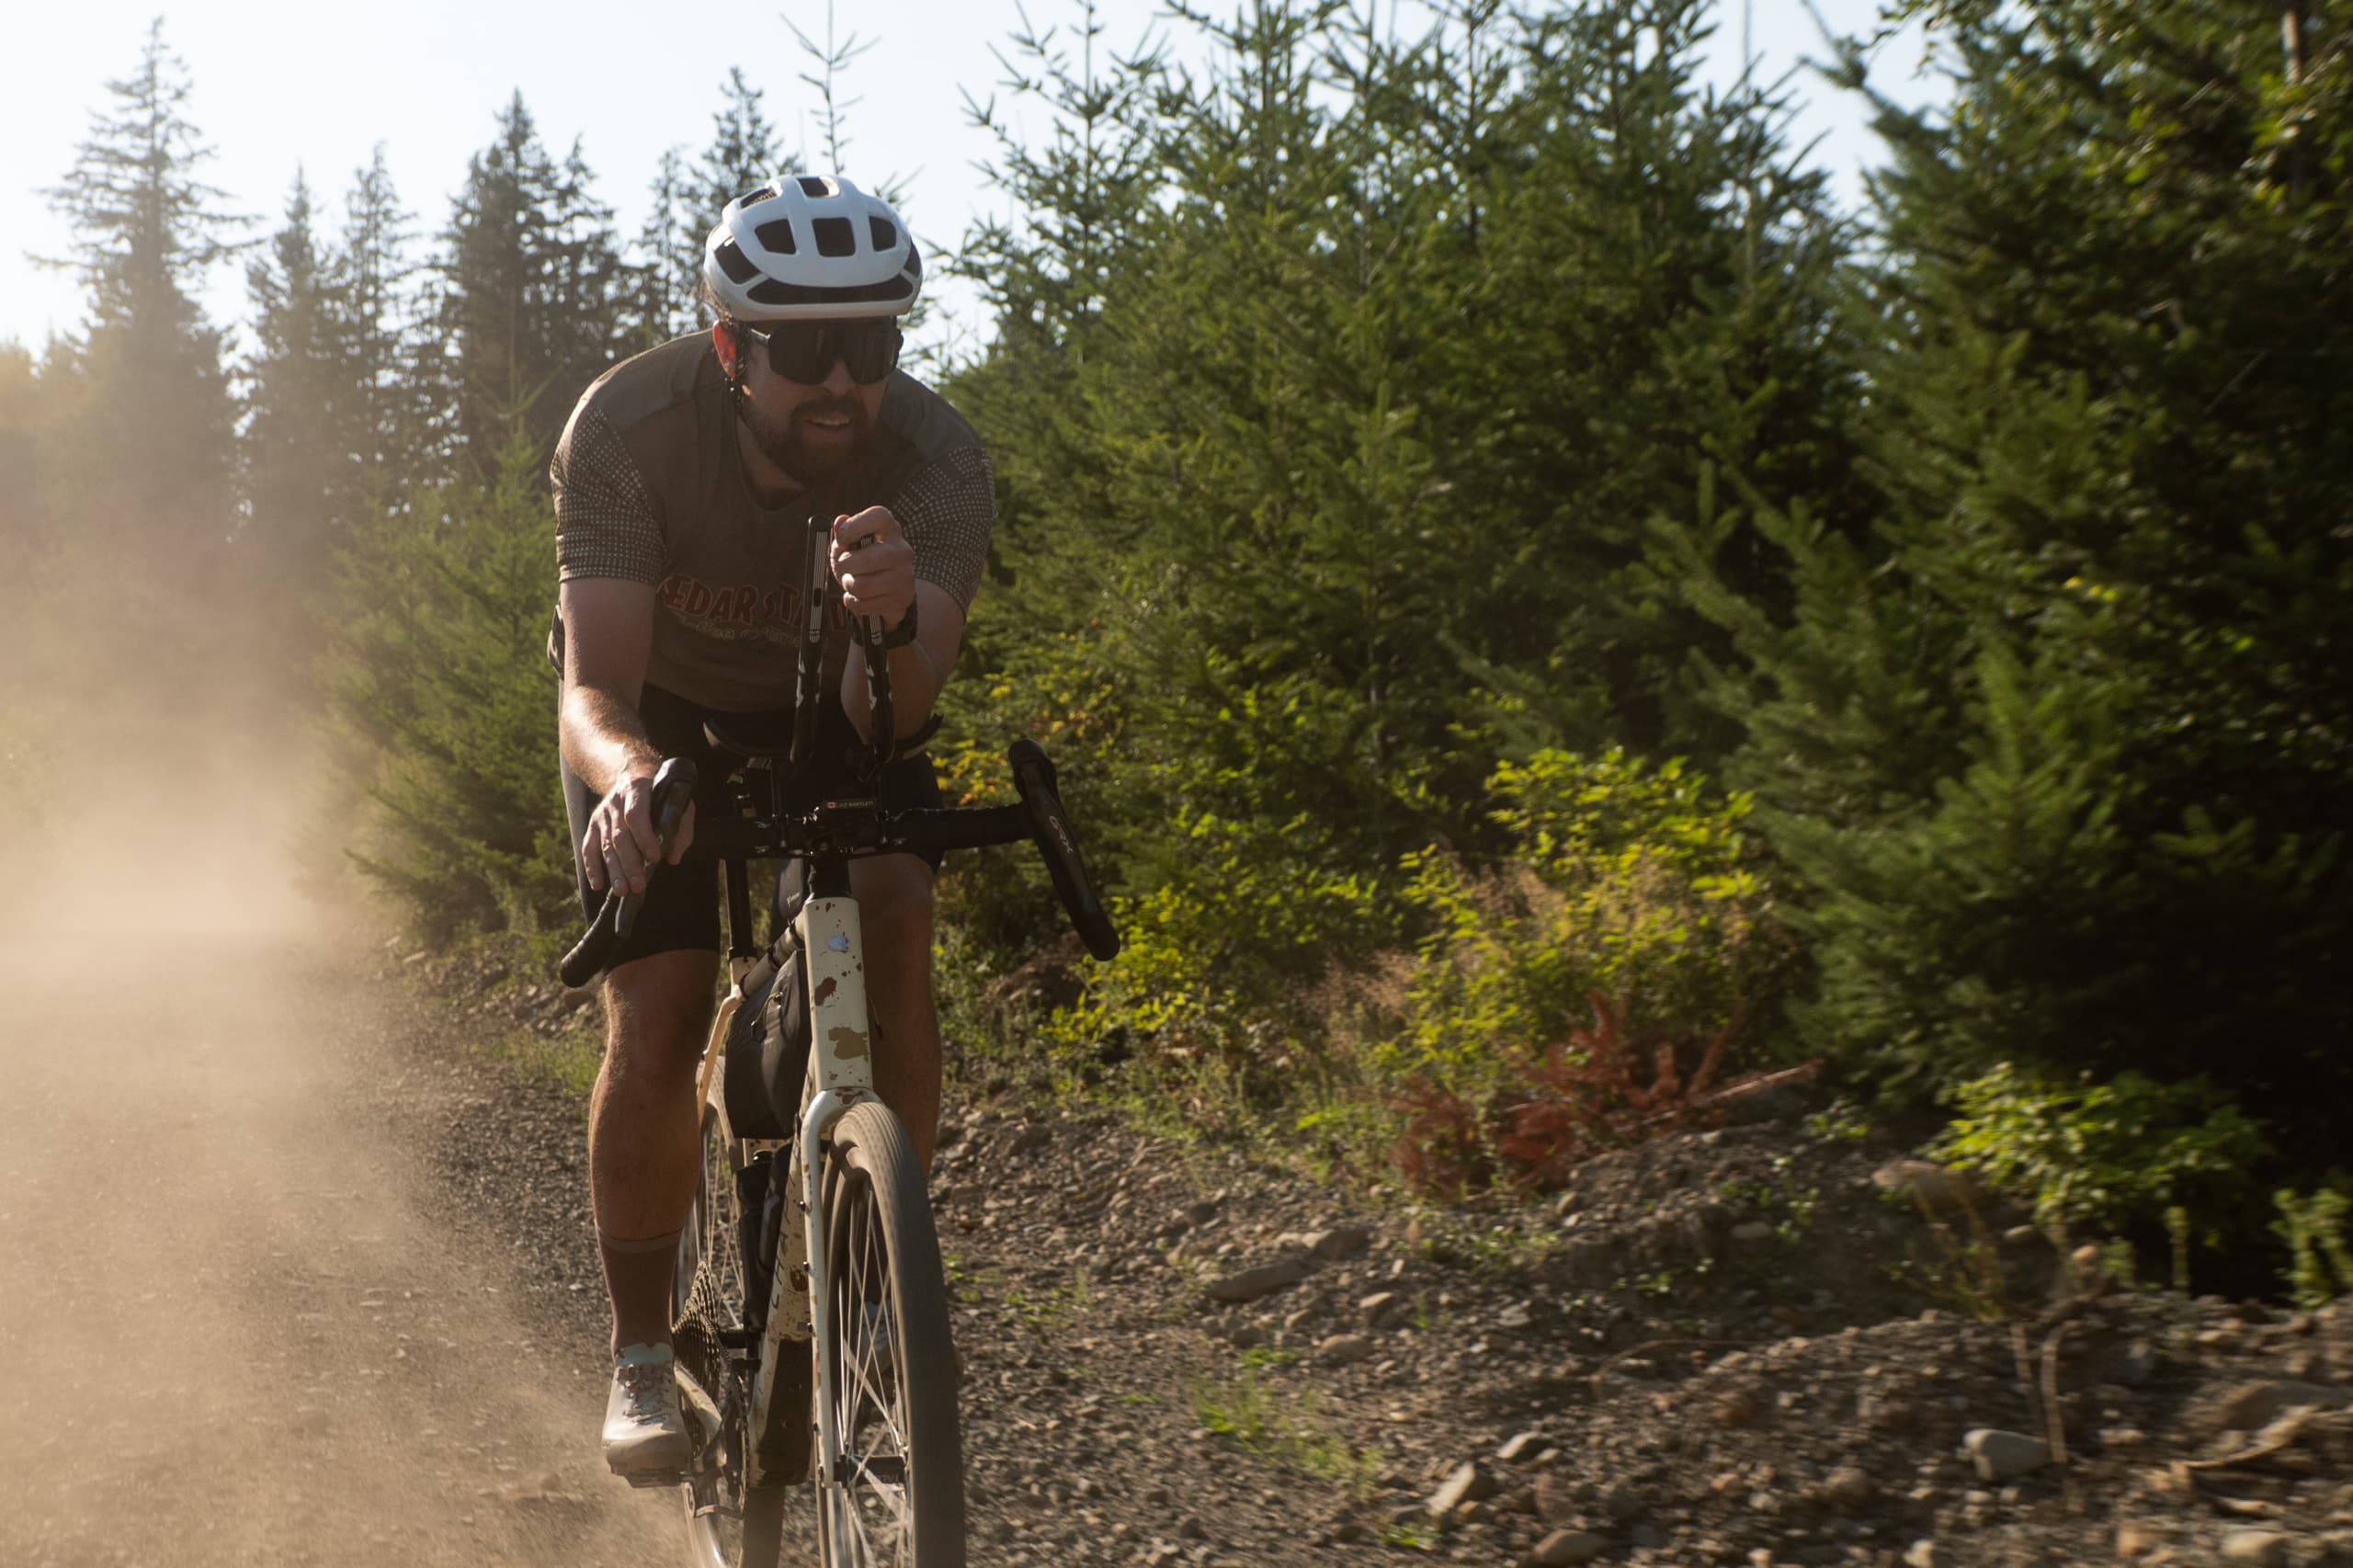
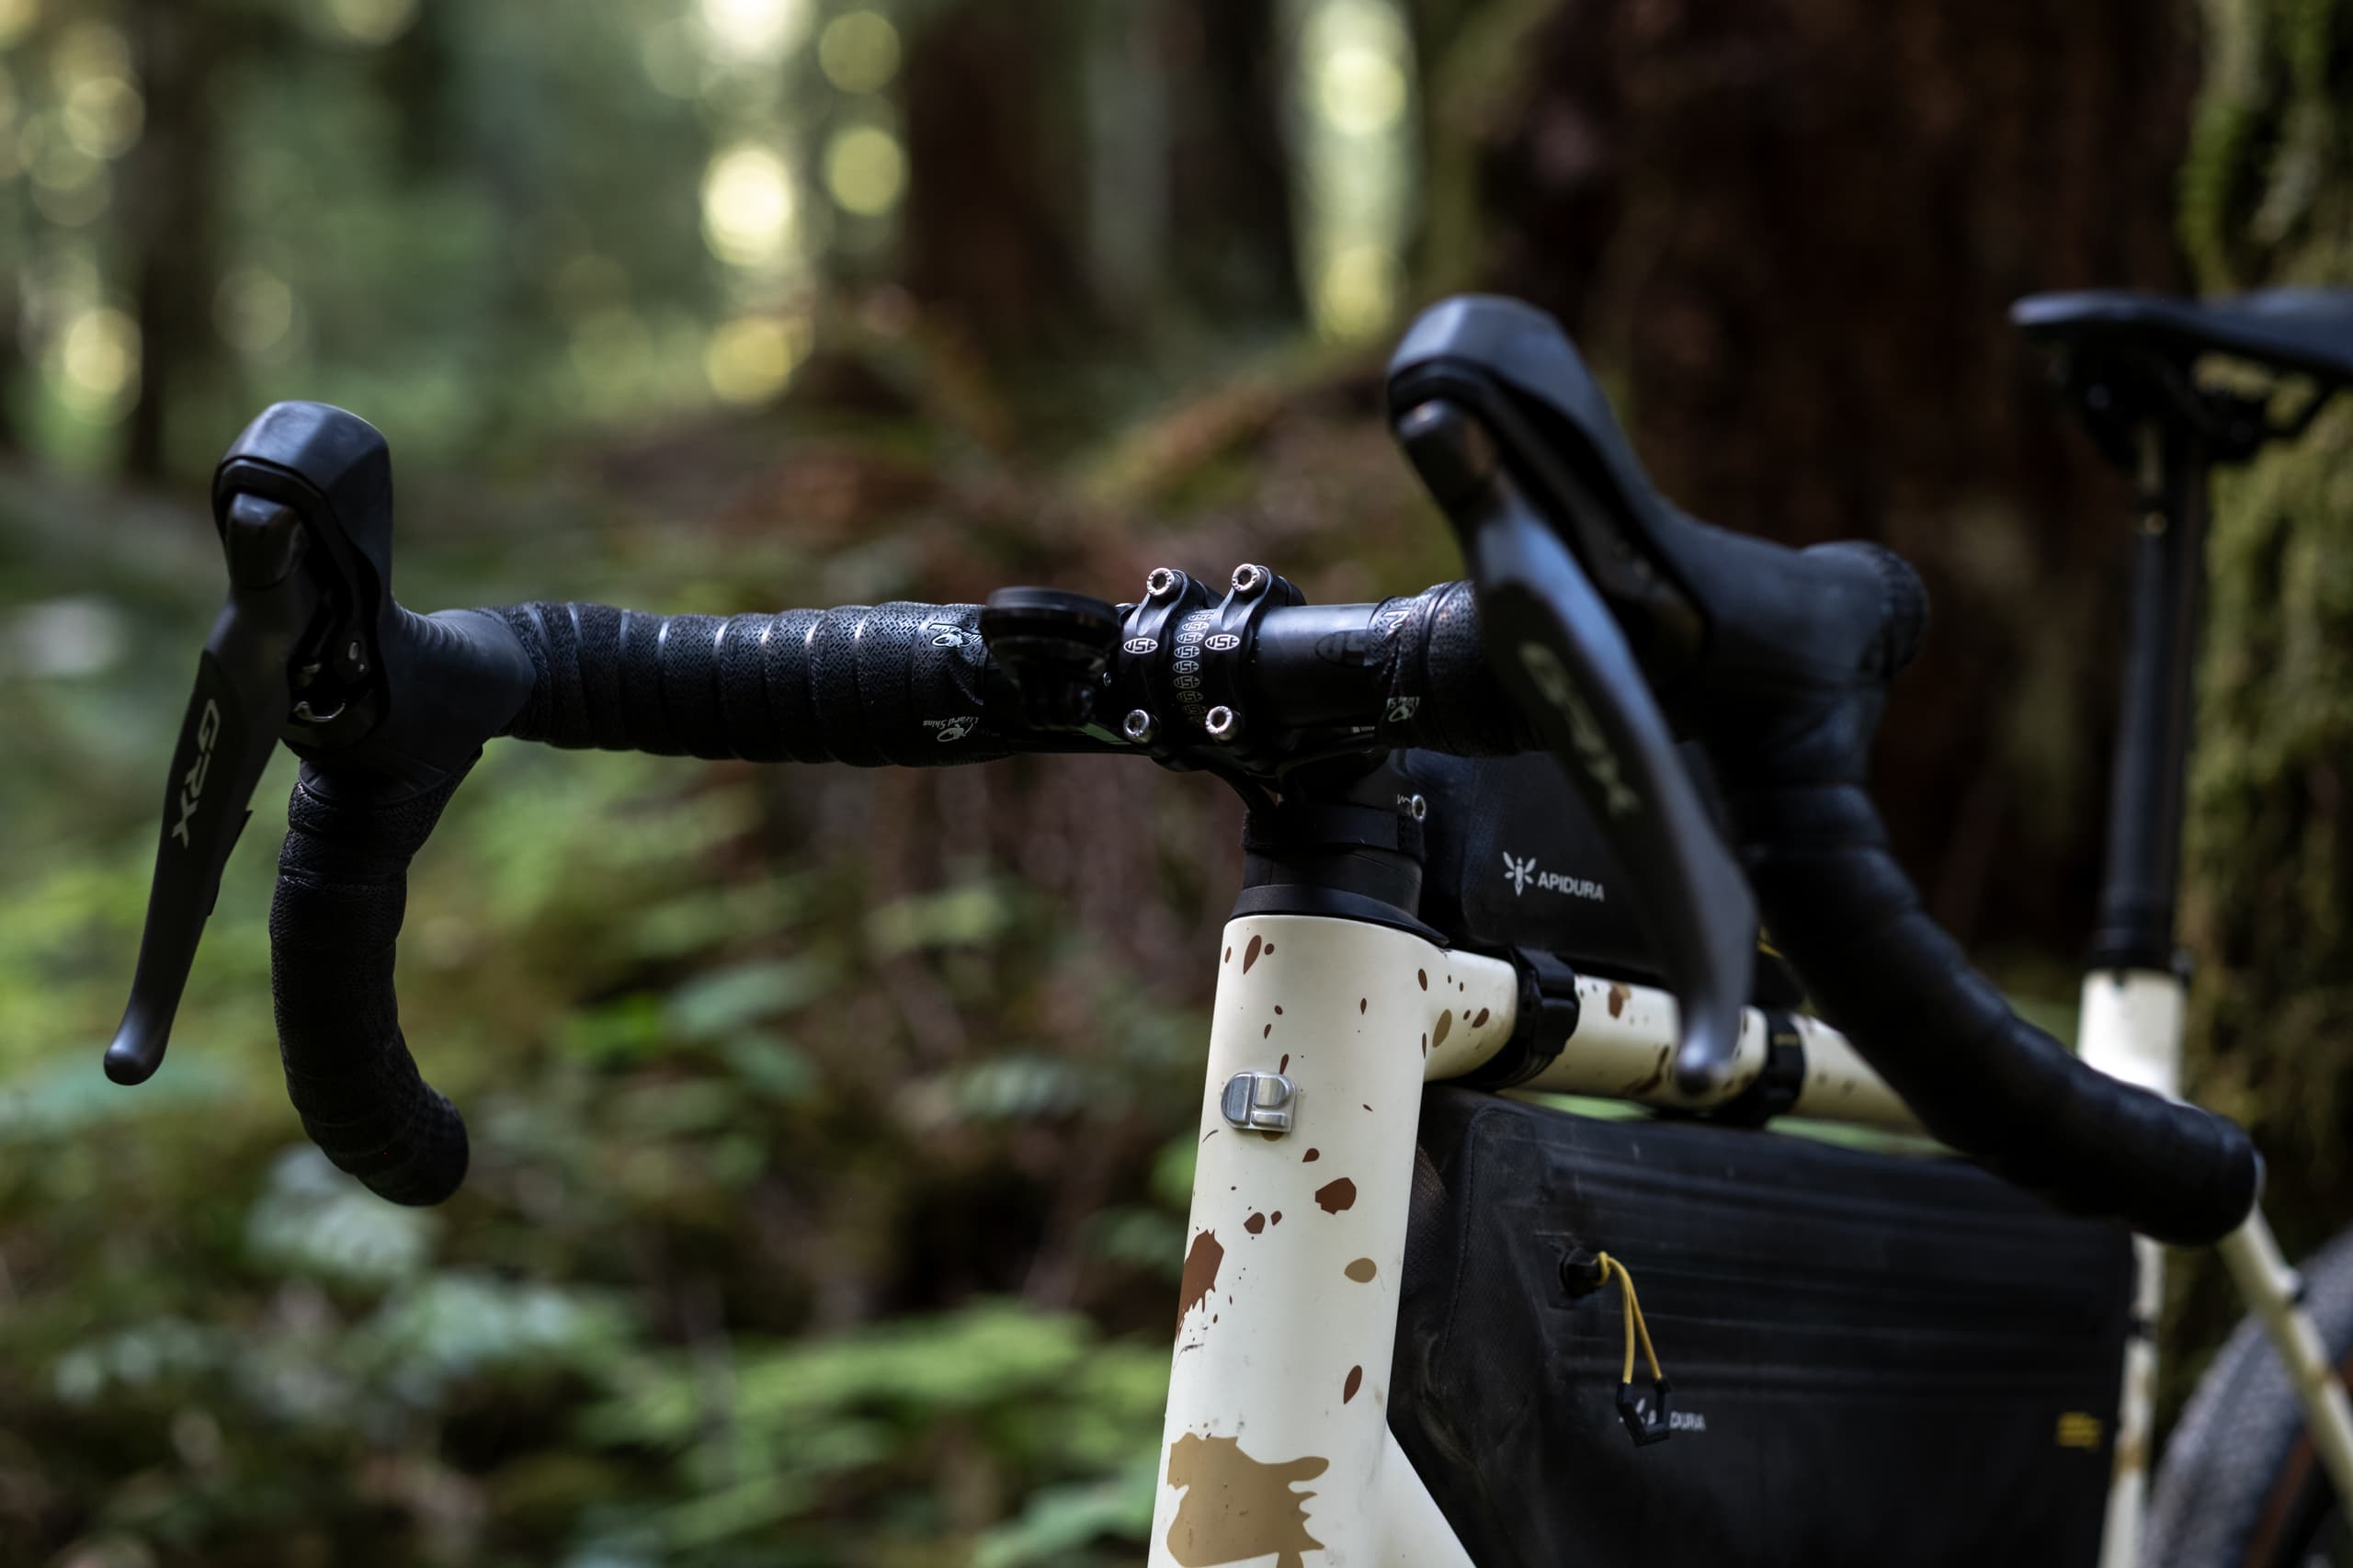
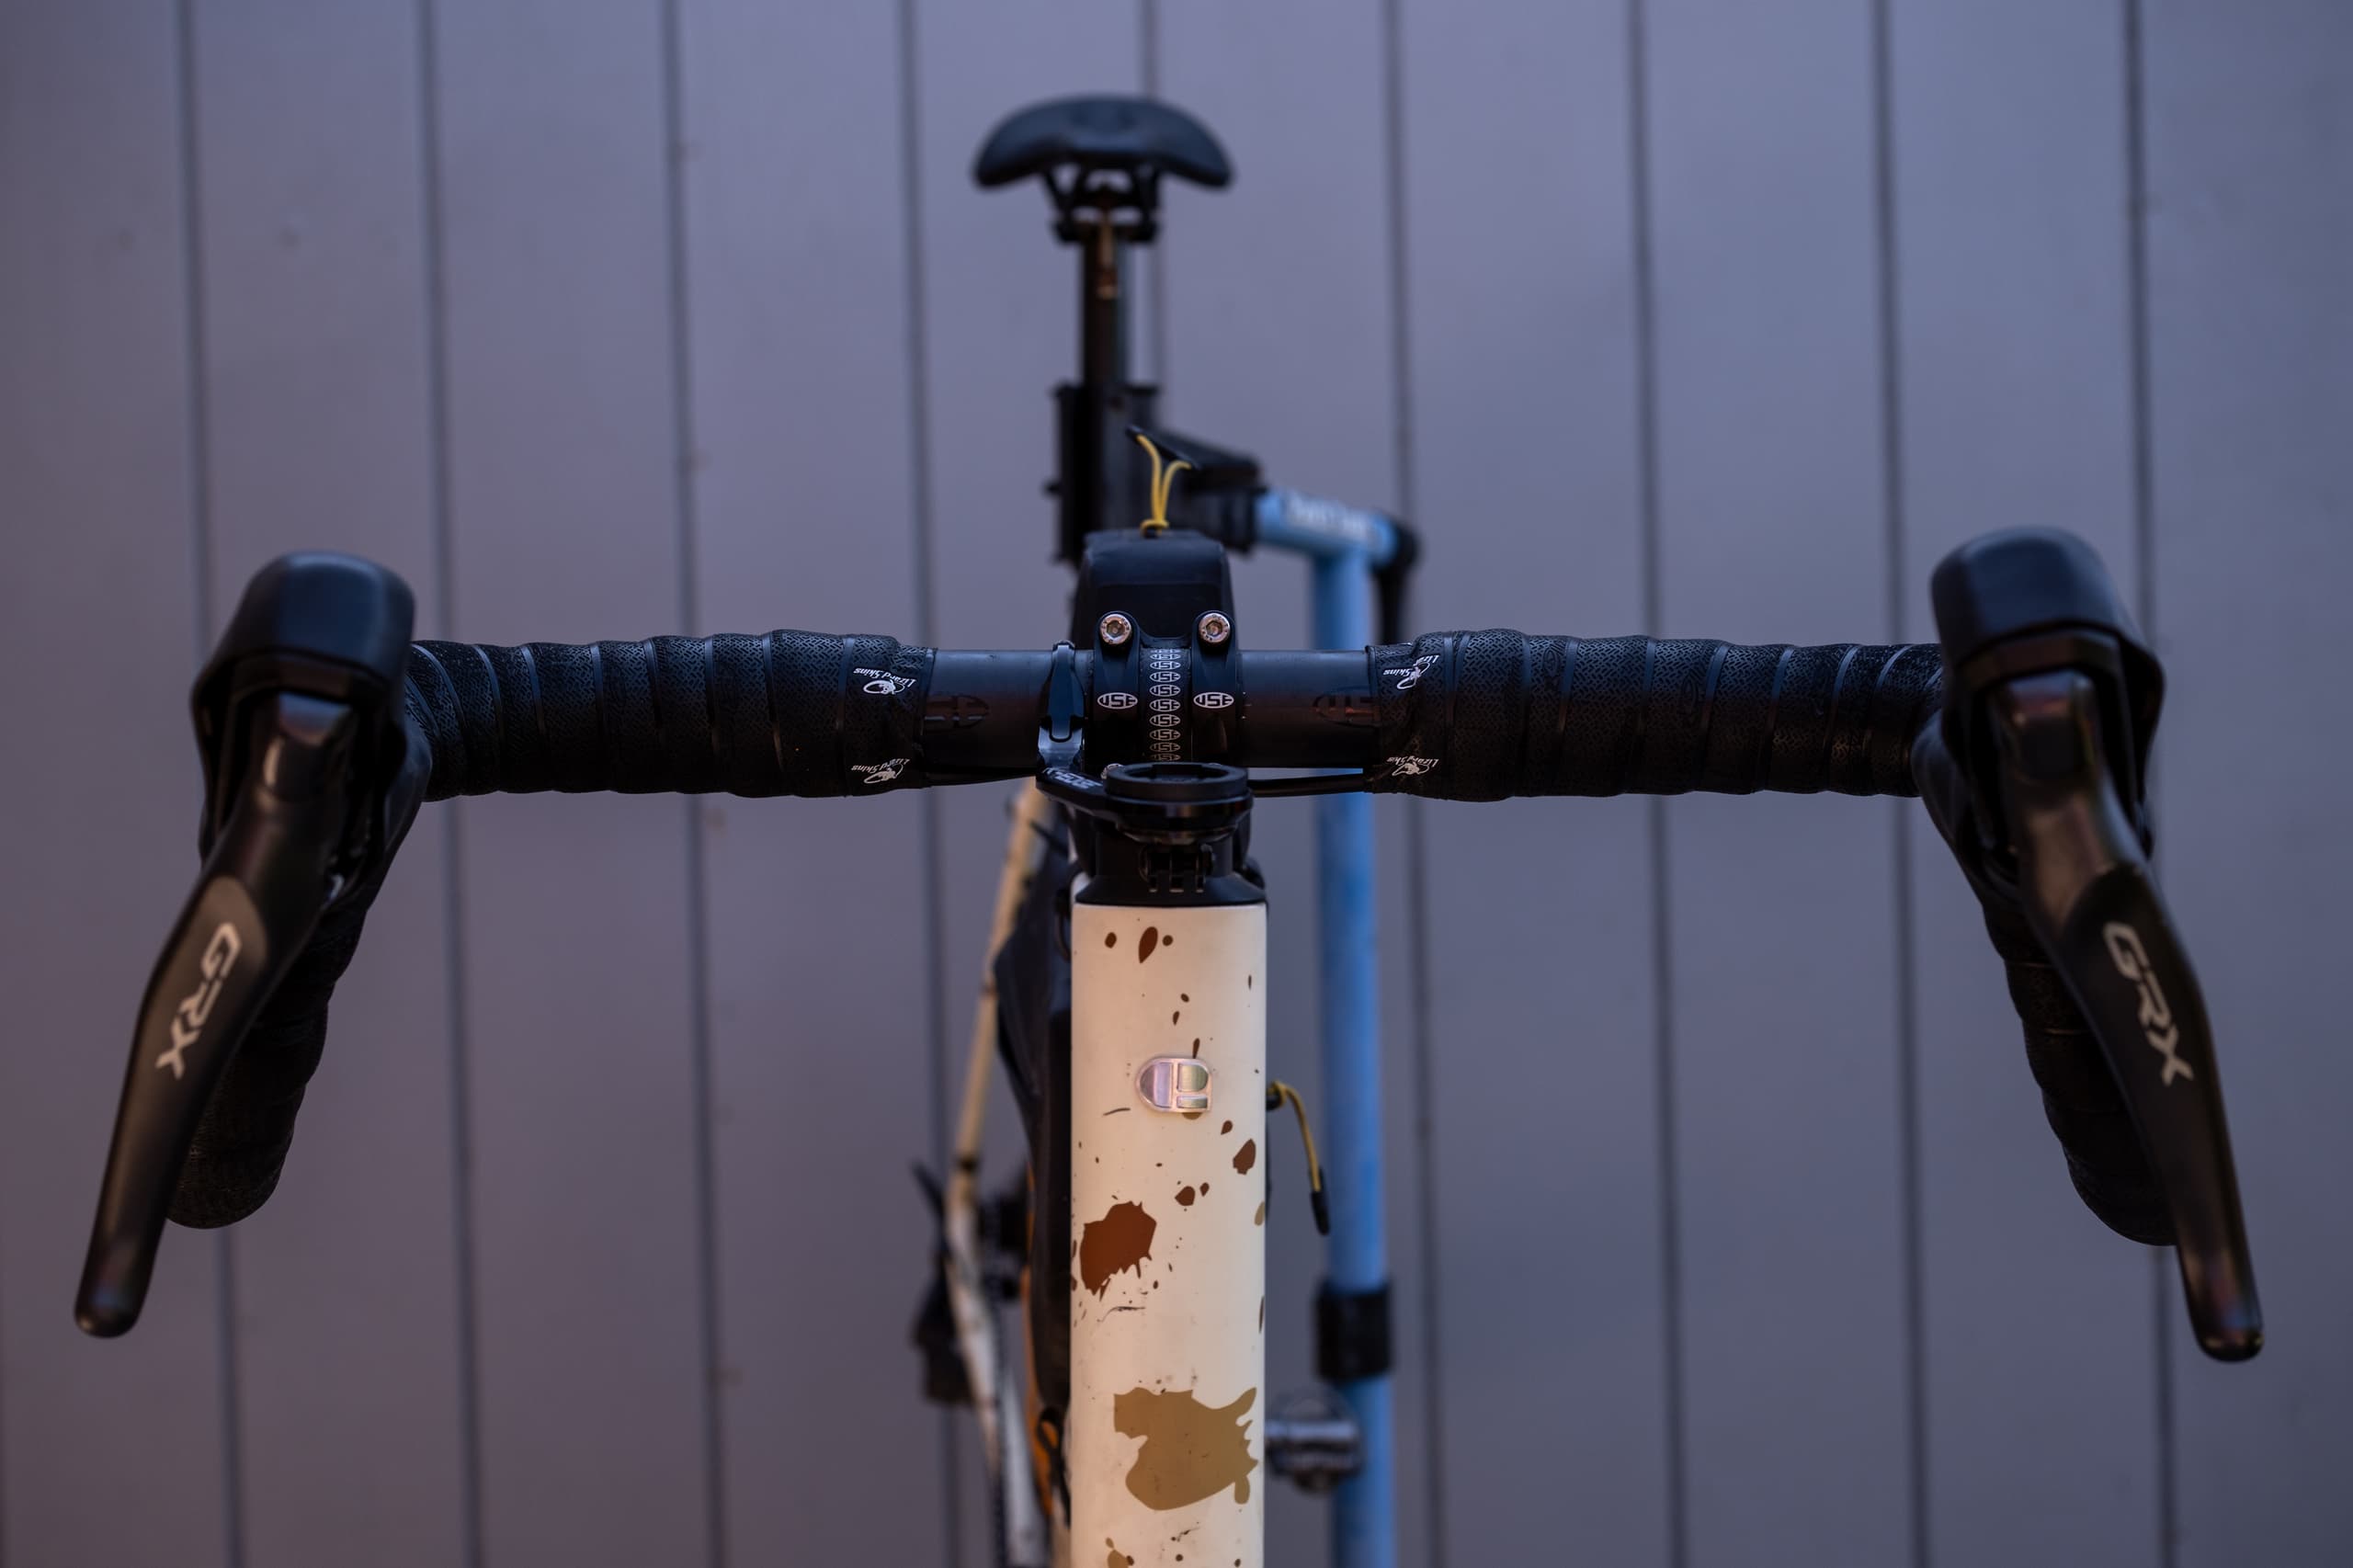
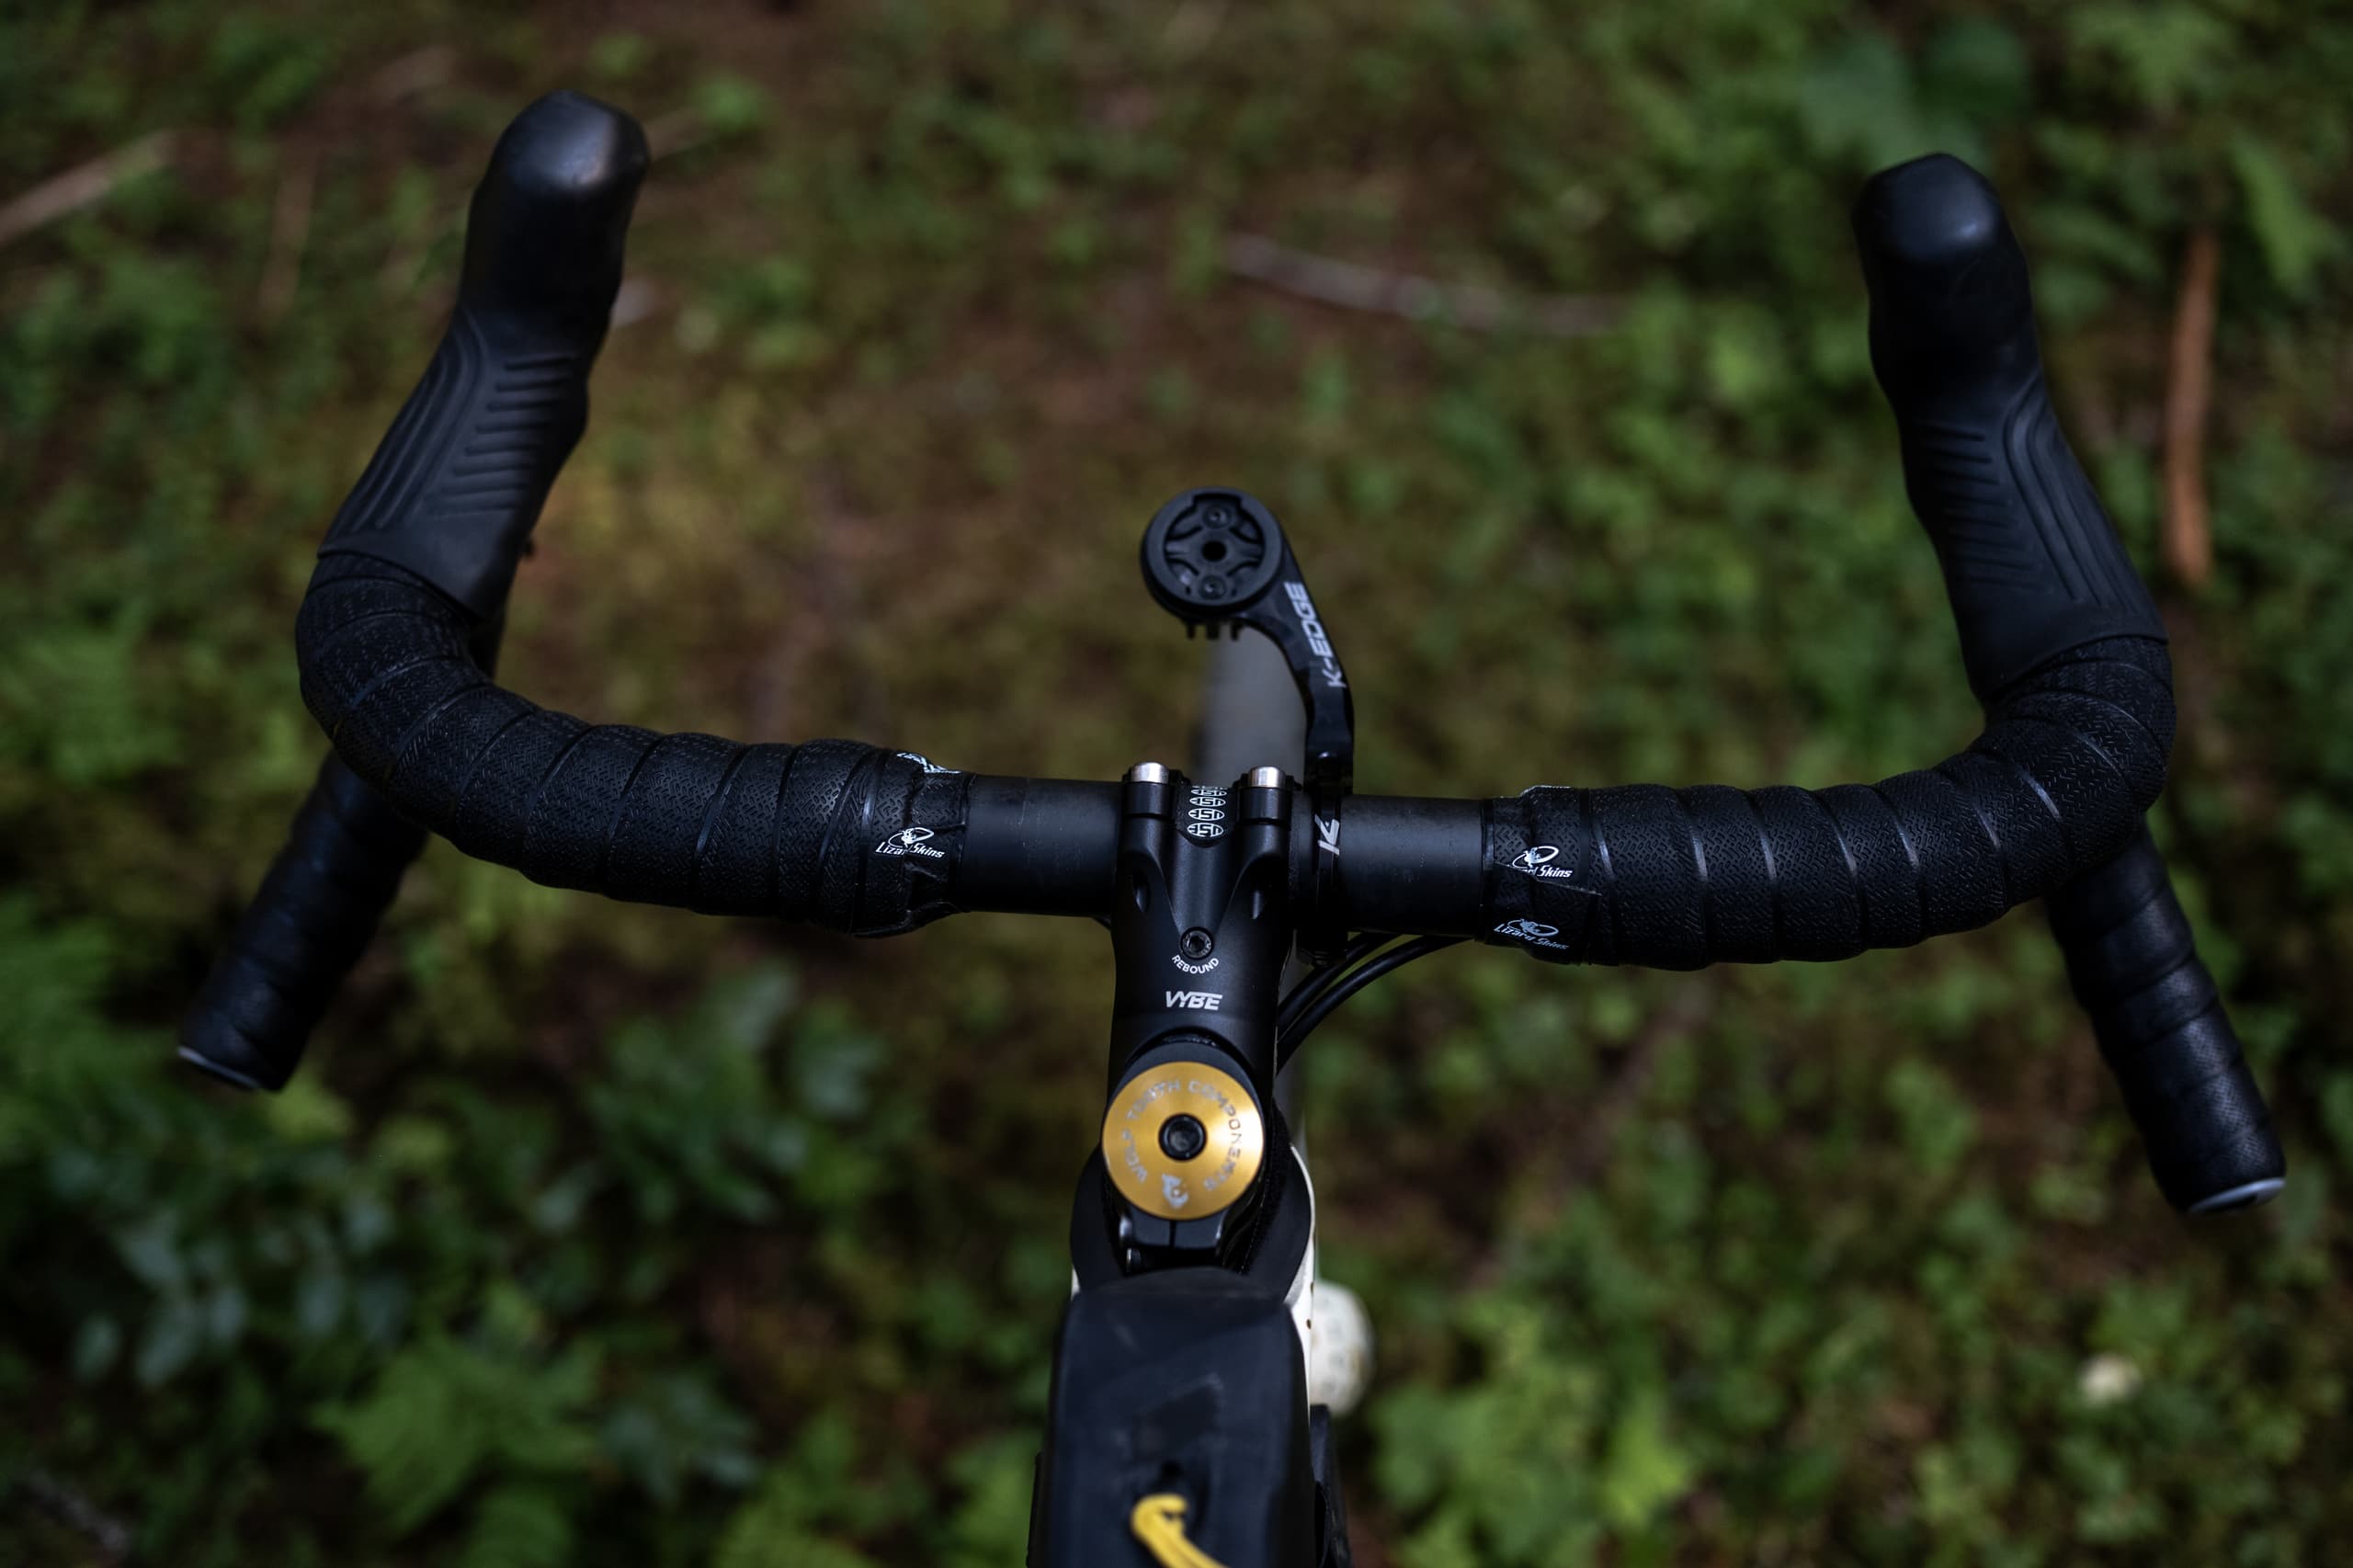
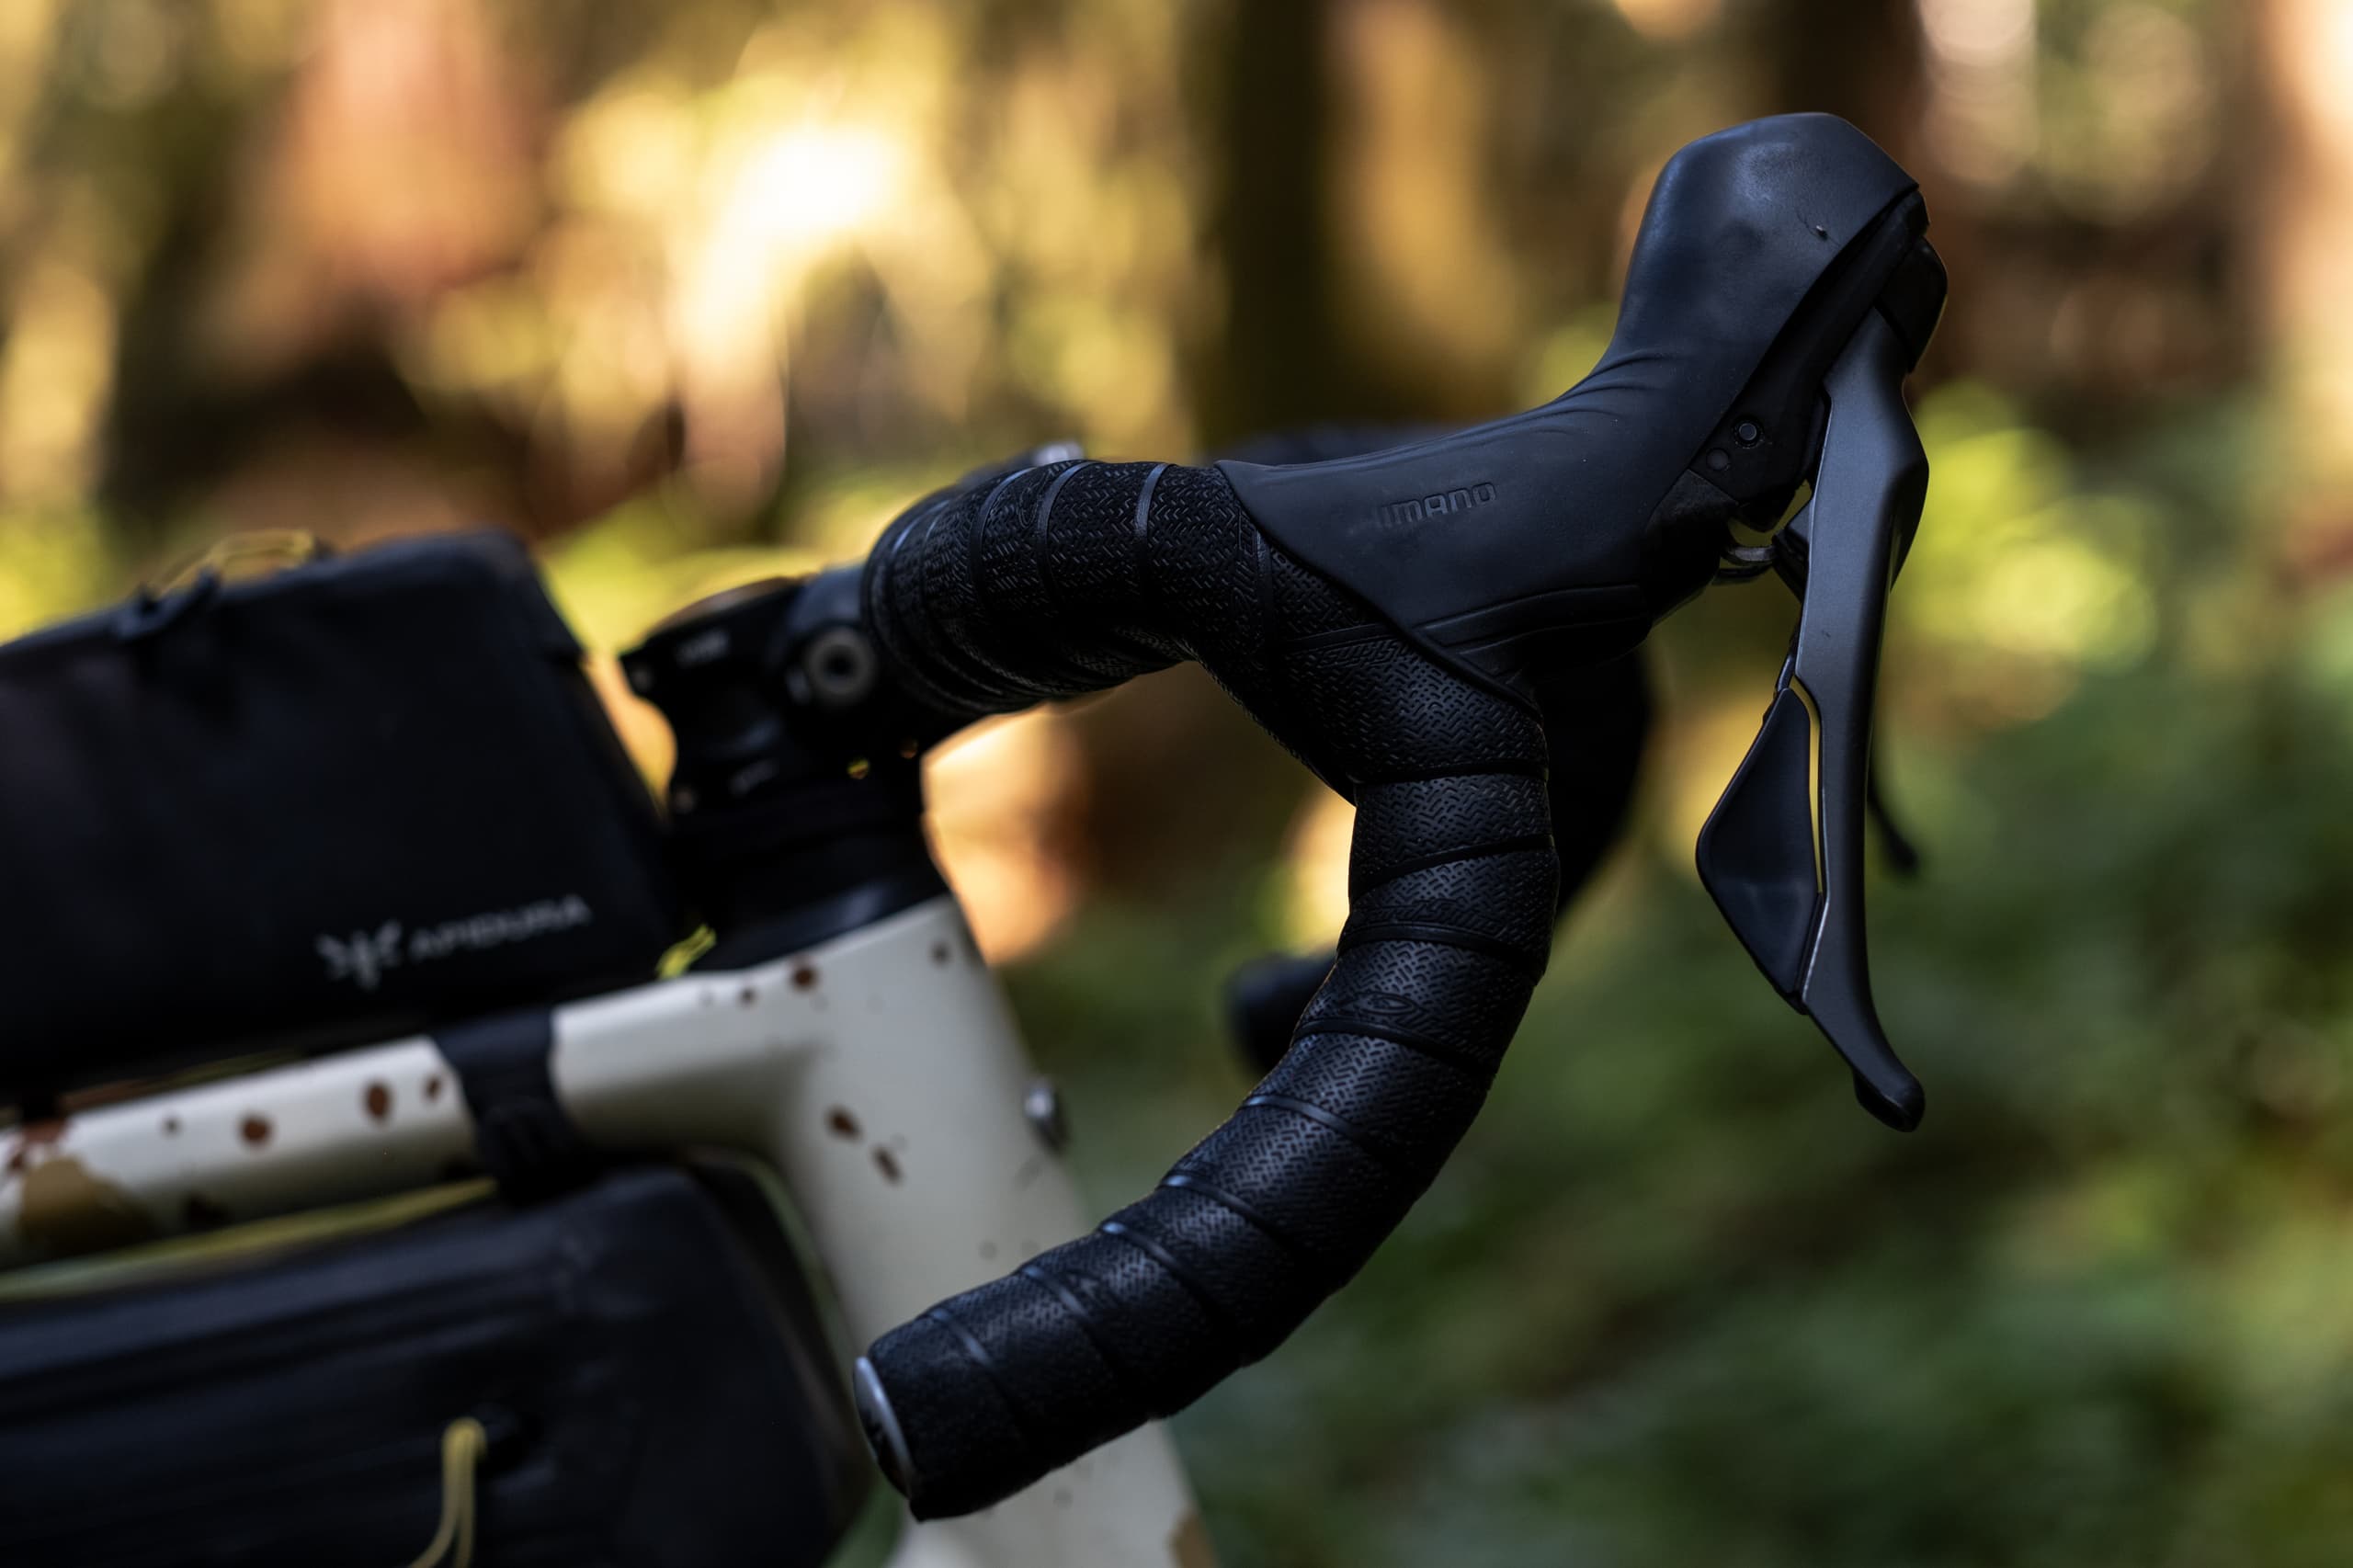
The 24° flare is more than I often enjoy; however, it shows up mostly below the hoods. This design really works. It minimizes the flare at the hoods, which I found kept a more natural hand position. This made braking feel easy rather than awkward. The drops are genuinely comfortable to ride in, thanks to the flare opening things up.
Install was straightforward too, with a centered graphic that made lining up the centre and rotation angle painless. I wrapped them in Lizard Skins DSP Bar Tape V2 at 4.6mm, and paired with the VYBE stem, the whole front end feels plush in a way that I love.
Out on that Rossiter Main loop, the carbon layup does the work I expect from a high-end carbon bar. The washboard sections that usually buzz straight through my hands are dulled down nicely. I can't fully separate how much of that is the bars and how much is the VYBE soaking up the rest, and honestly, I'm not sure it matters.
TR2 Clip-On Chassis: Finally, Aero Bars on Gravel
This is the part of the cockpit that made me want to take on this review. I've wanted to try aero bars on long gravel rides for years, and the TR2 Clip-On Chassis ($170 USD / $240 CAD) plus Carbon Hi-Rise Bar Extensions ($105 USD / $150 CAD) is what finally got me there.
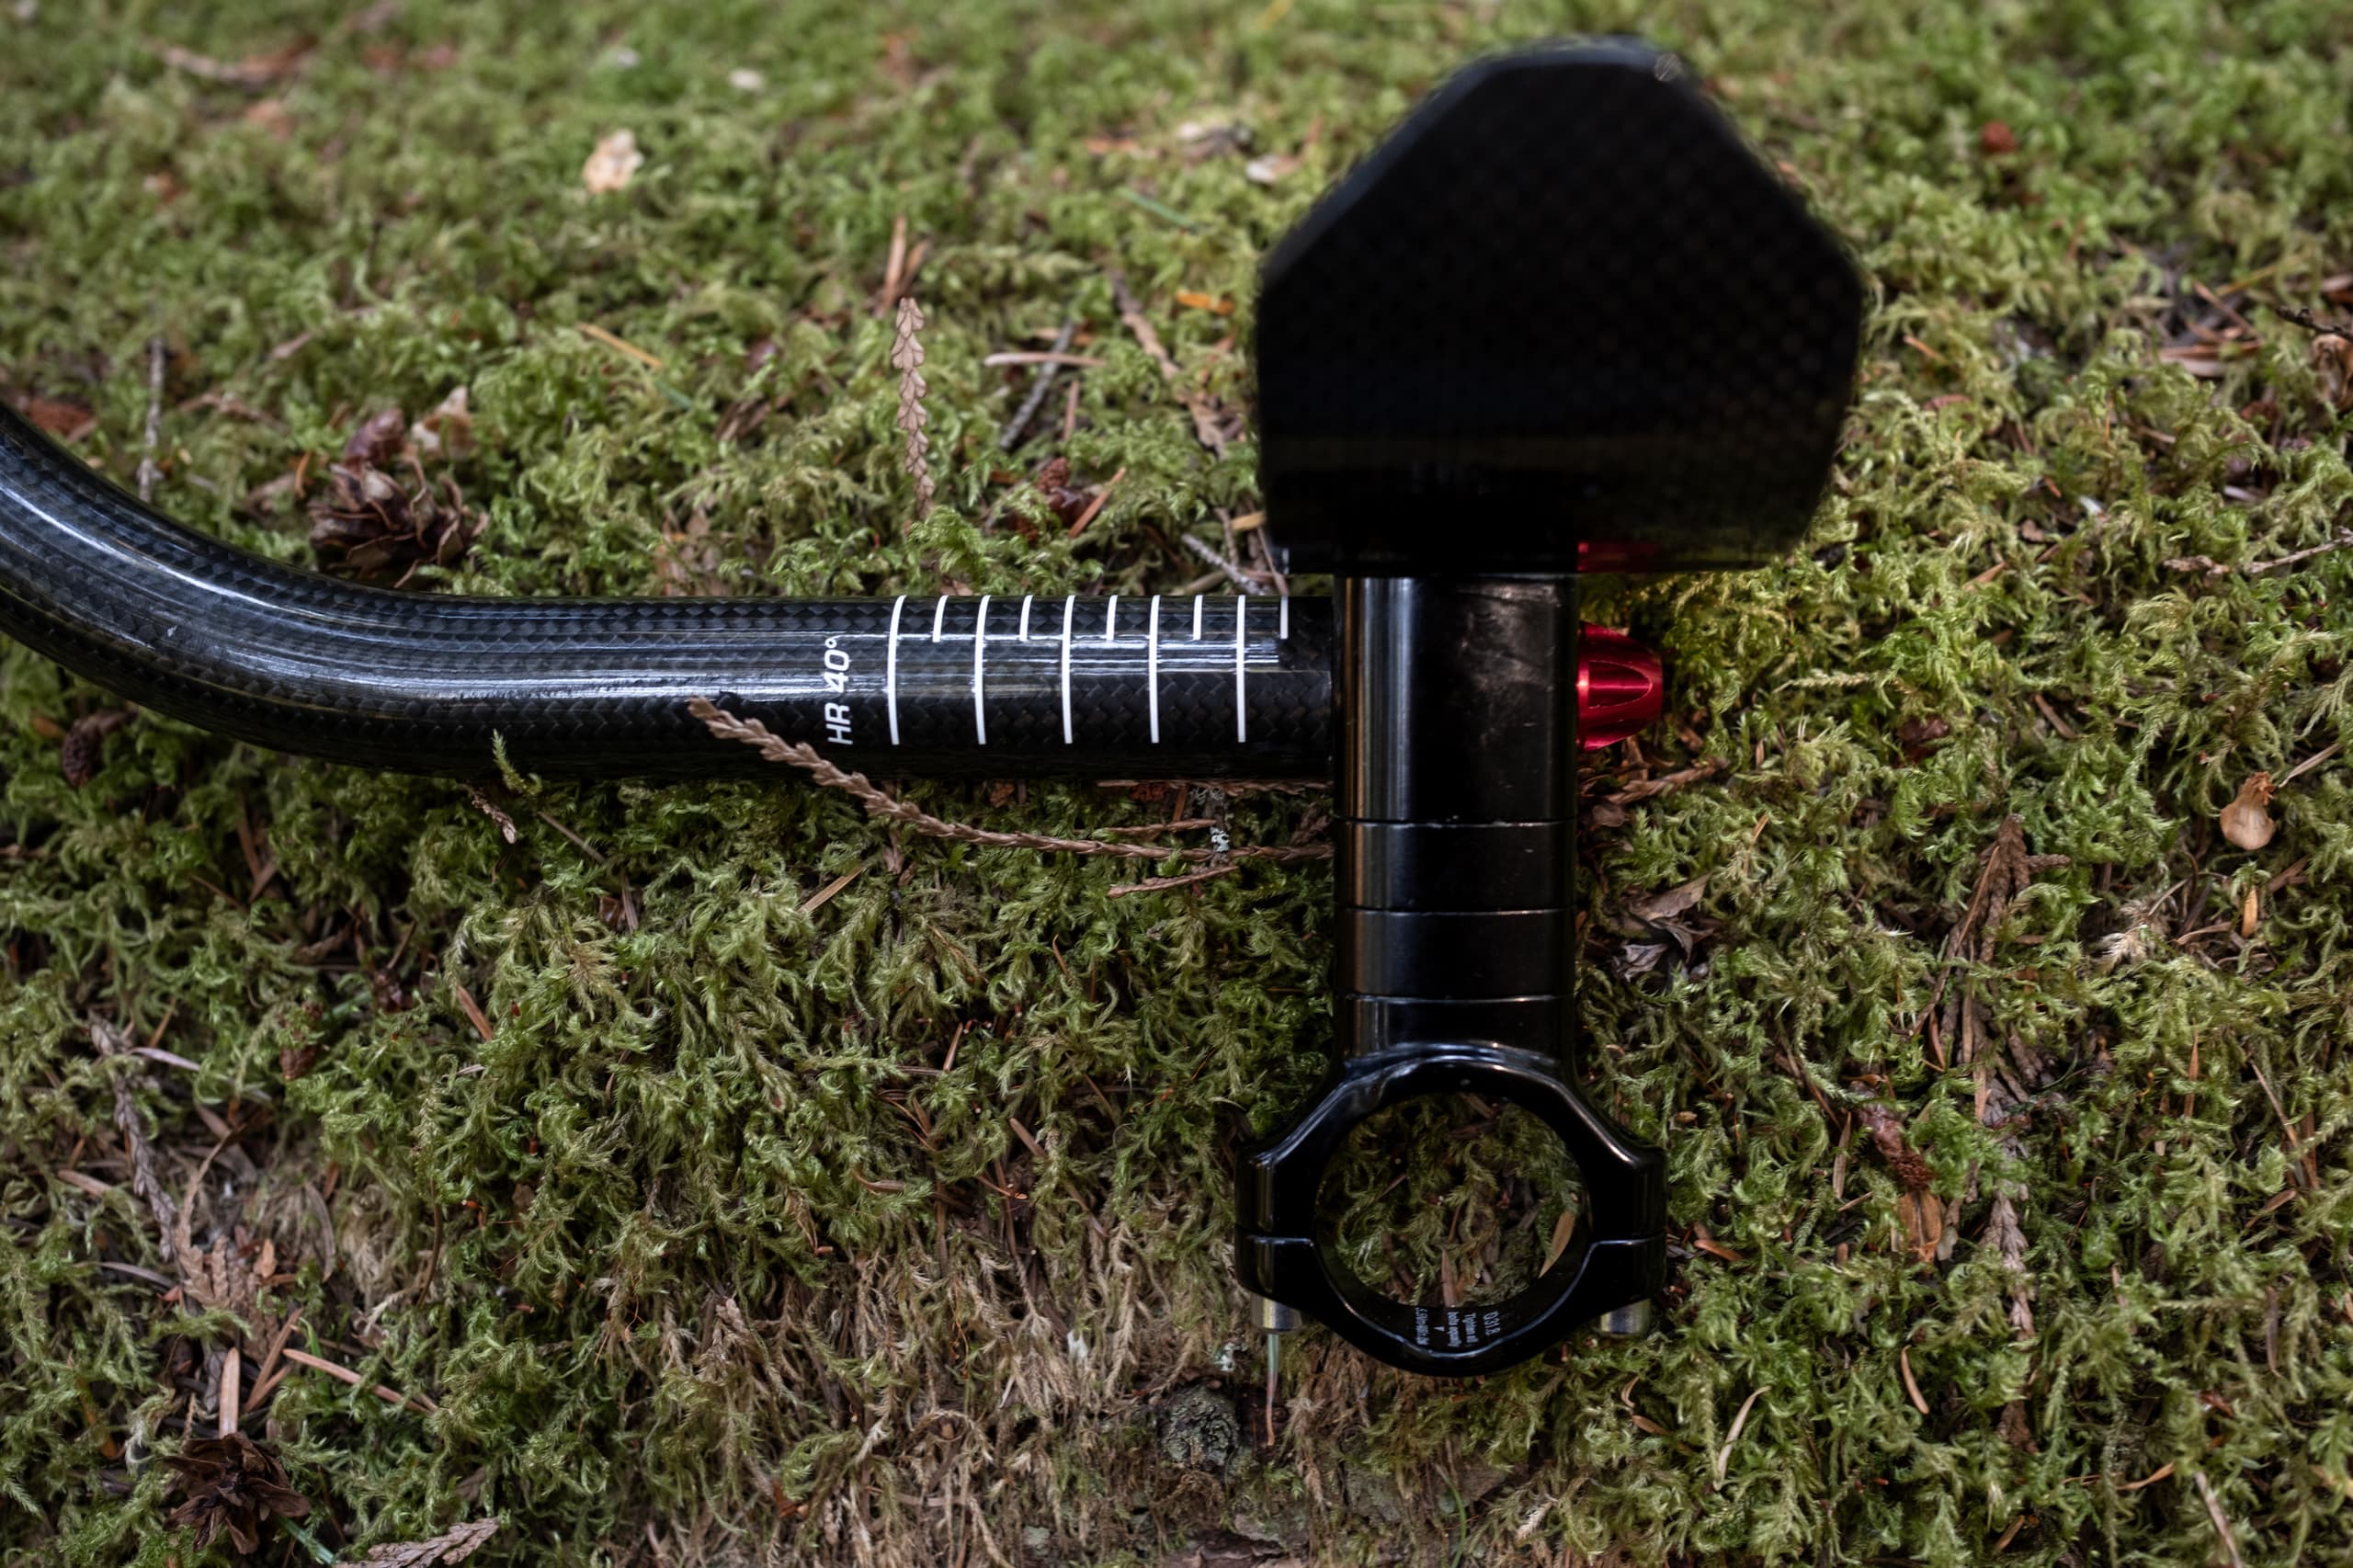
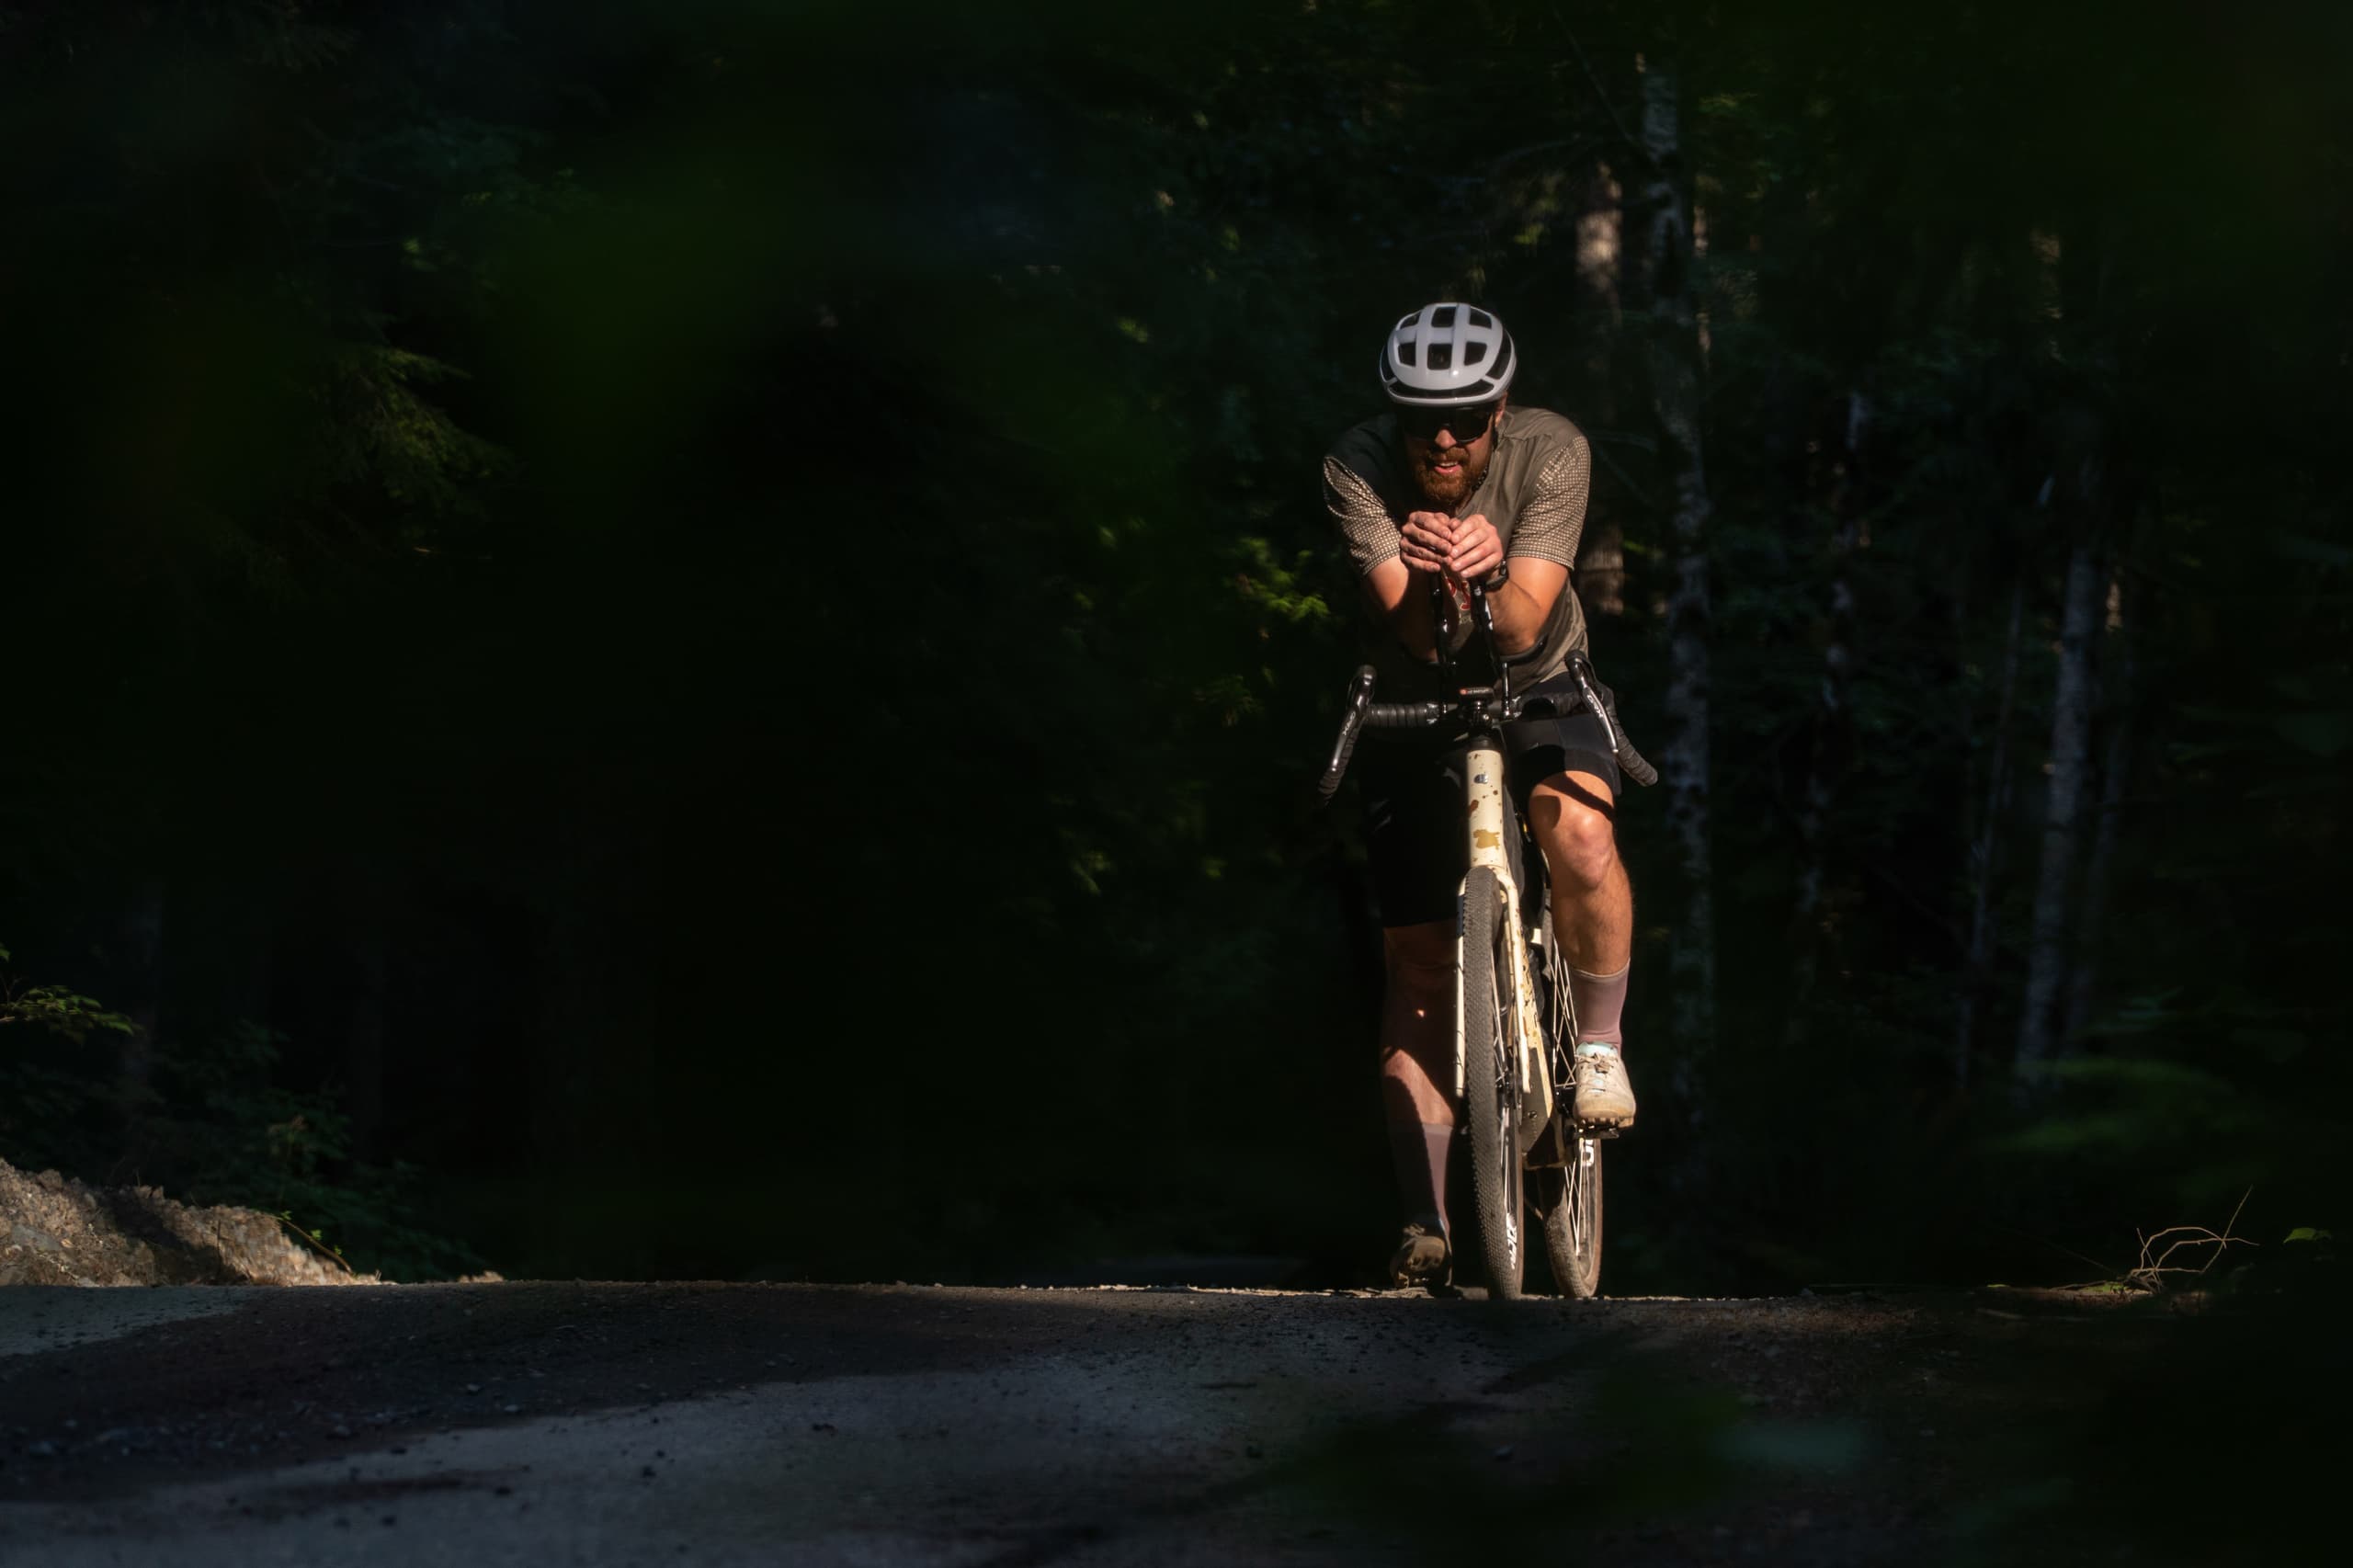
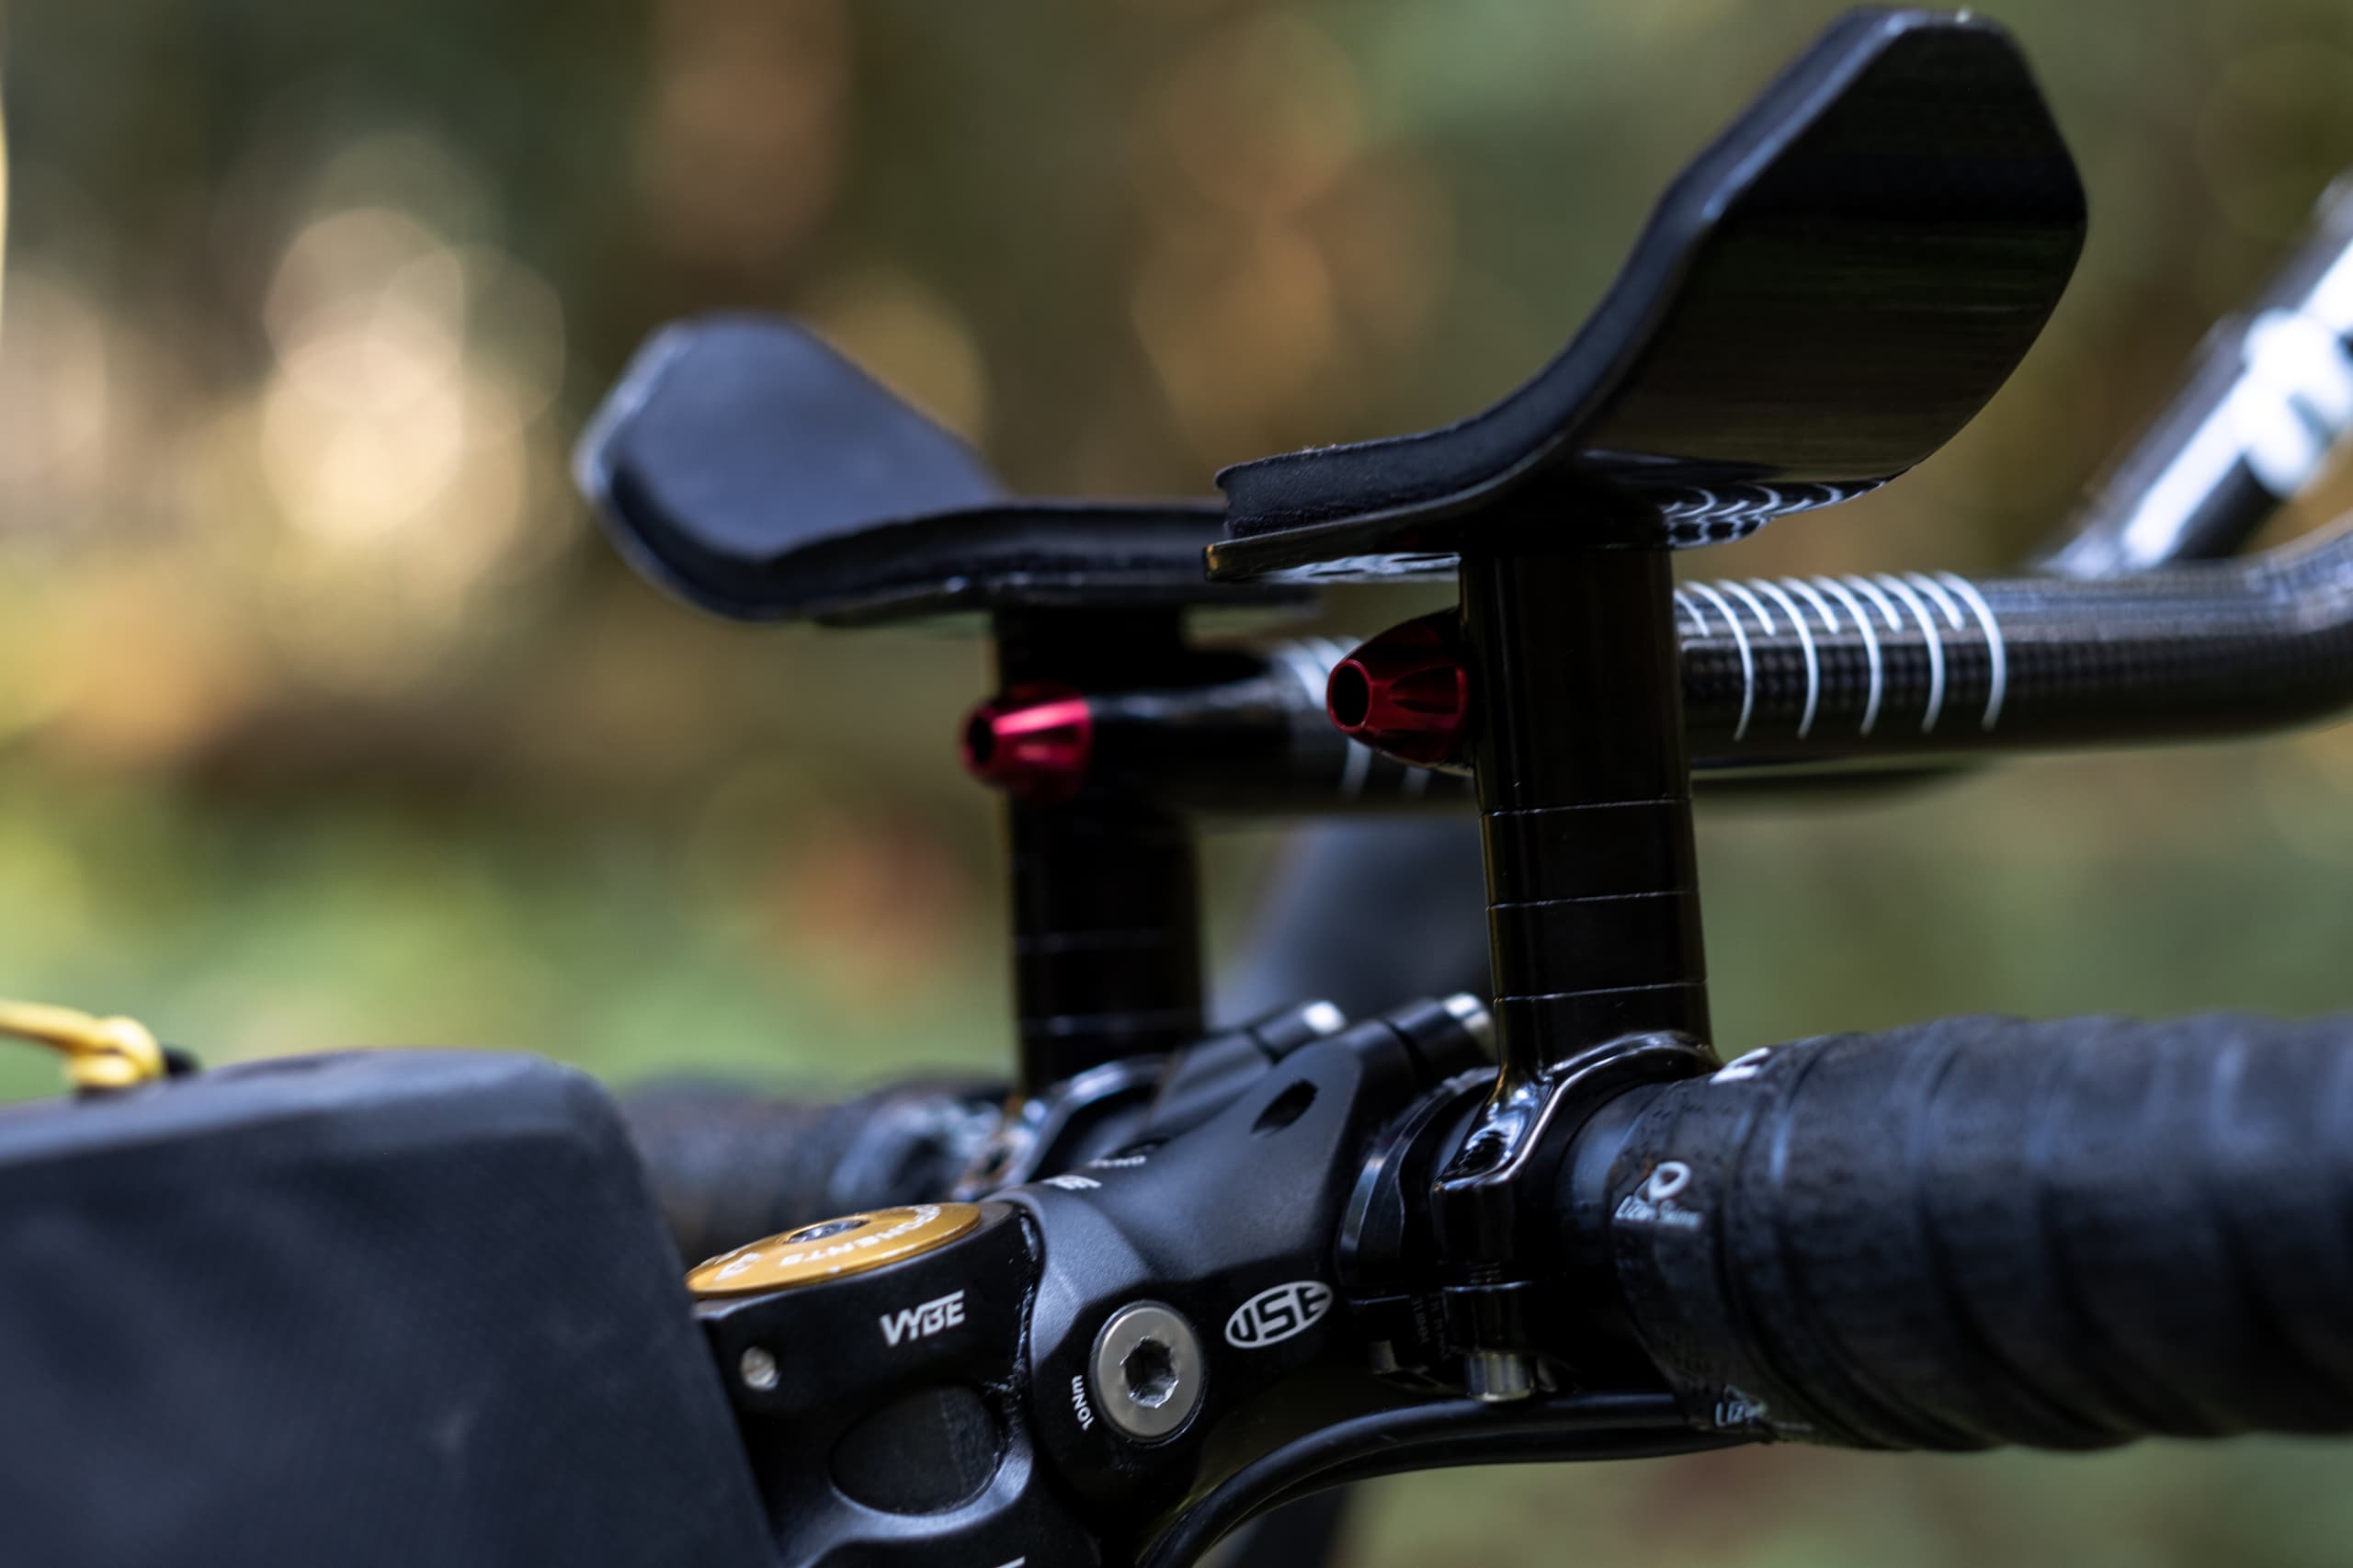
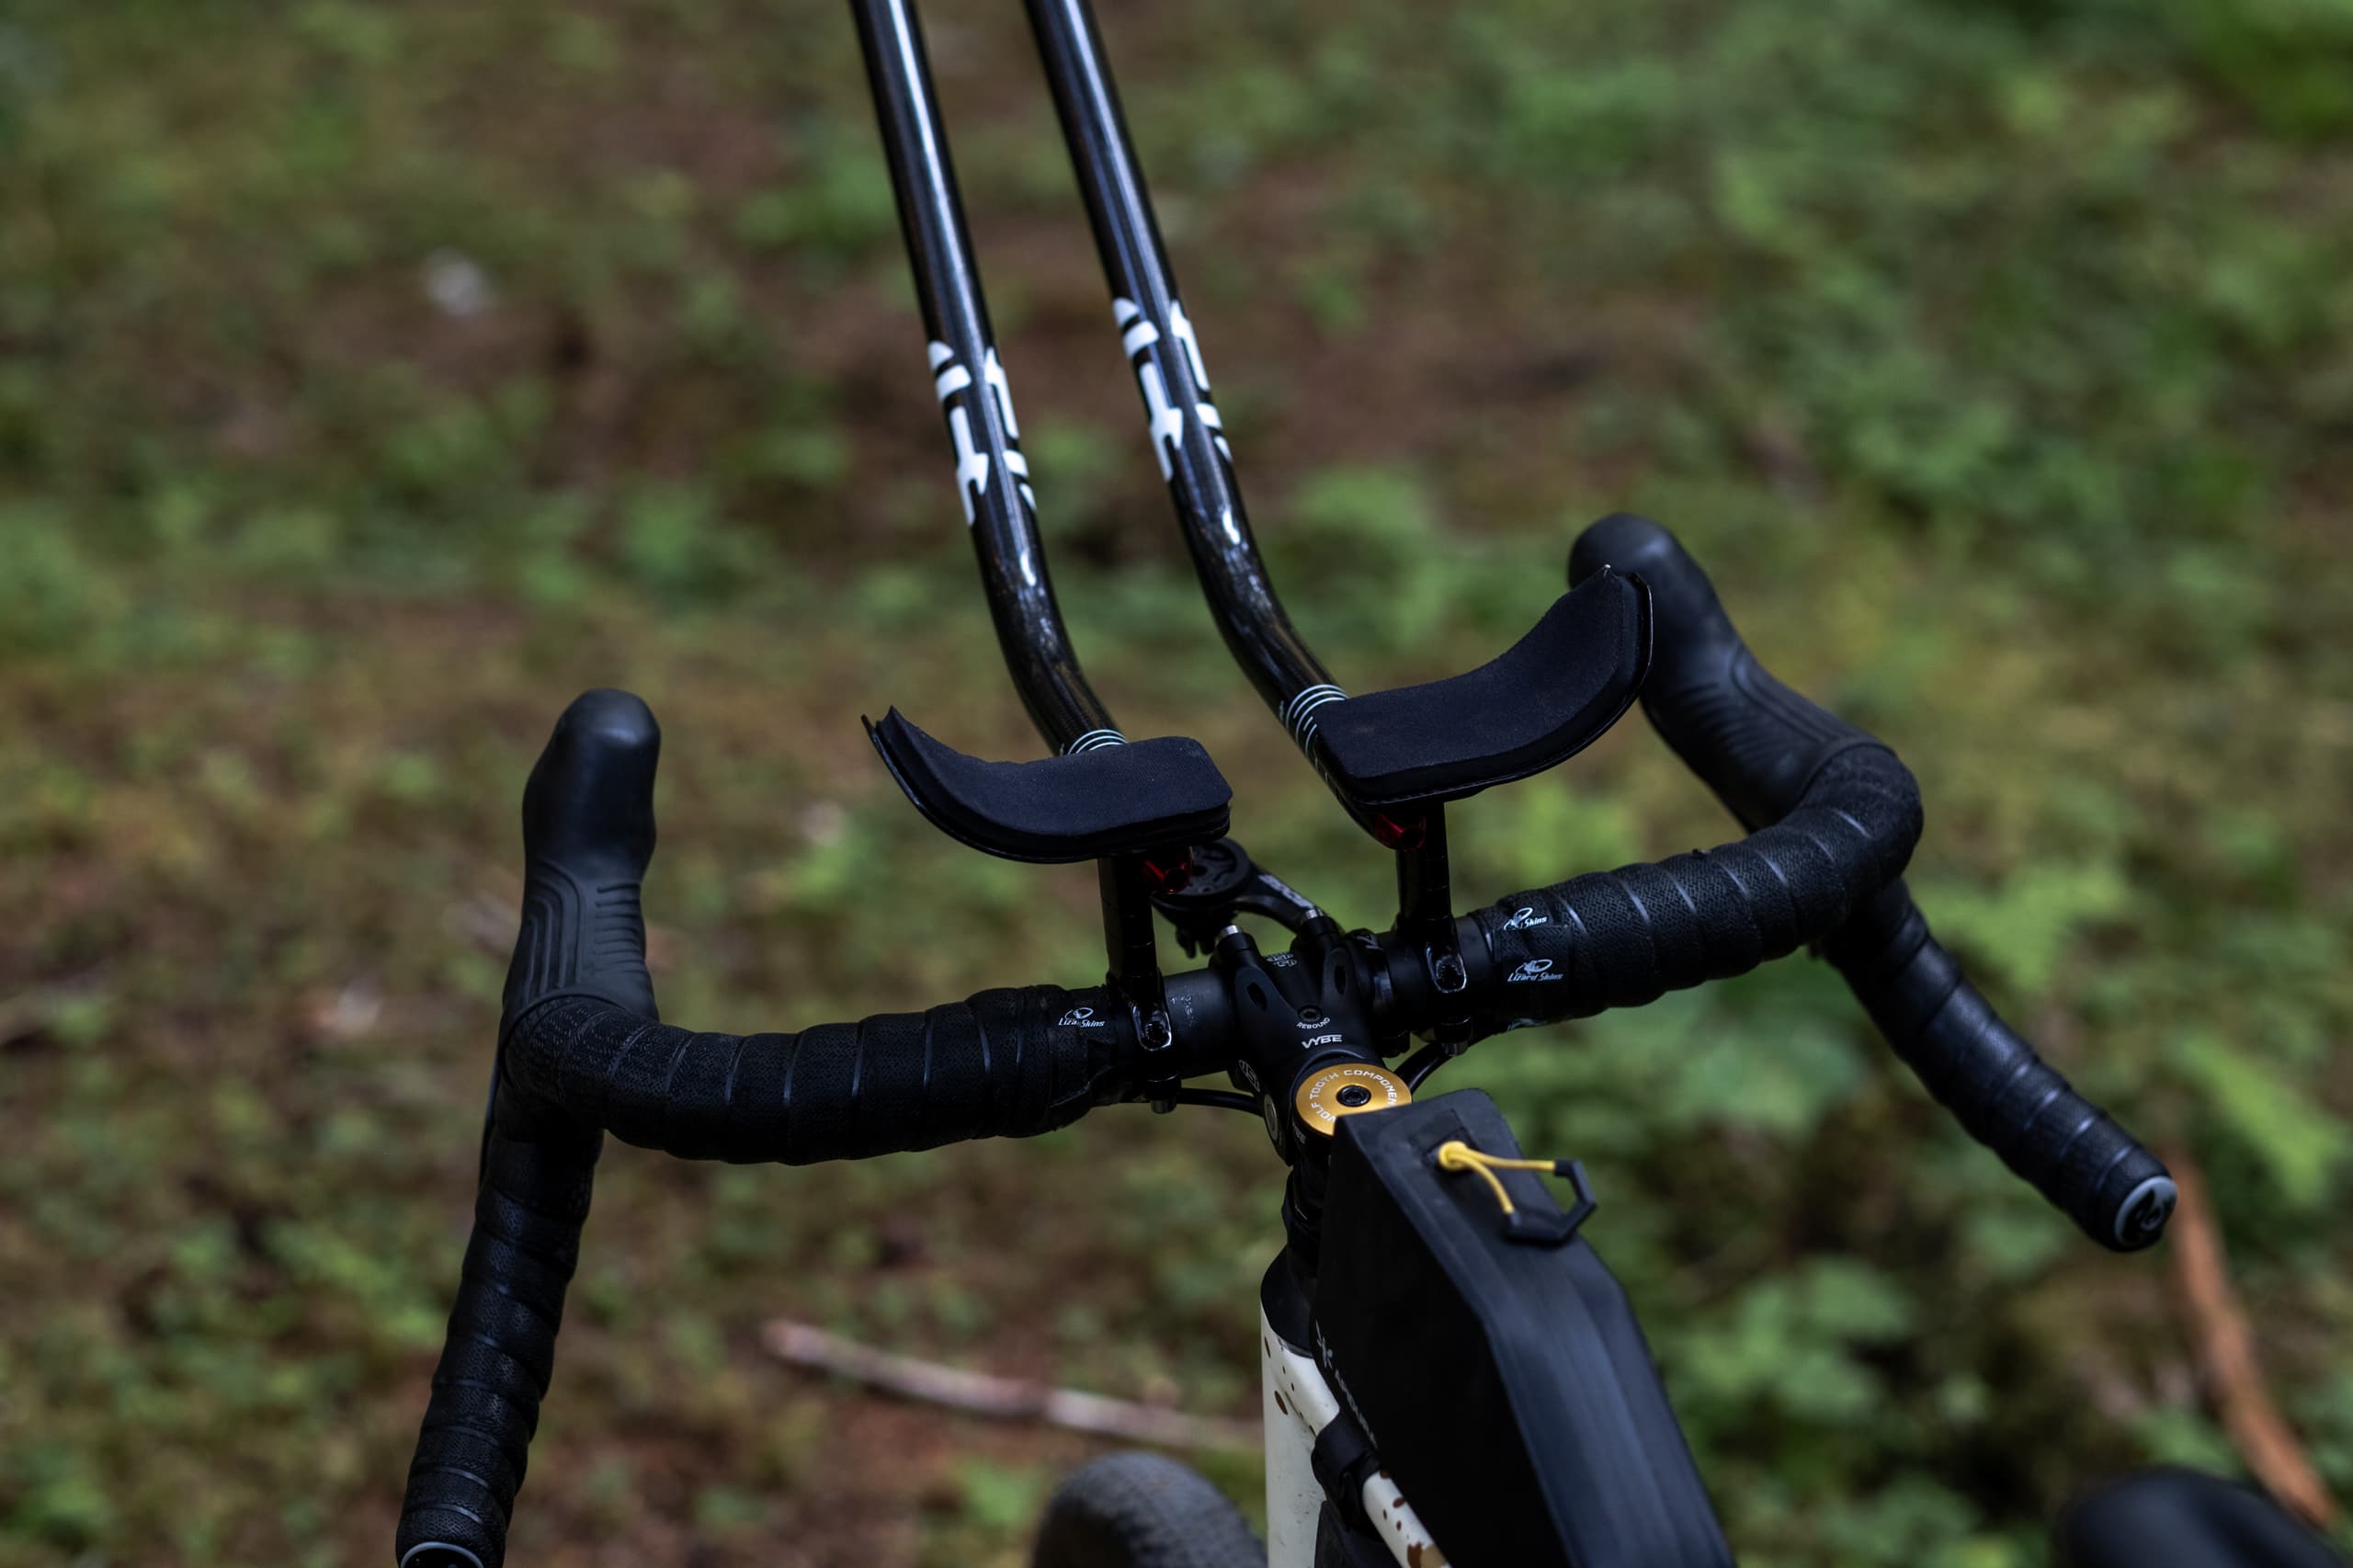
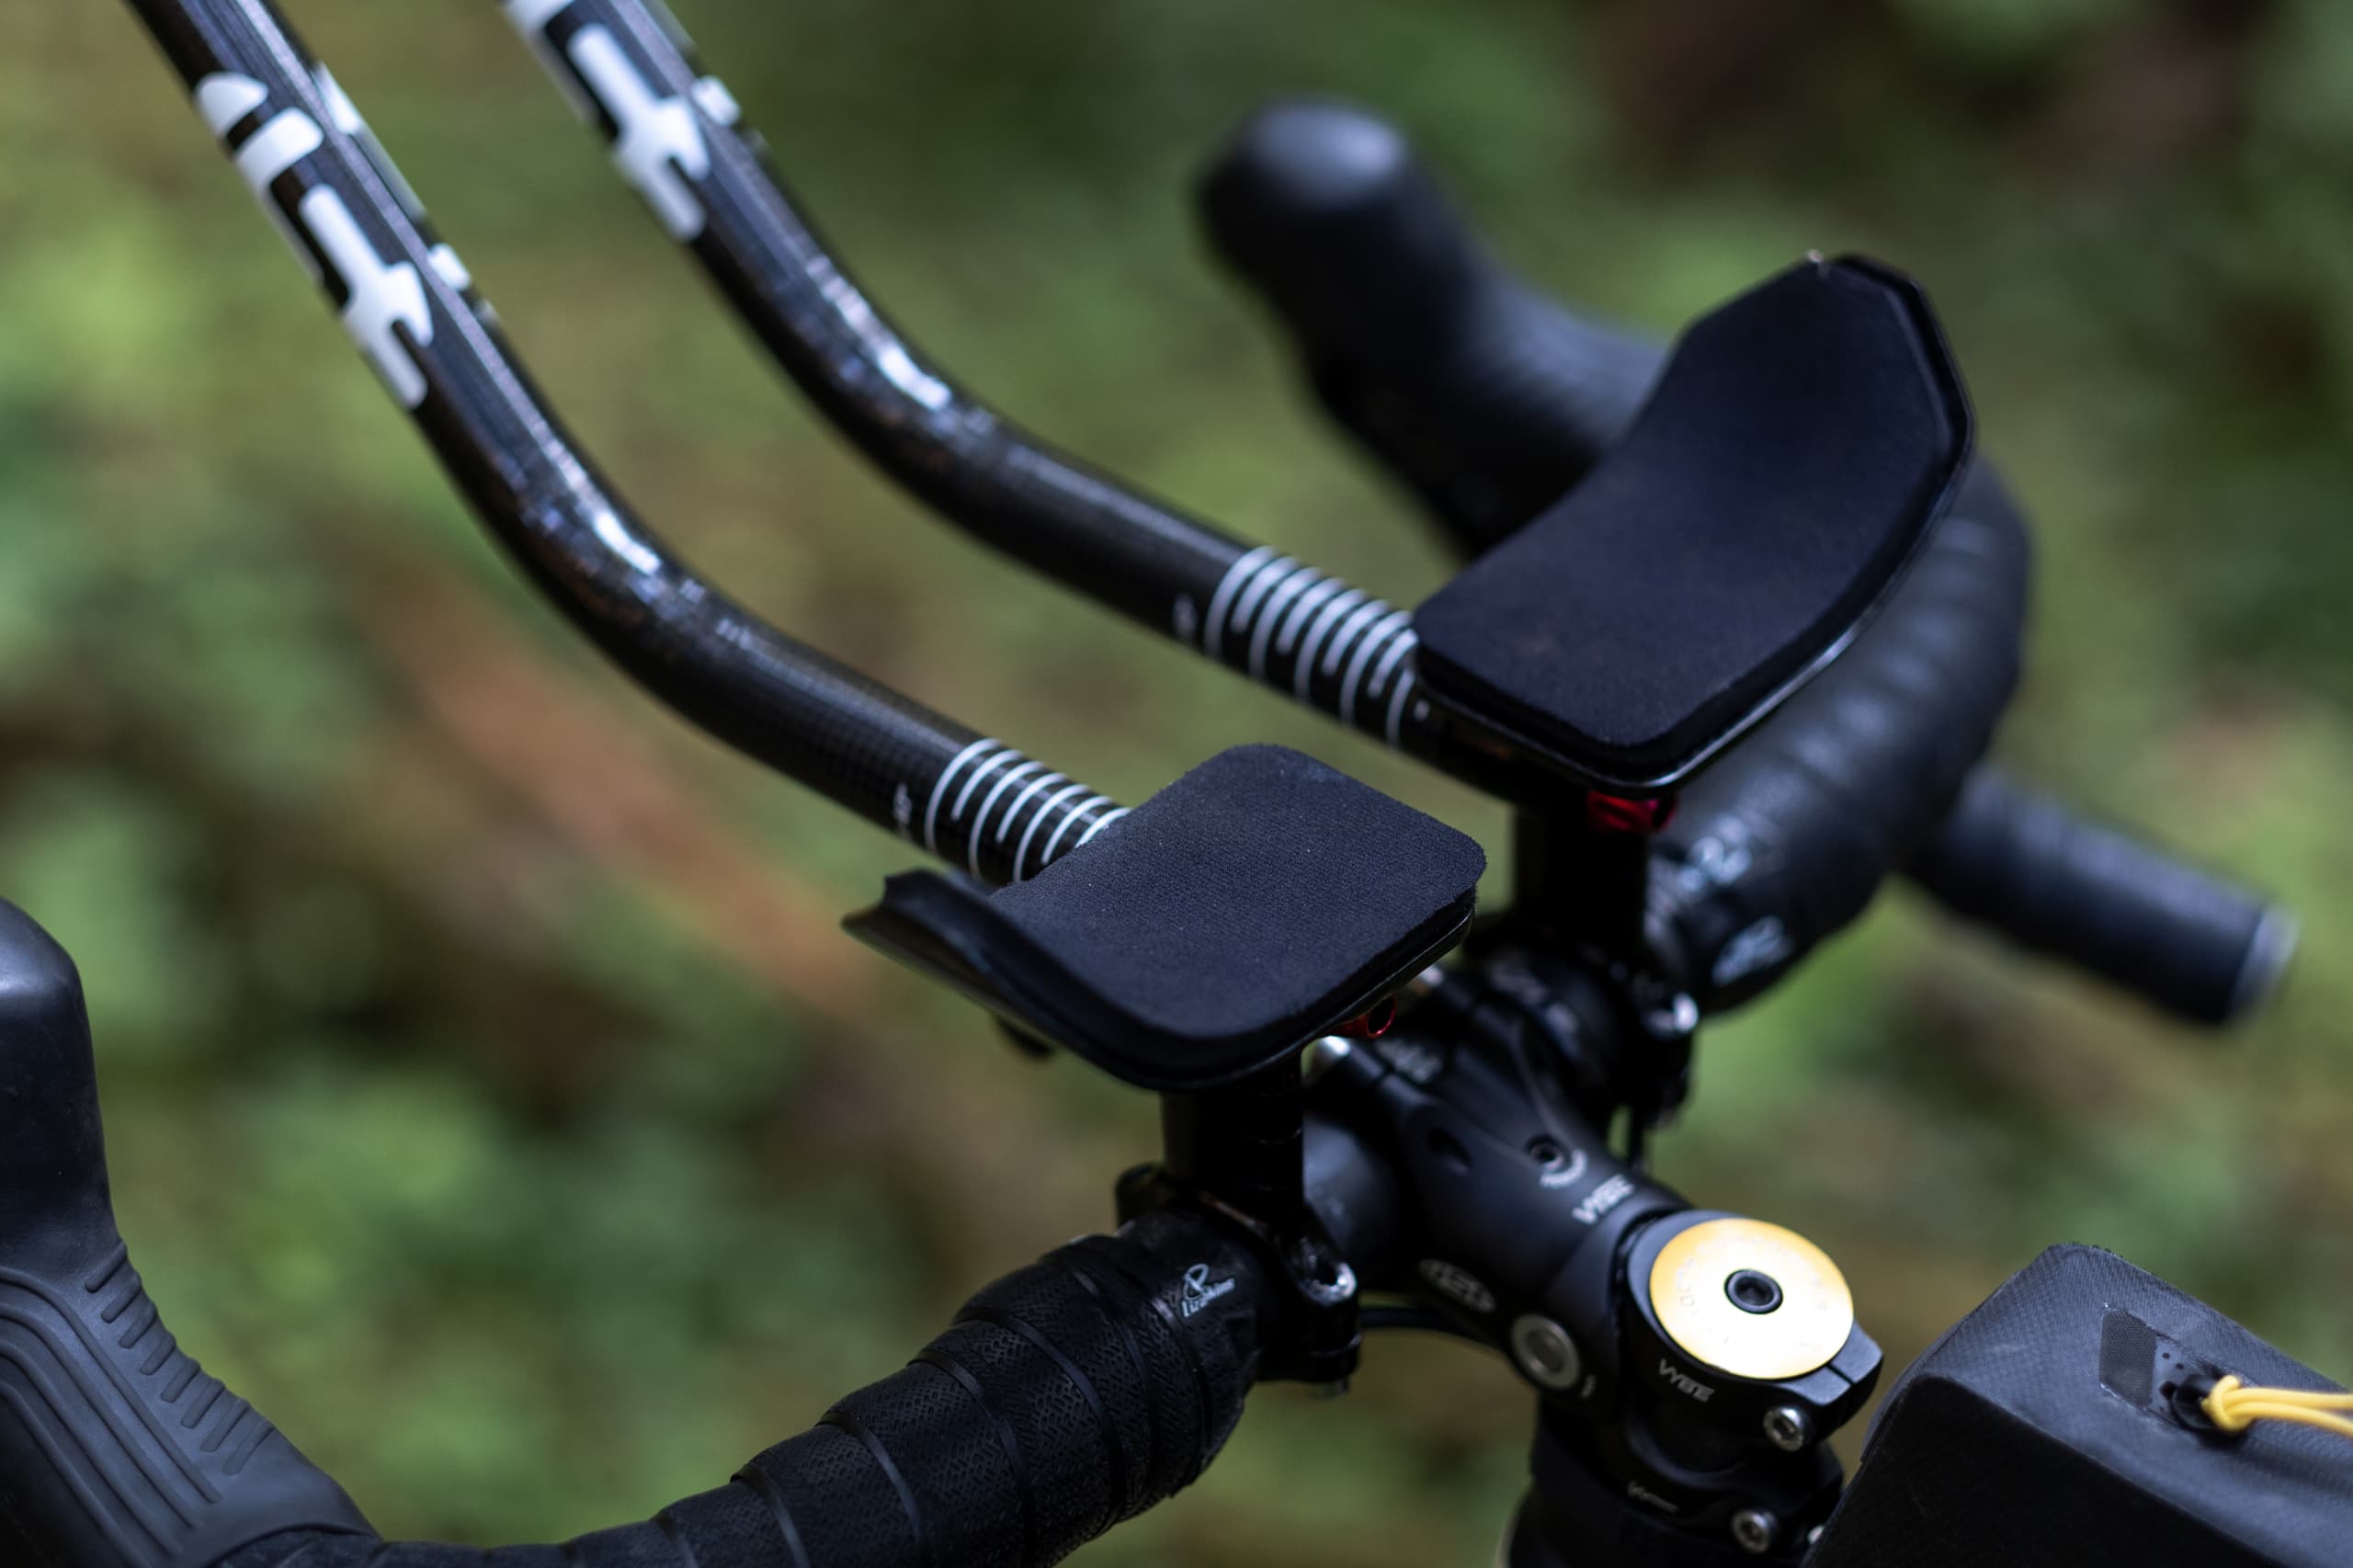
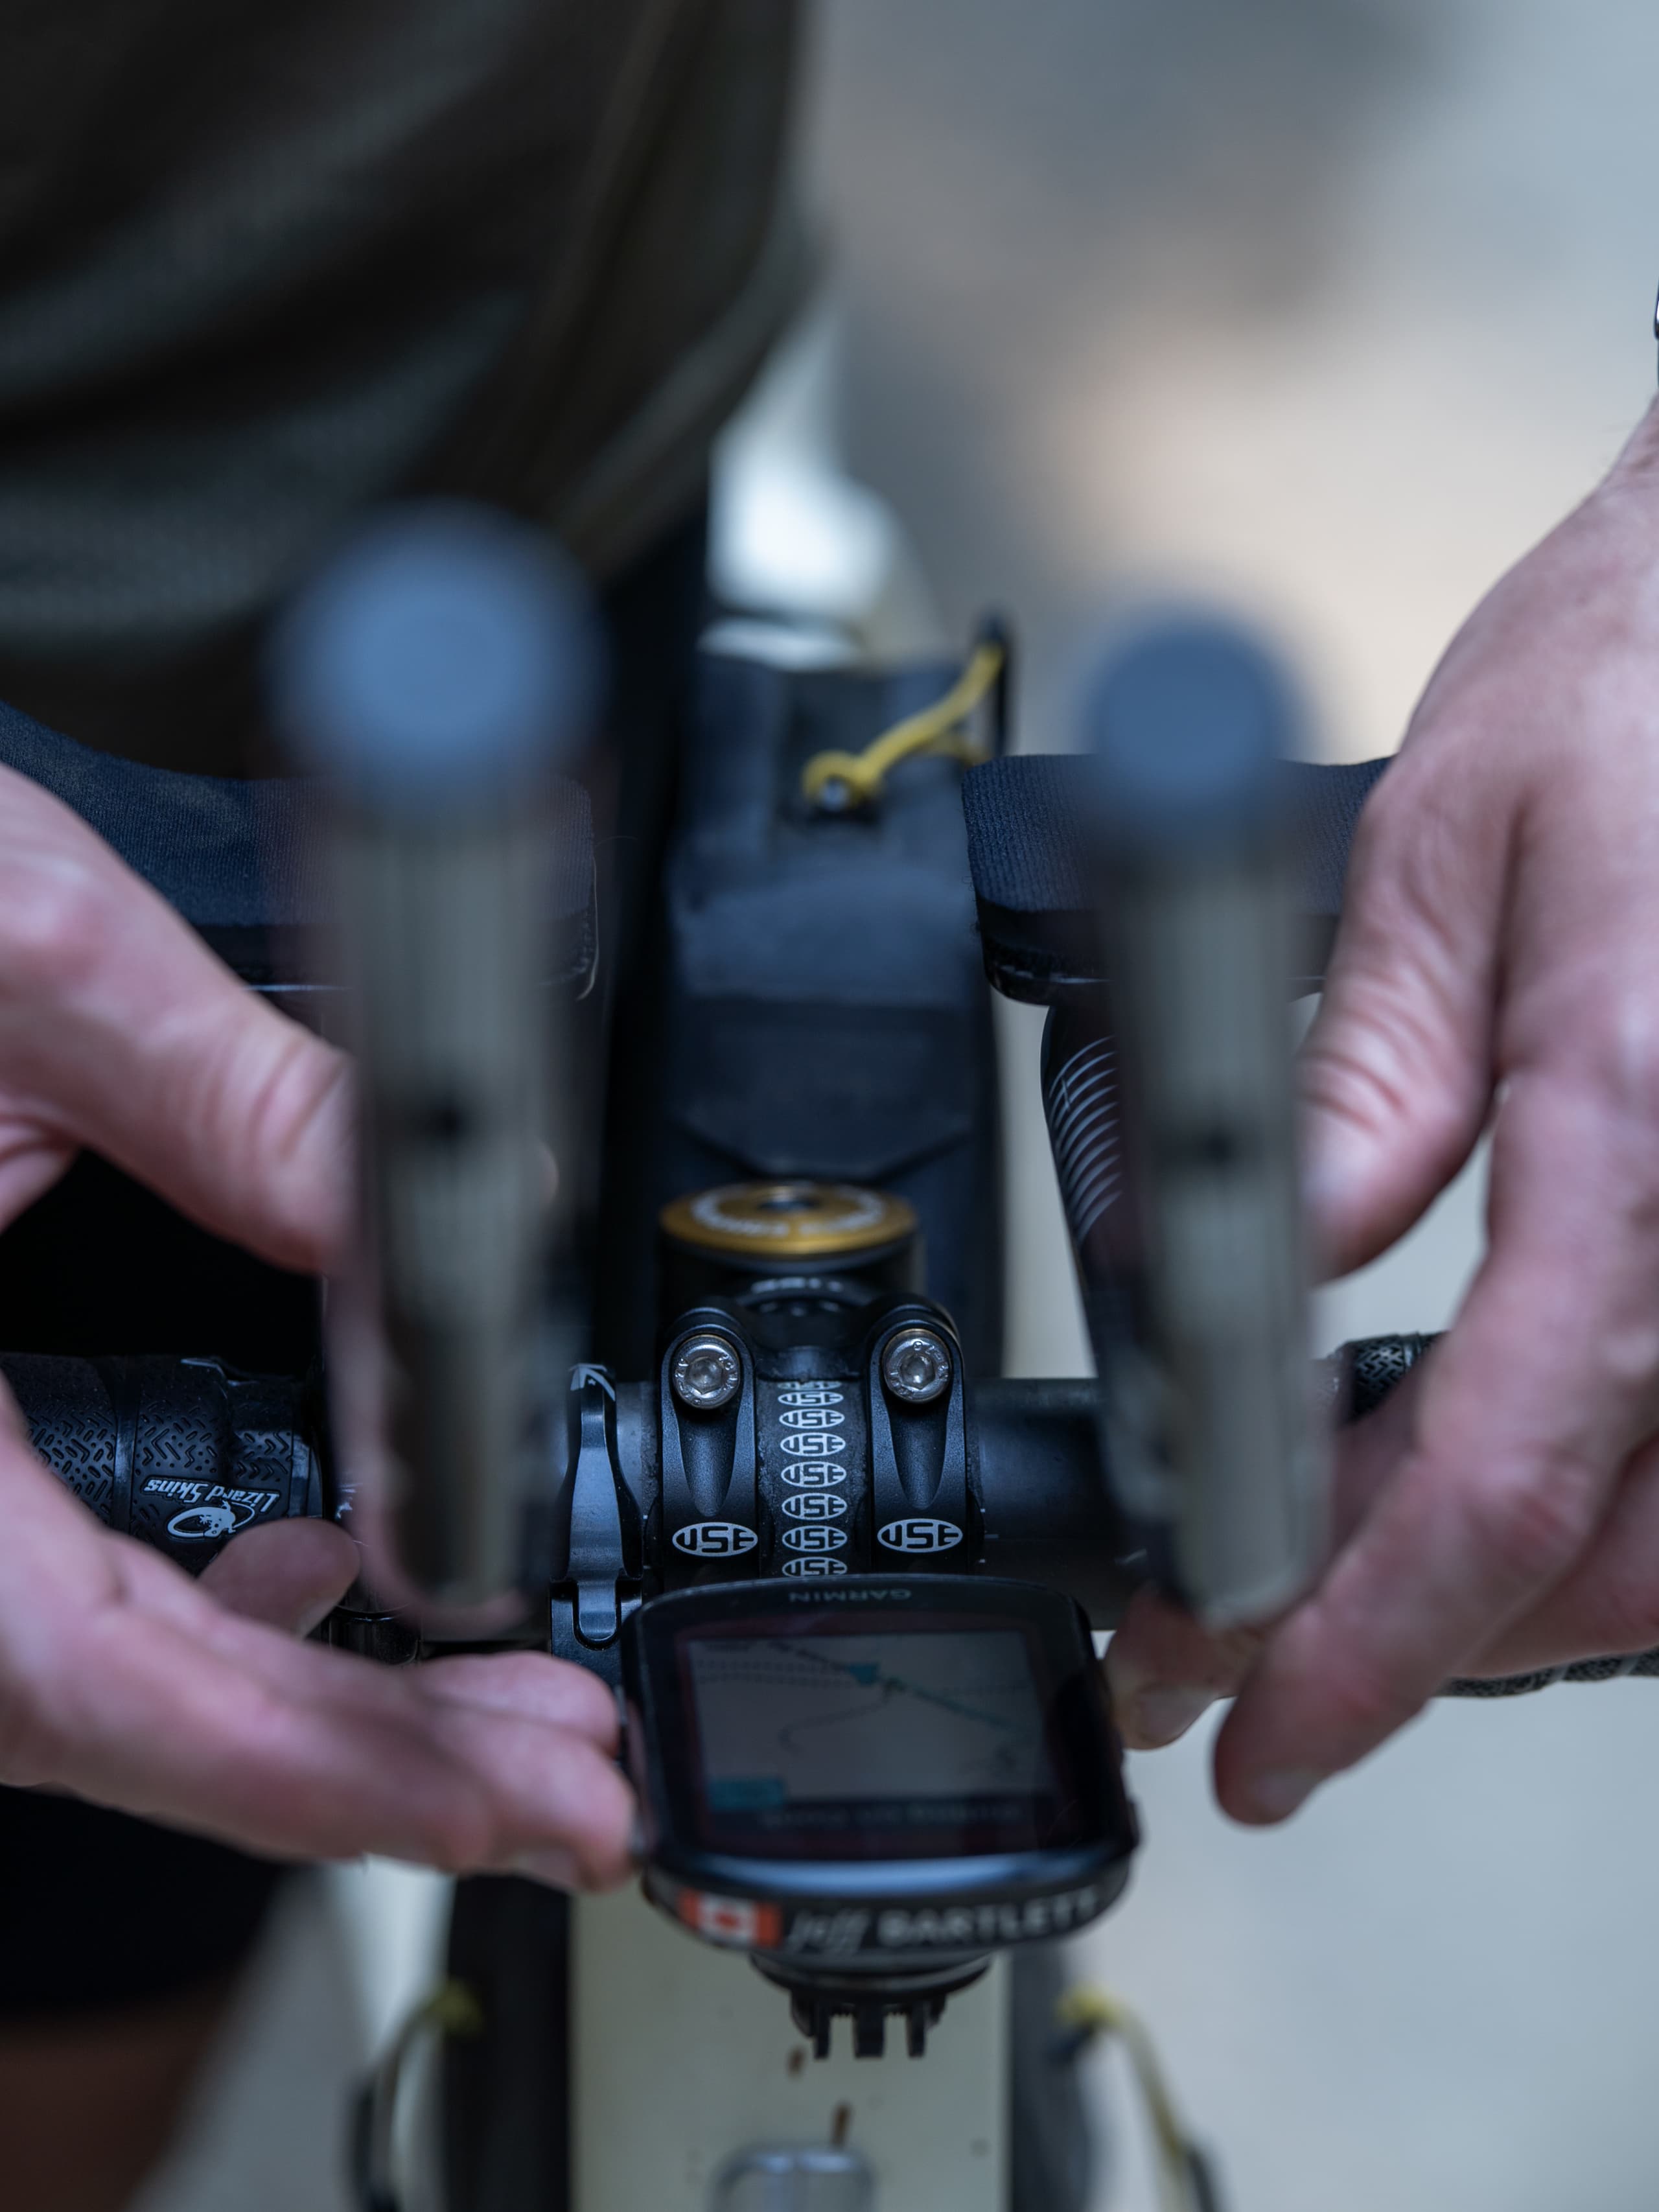
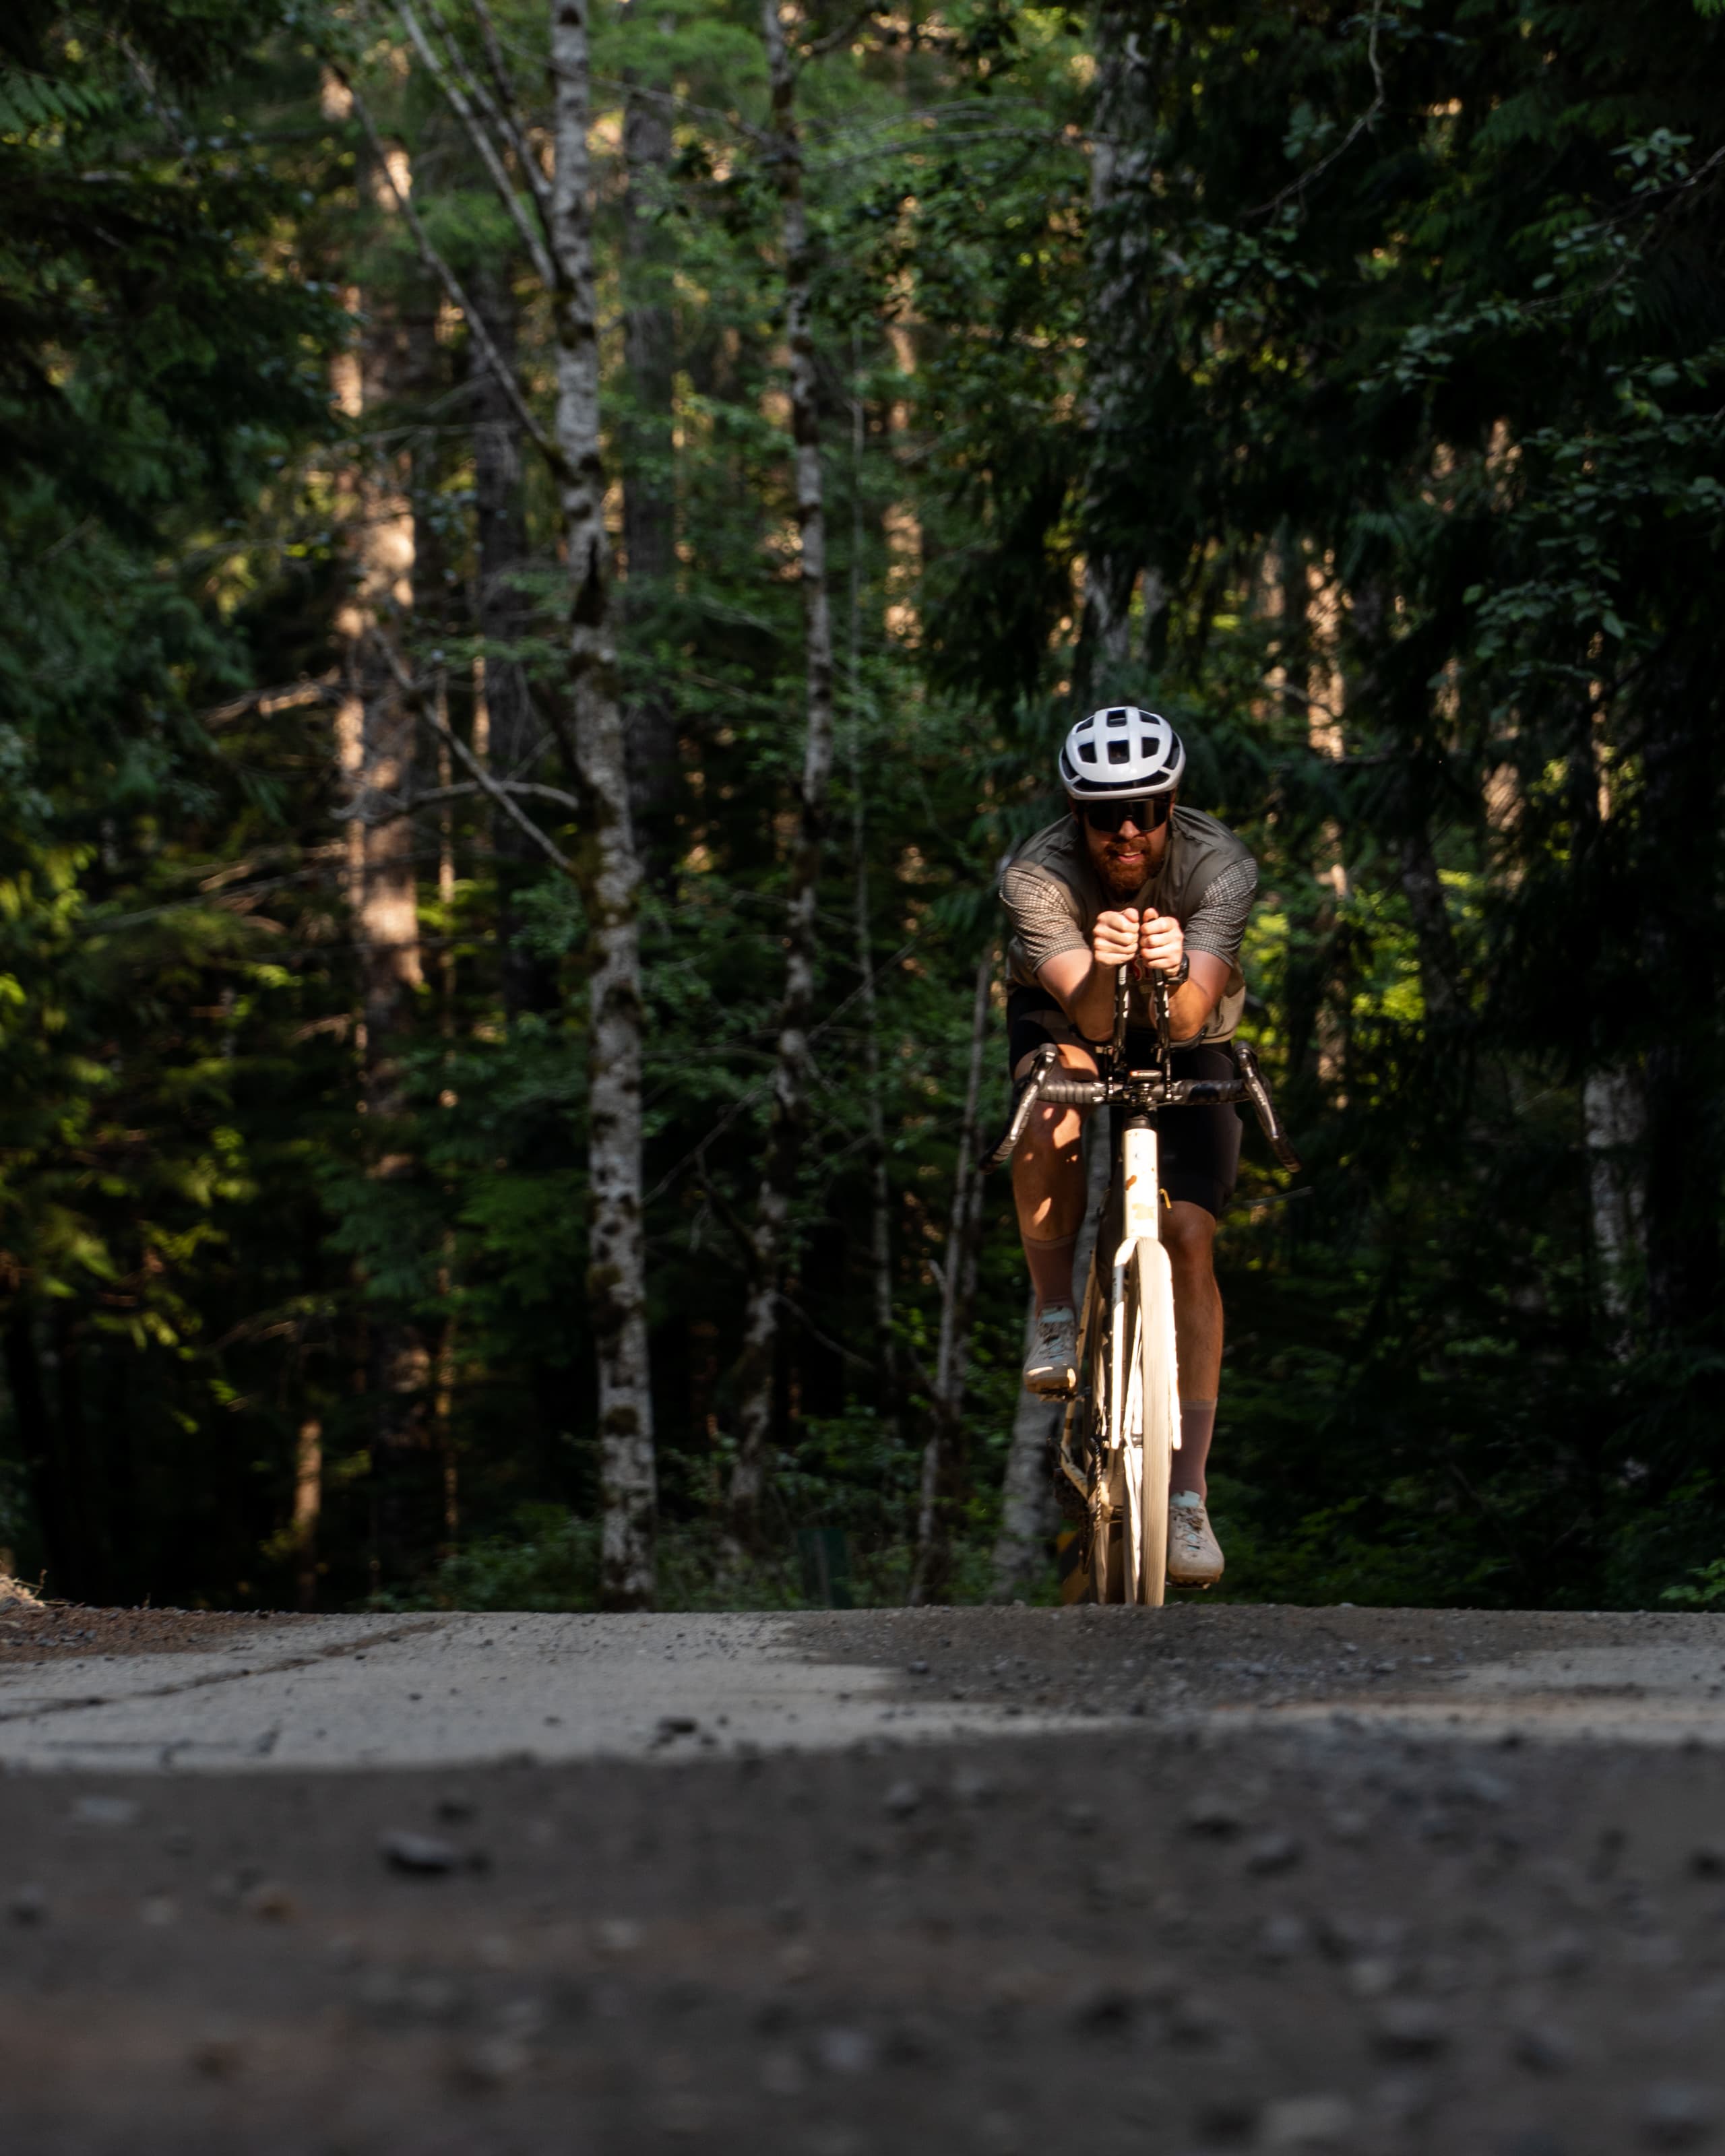
Install is four bolts, torqued to spec, done. It's no quick-release lever like Rob found on Redshift's tool-free aero bars, but still fast enough. I went with the Hi-Rise extensions on the recommendation of Coburn Brown, a friend I've shared a lot of long, dumb days with. We rode the Tour Divide more than a decade ago, and more recently finished a lap of Belgium to explore the cobbled classics of Roubaix and Flanders. We ride similar bikes and trust each other's judgement on gear.
I installed them with the maximum spacer height currently available, and I'm already looking forward to more. Chris Mehlman, the USE/Exposure-sponsored racer I quoted in last year's Exposure review, is testing a taller option now and I'll be first in line when they become available.
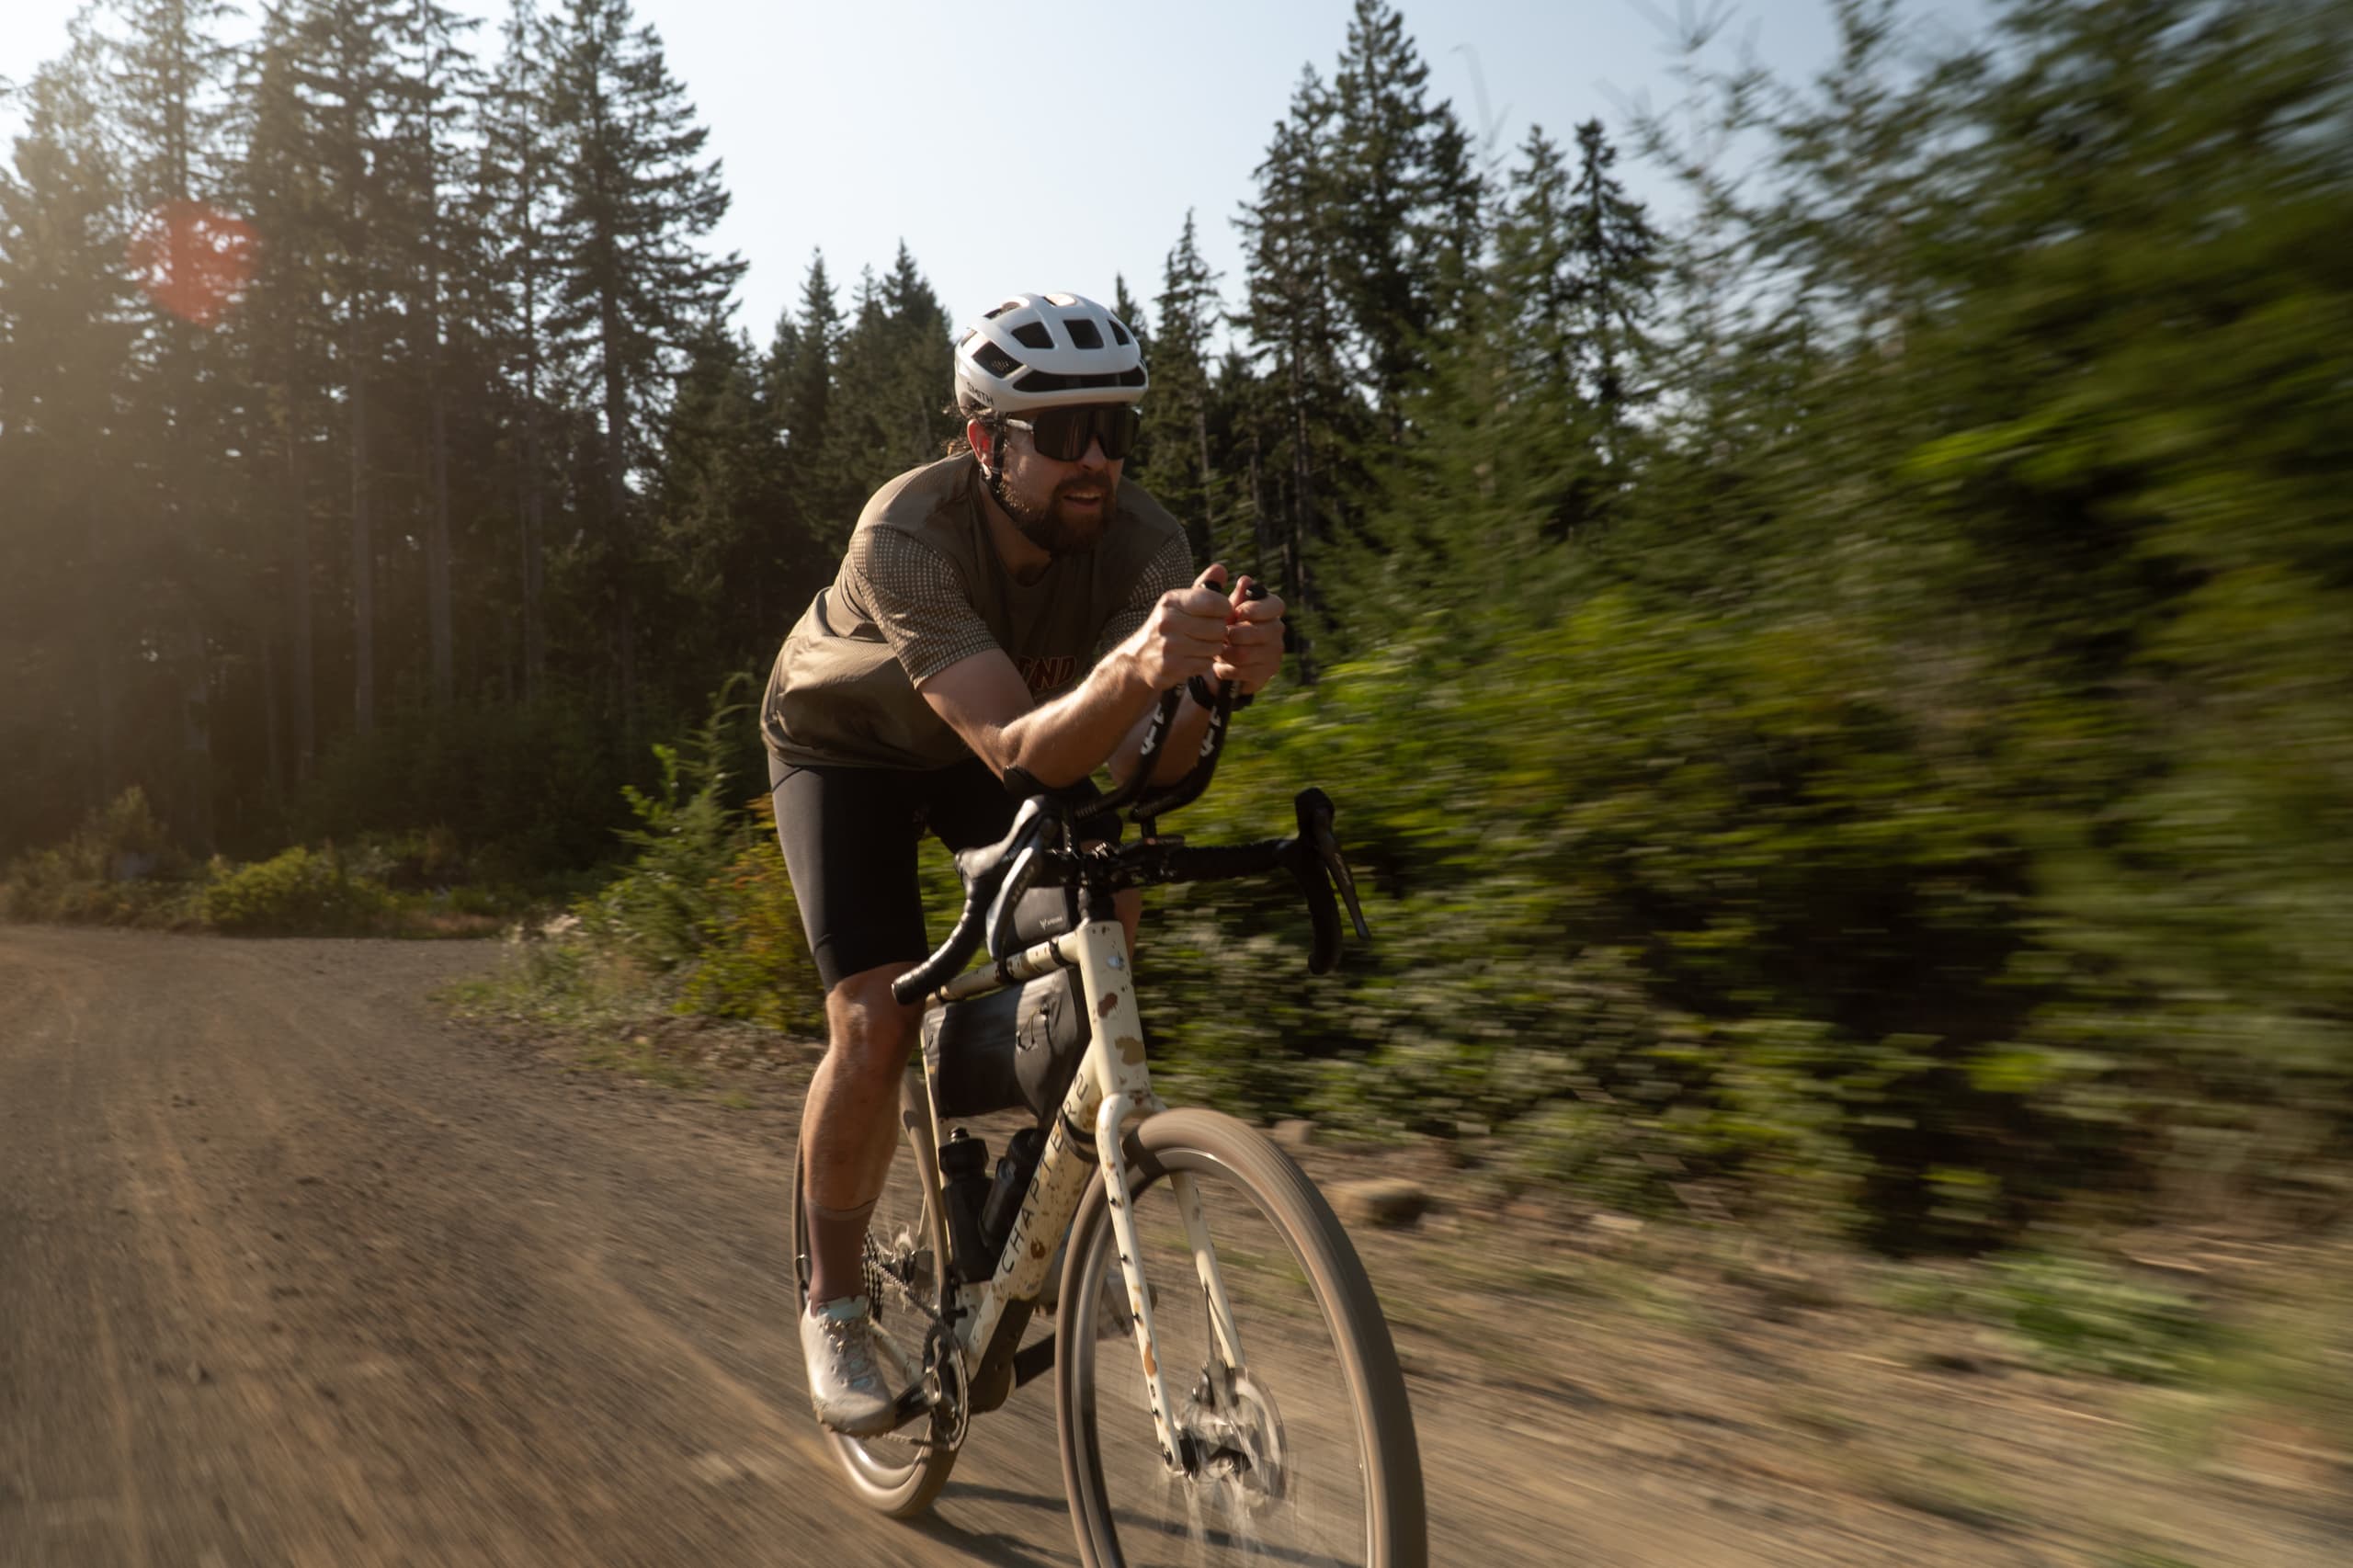
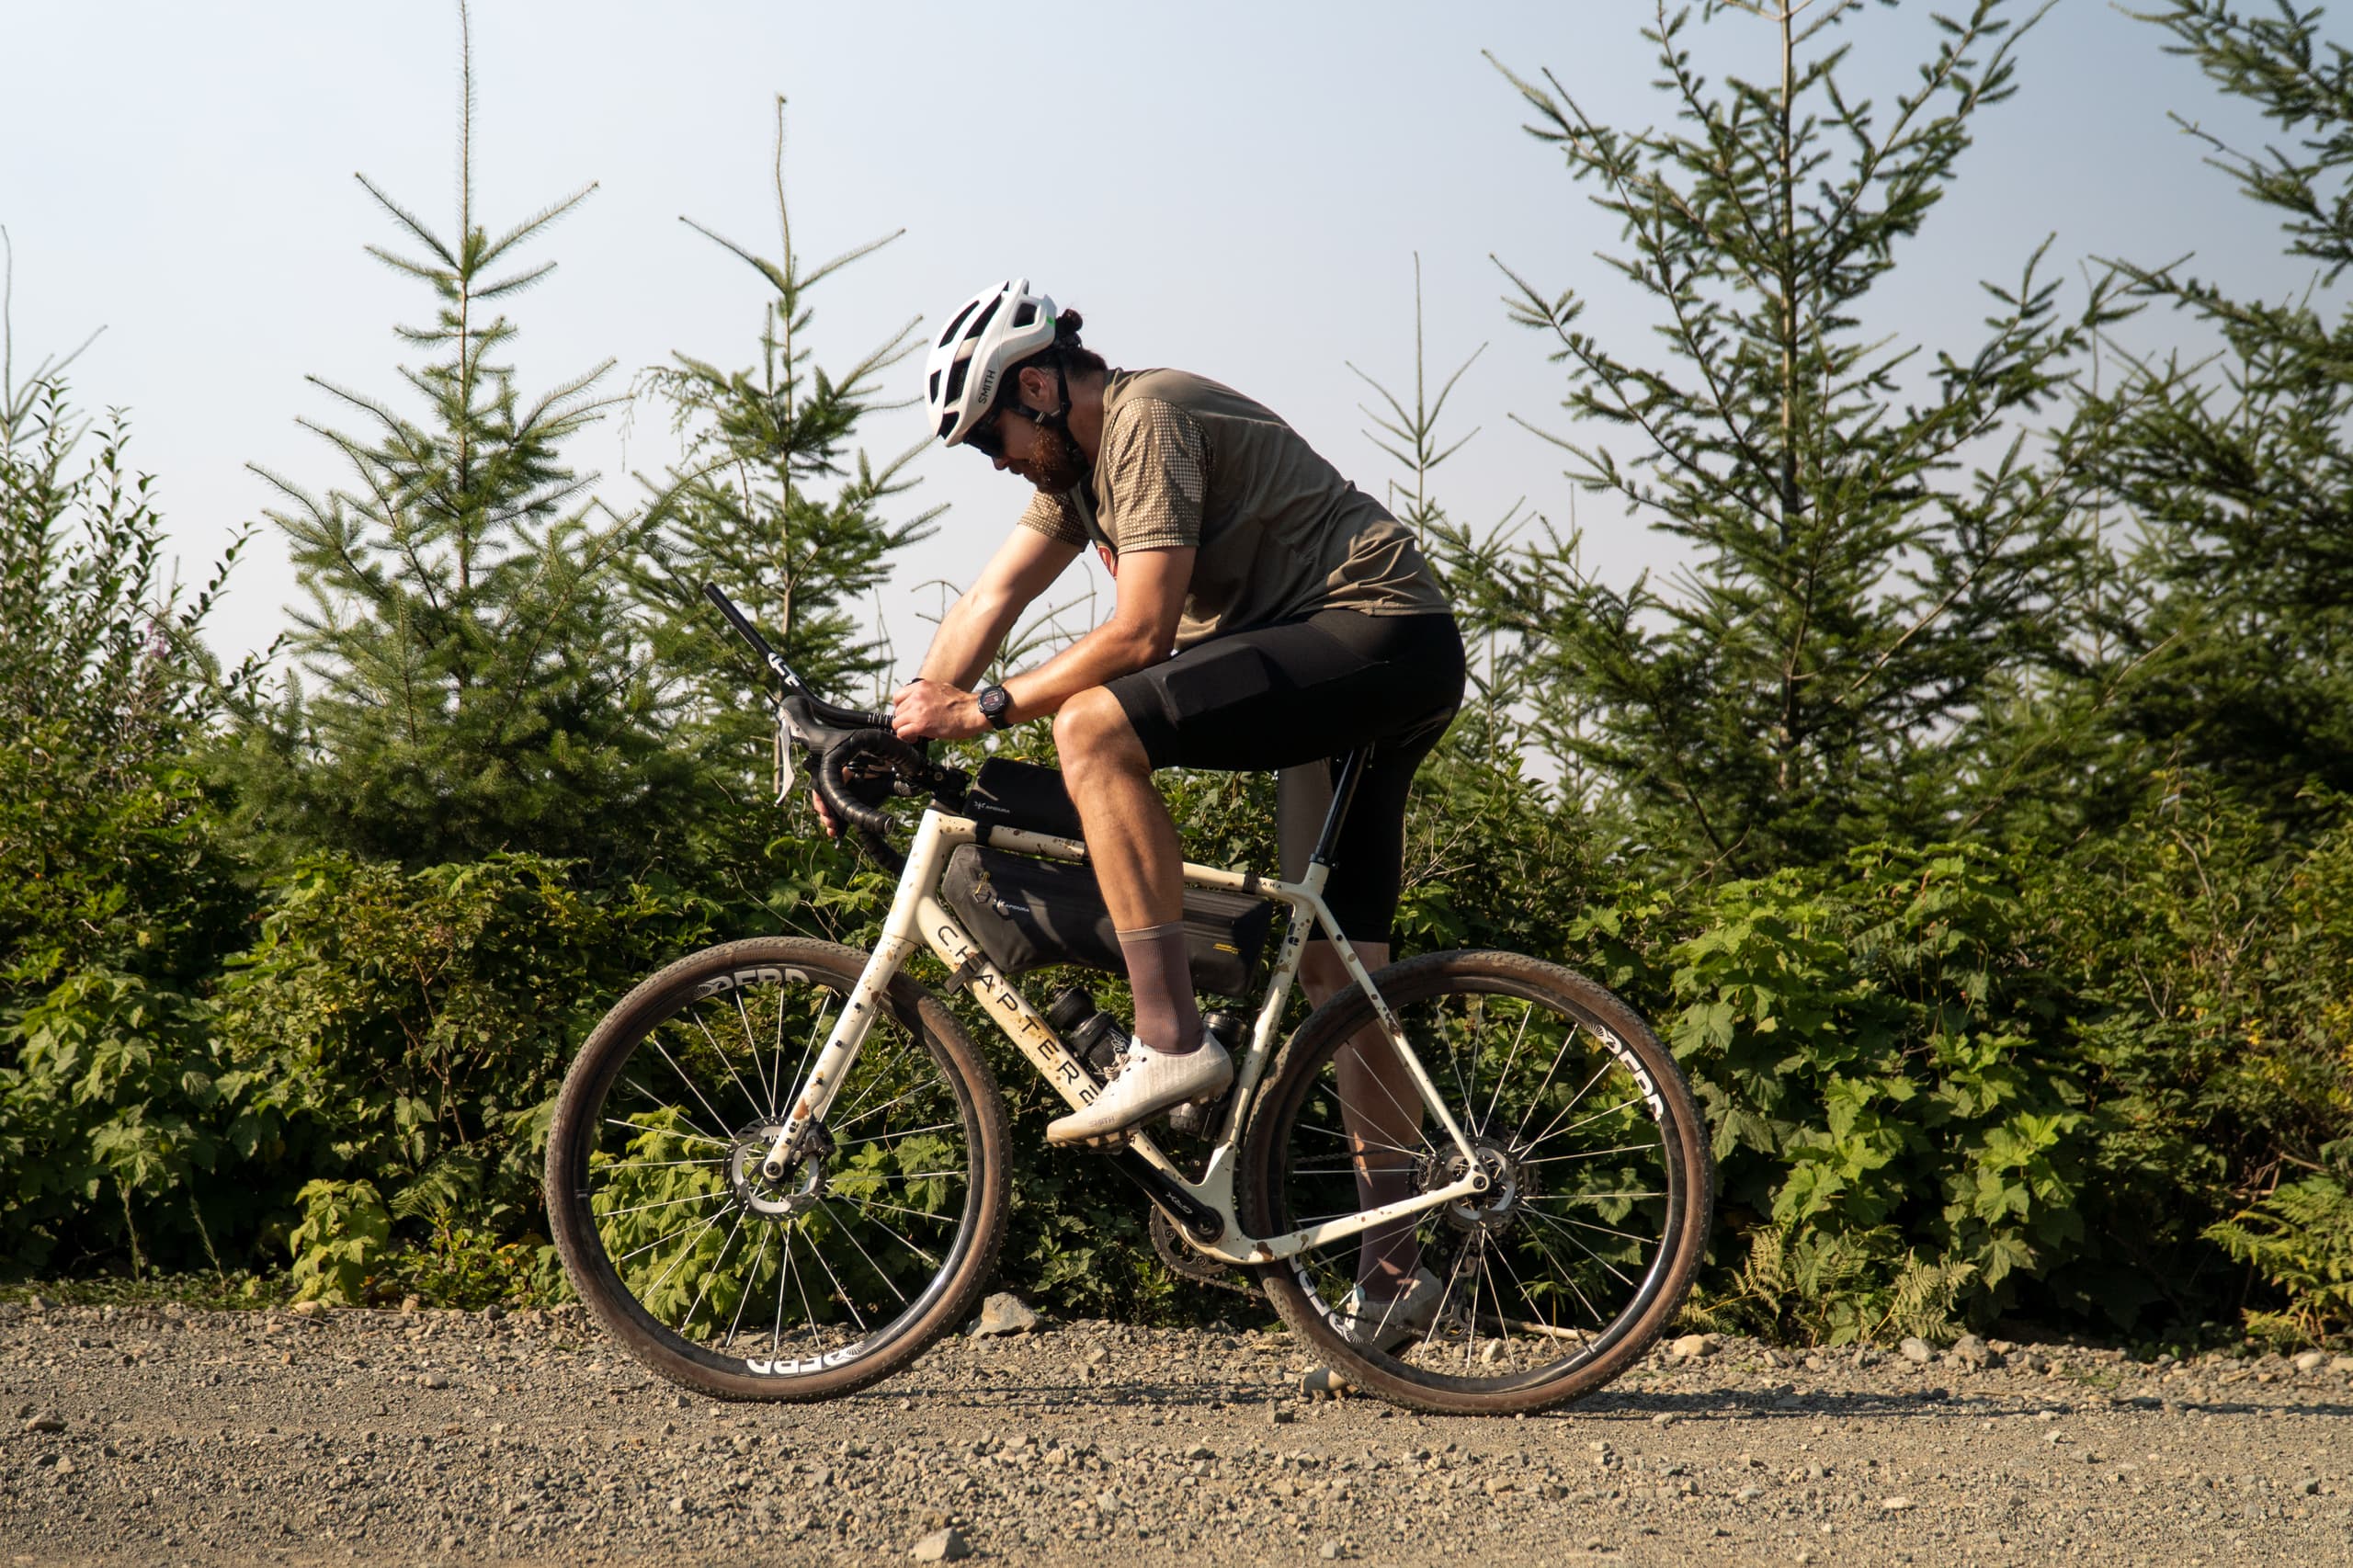
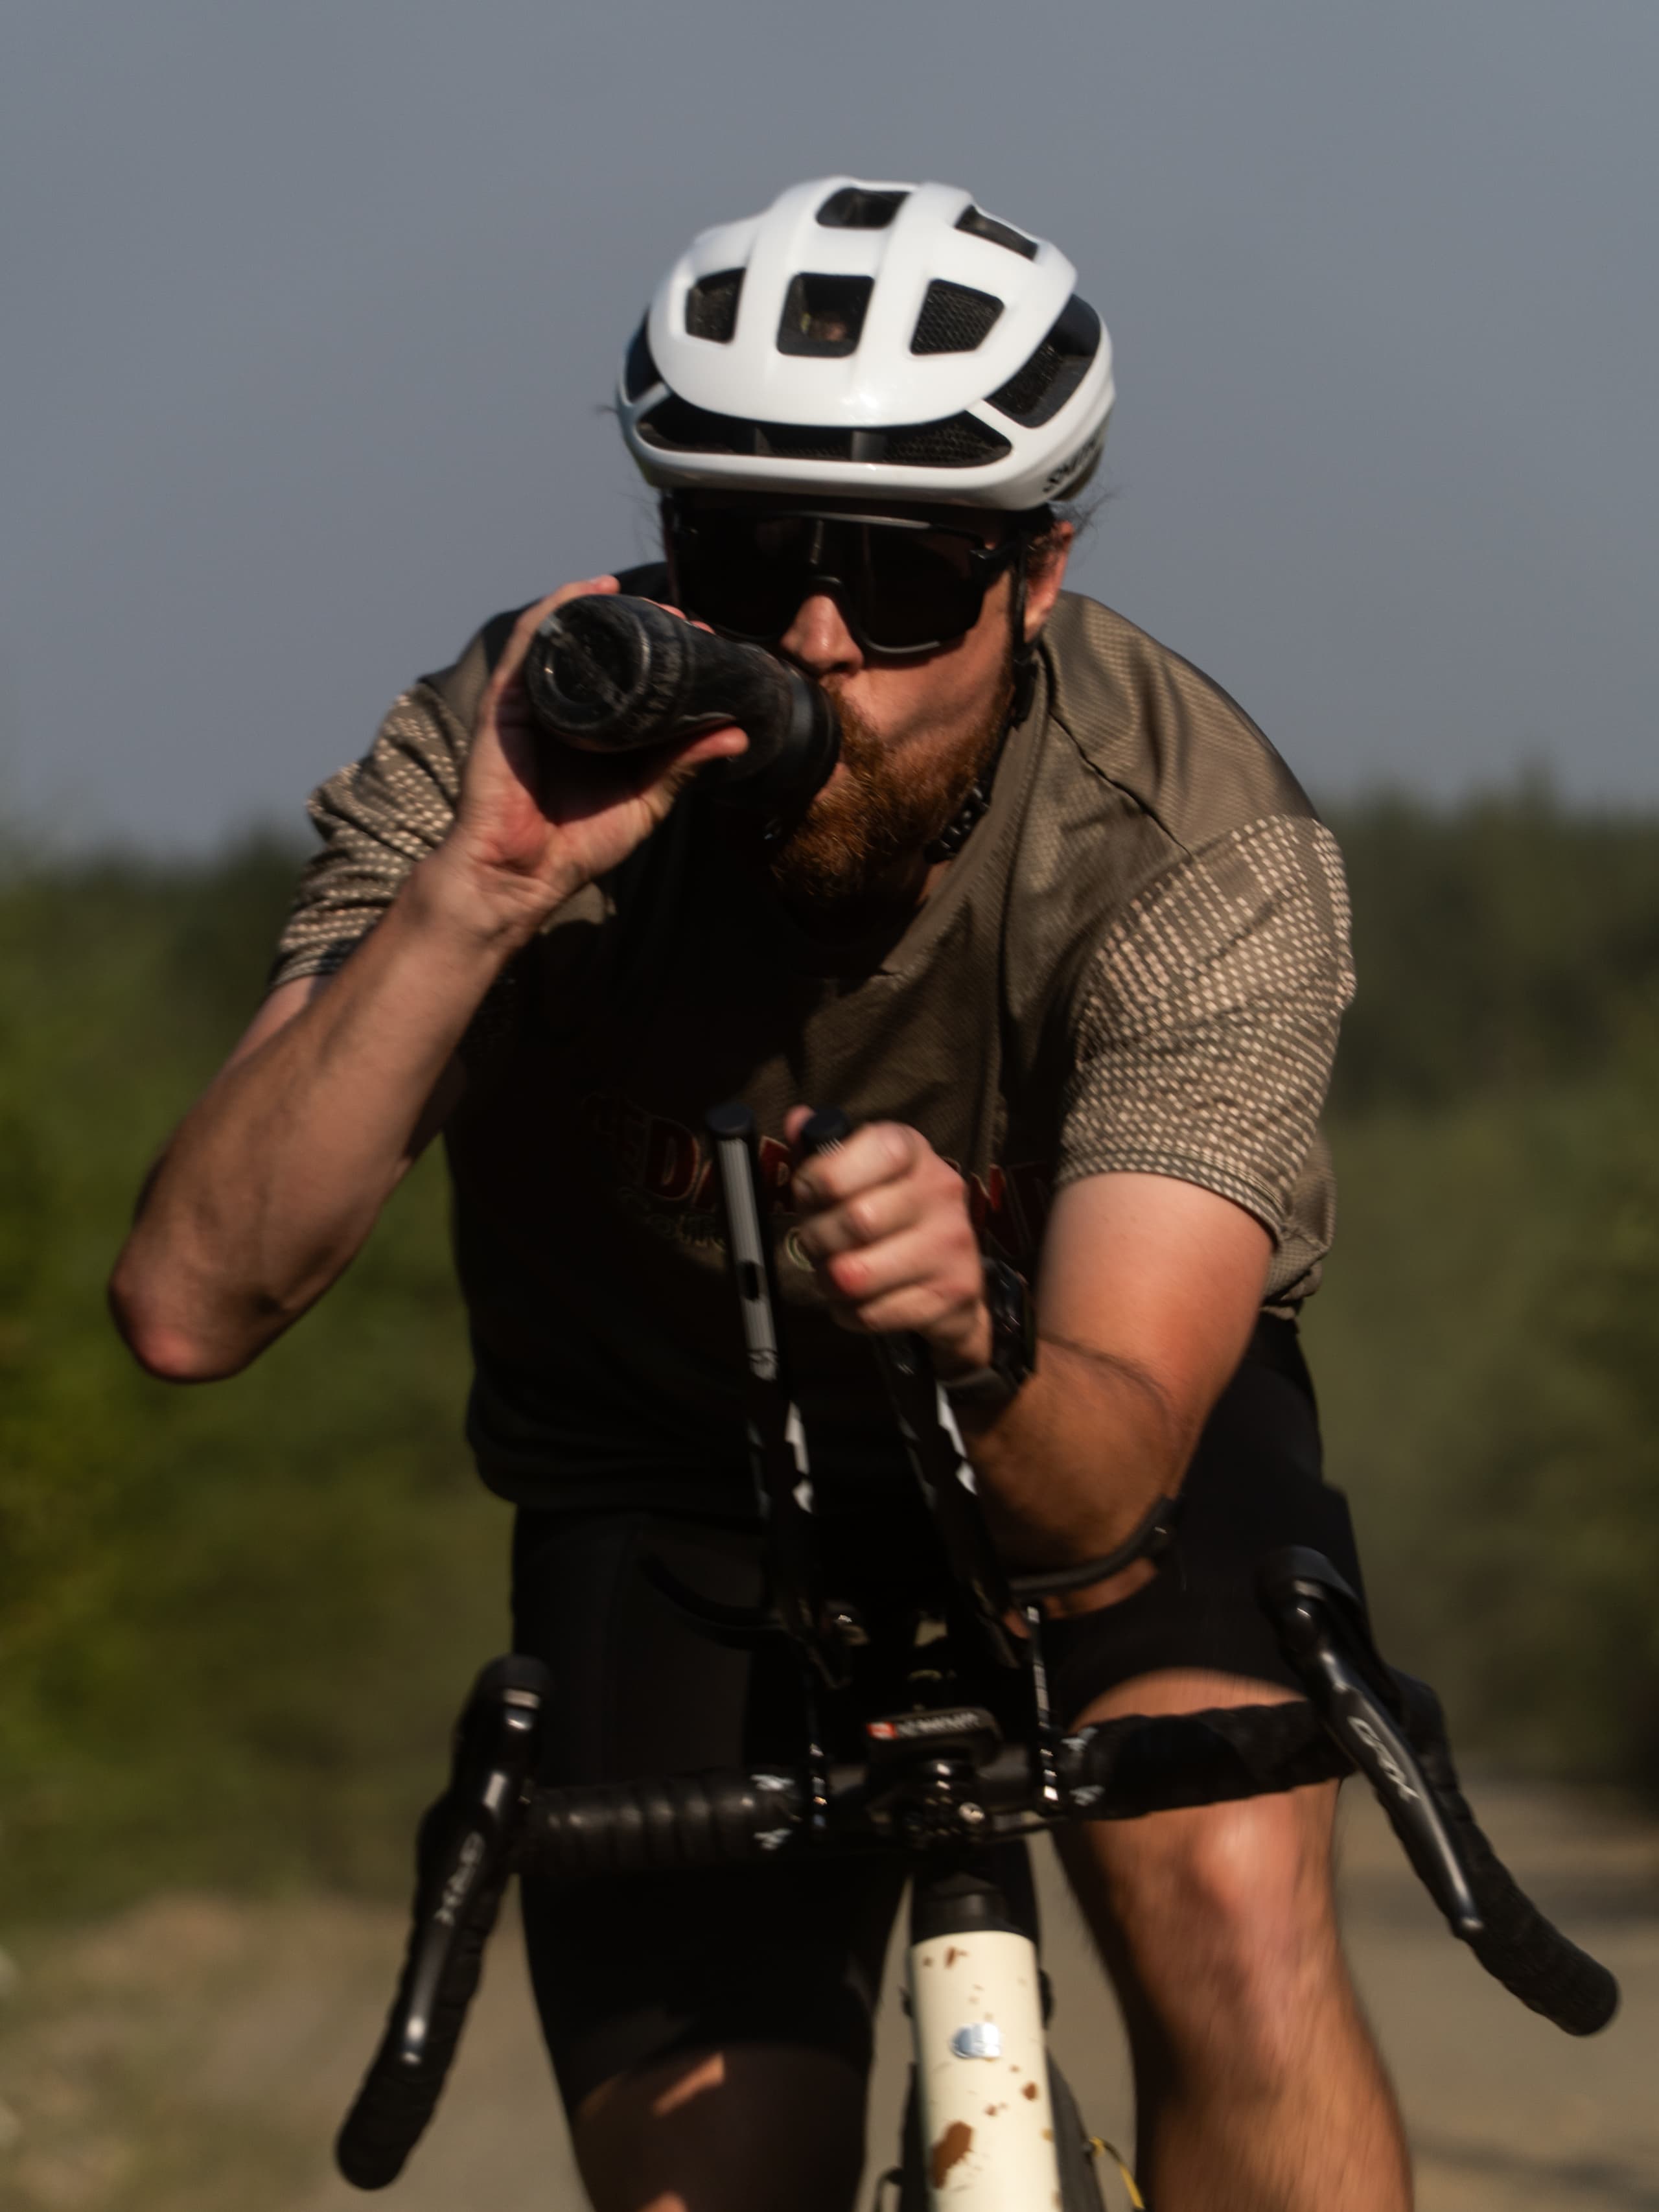
With aero bars, the gain is real. I know we don't write about pavement or road riding, but what a difference. On pavement sections, my average speed is up 3 to 5 km/h with no extra effort, which is a bigger jump than I expected from just repositioning. Off road, I am still getting used to spending more than a few minutes in this position. Overall, it seems that speed solves any balance issue. The aero position is easier to hold and the bike feels more balanced when riding at pace. At a slower recovery pace, it's harder to sit in the aero bars.
I have to be careful whenever I hit rougher sections. The VYBE stem can only save so much and the brakes feel dangerously far away when moving quickly and hitting bumps.
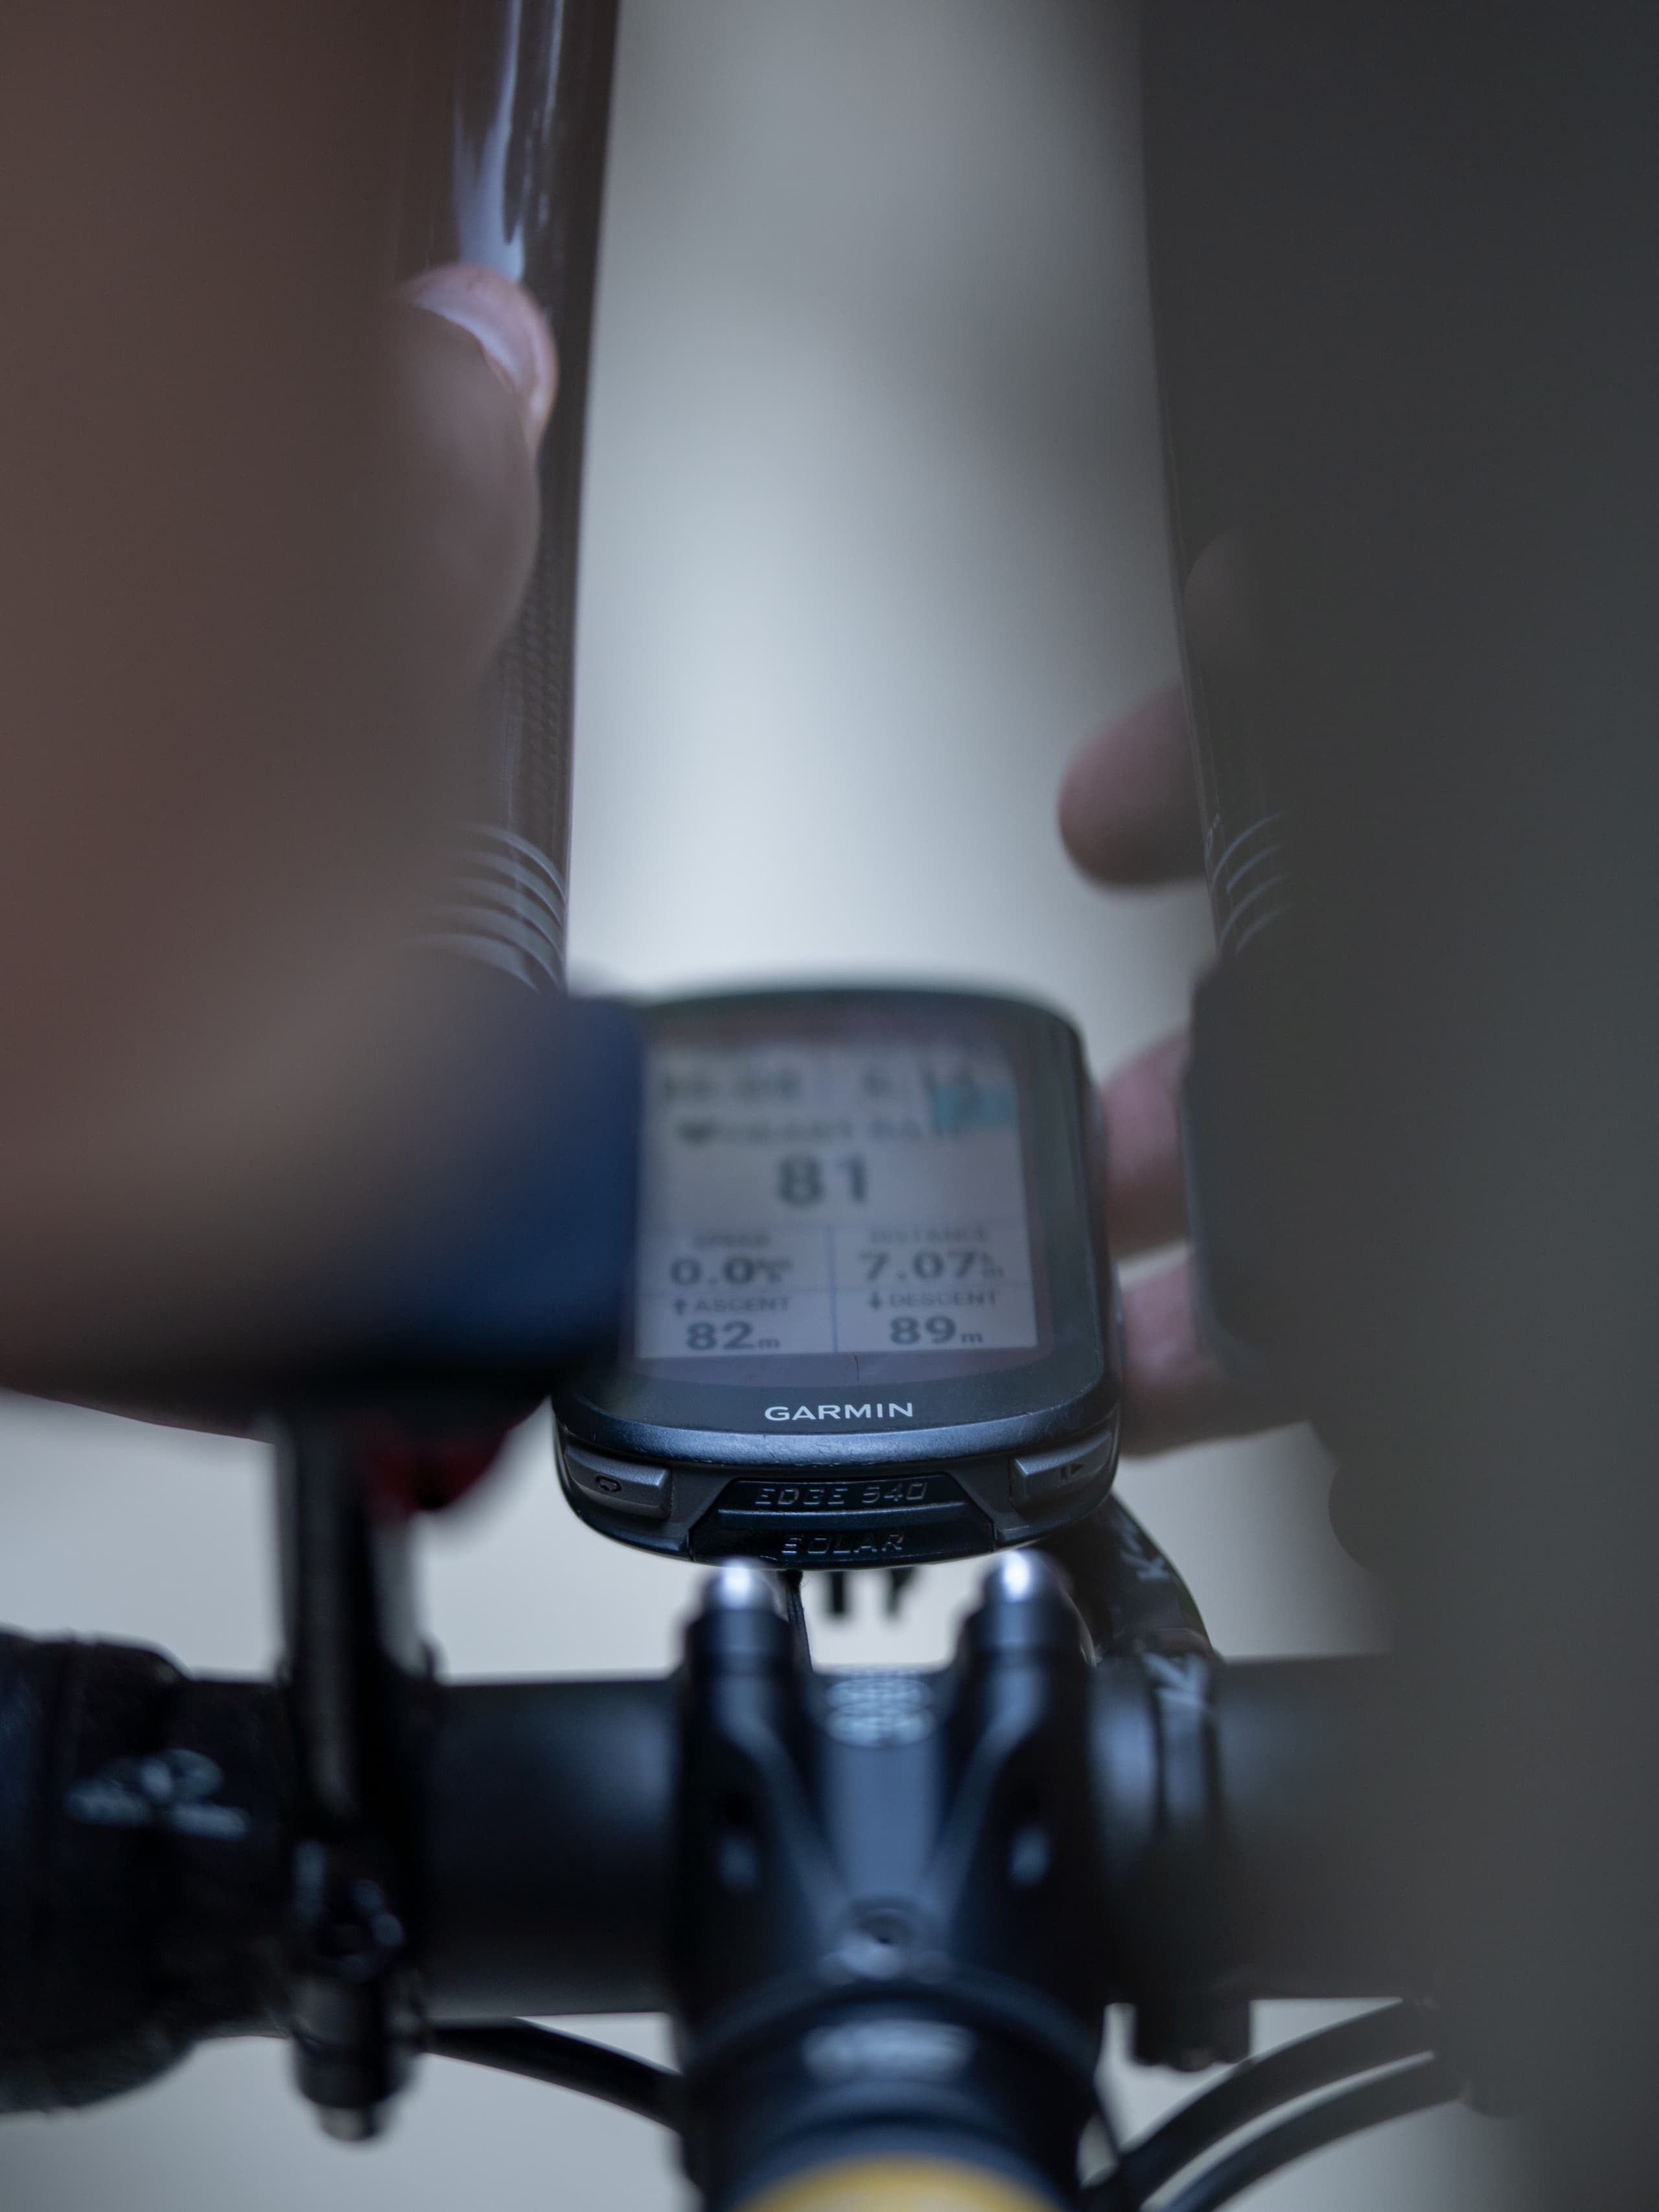
With the spacer height I'm running, I still have full access to every hand position without touching the extensions. Drops, hoods, or the tops right at the stem all work comfortably. That alone is worth running the maximum spacers off the bar. When I'm not using the aero bars, nothing about the ride suffers. I can even clearly read my Garmin between the two extensions, and the Escape bars and VYBE stem do exactly what they're meant to. The only real cost is how it looks. It's cluttered and makes for a busy cockpit. I leave them off more often than I ride with them.
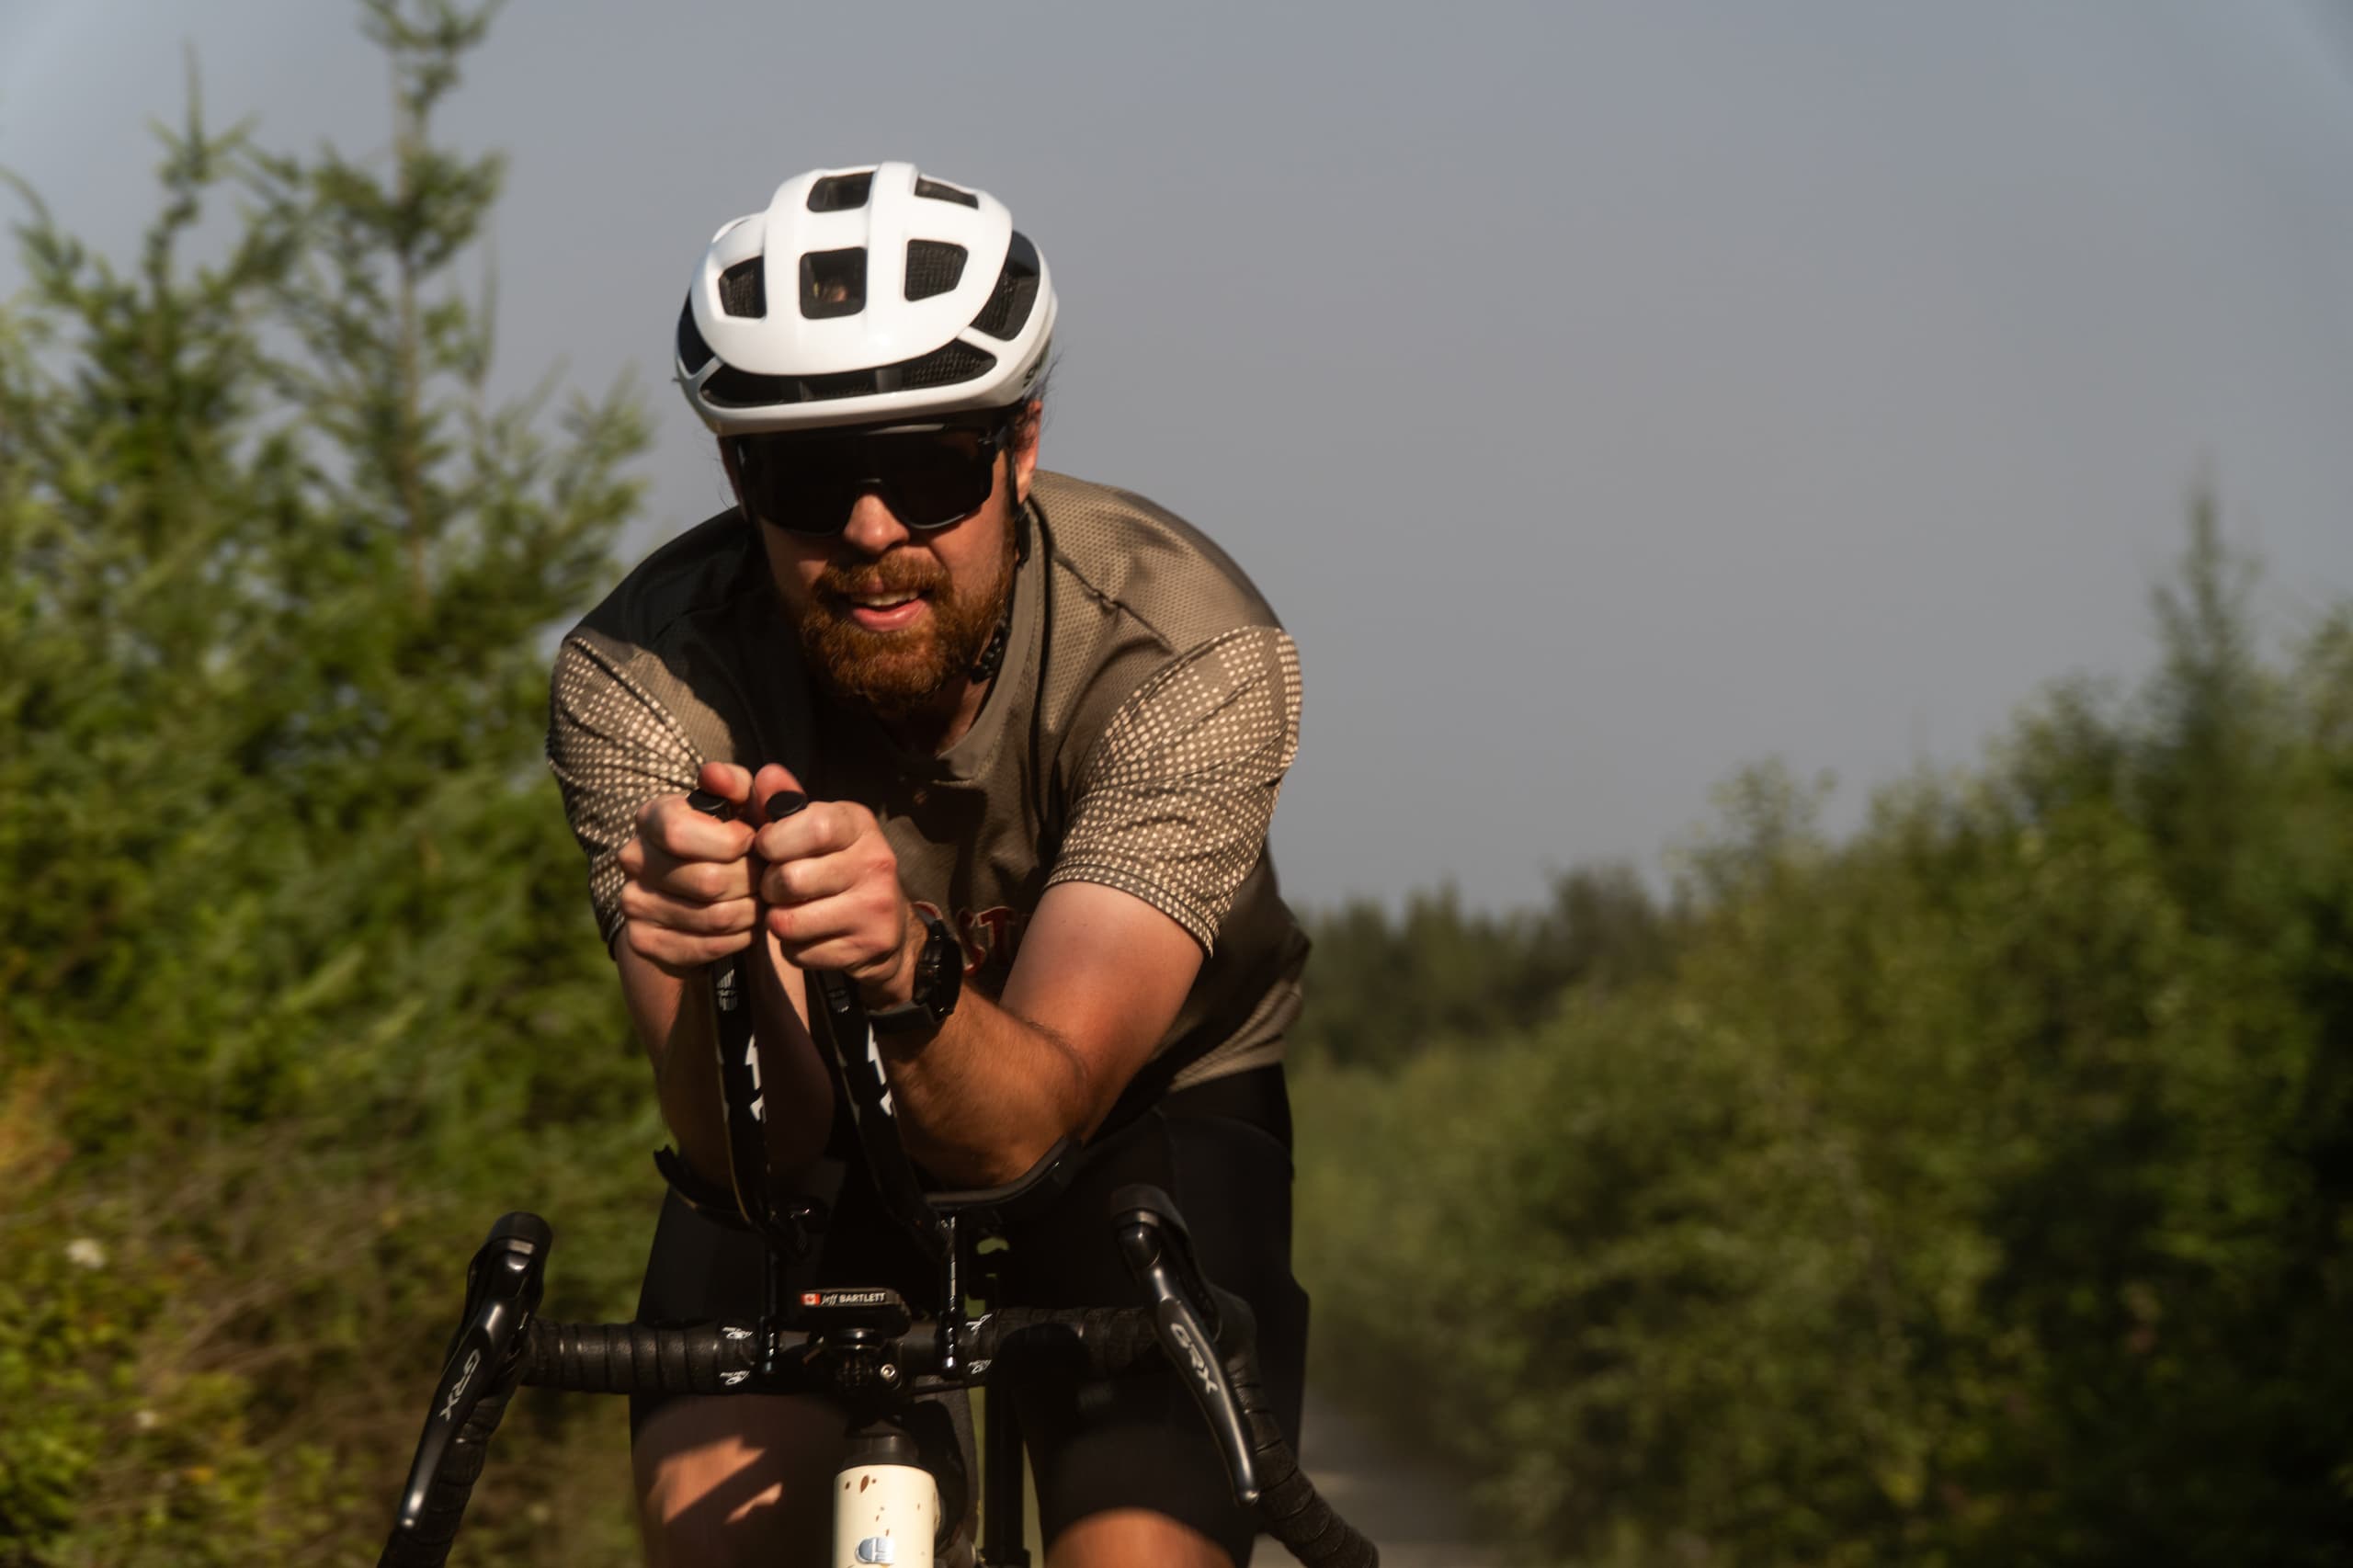
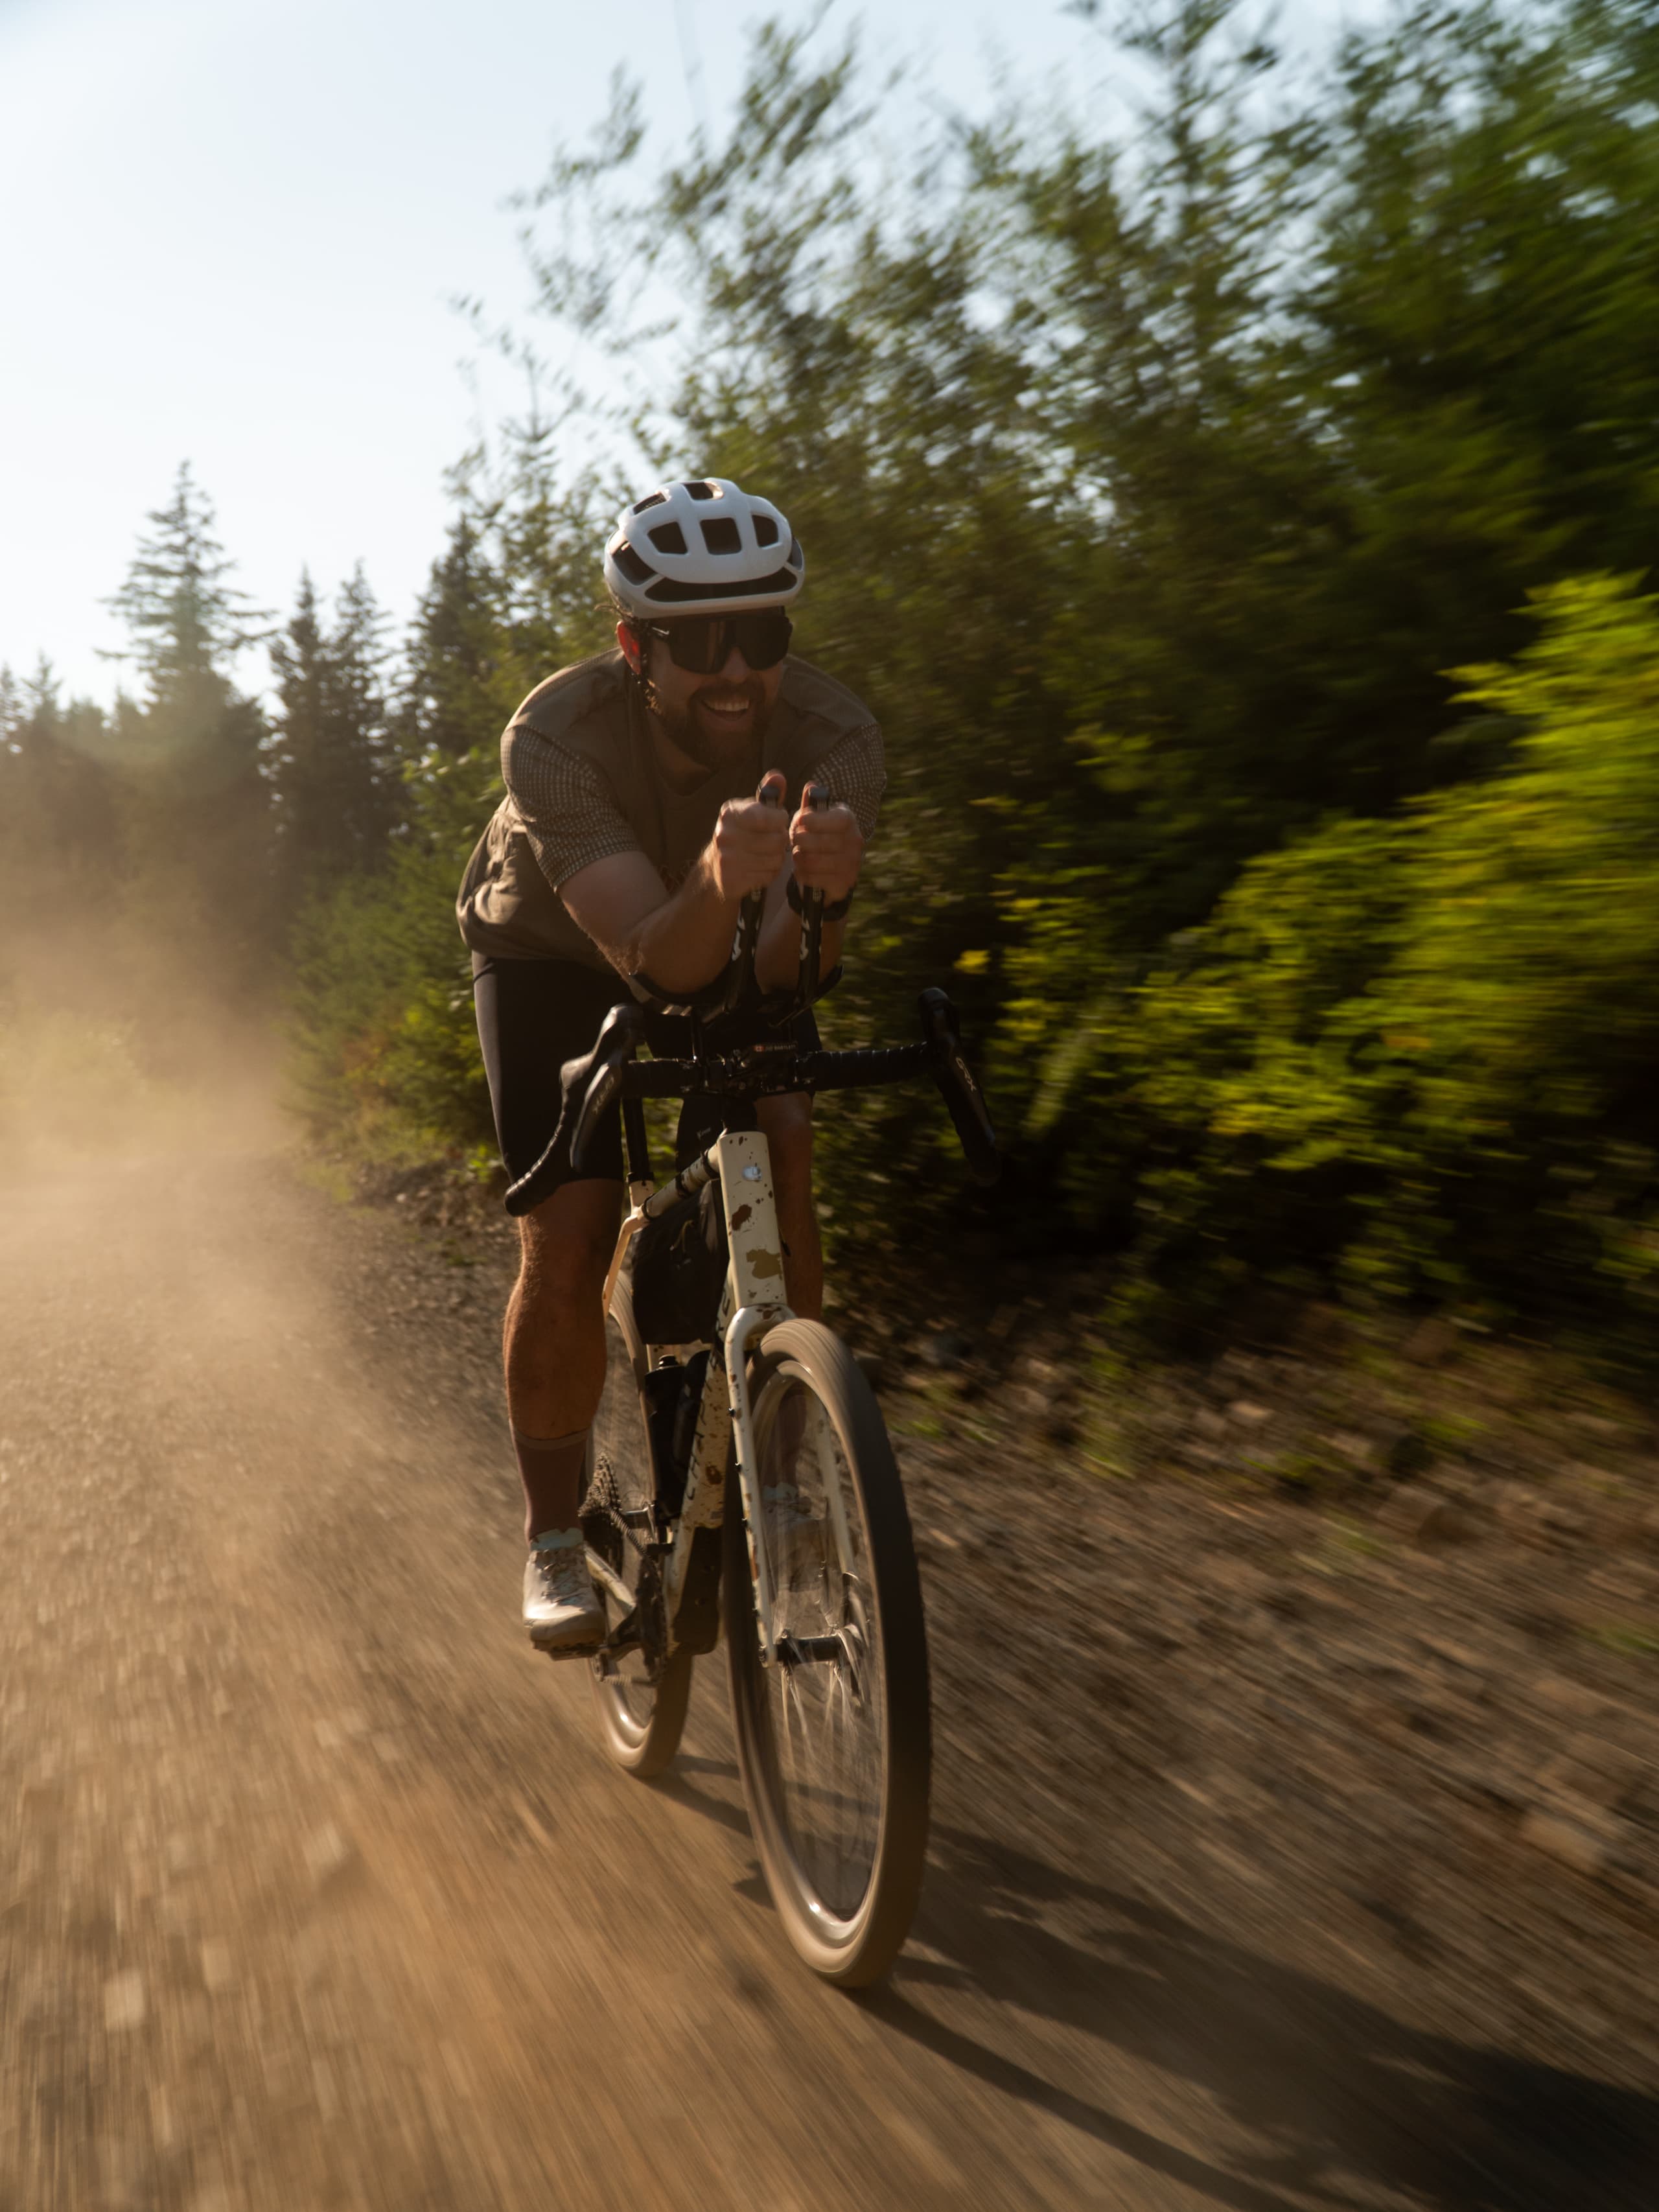
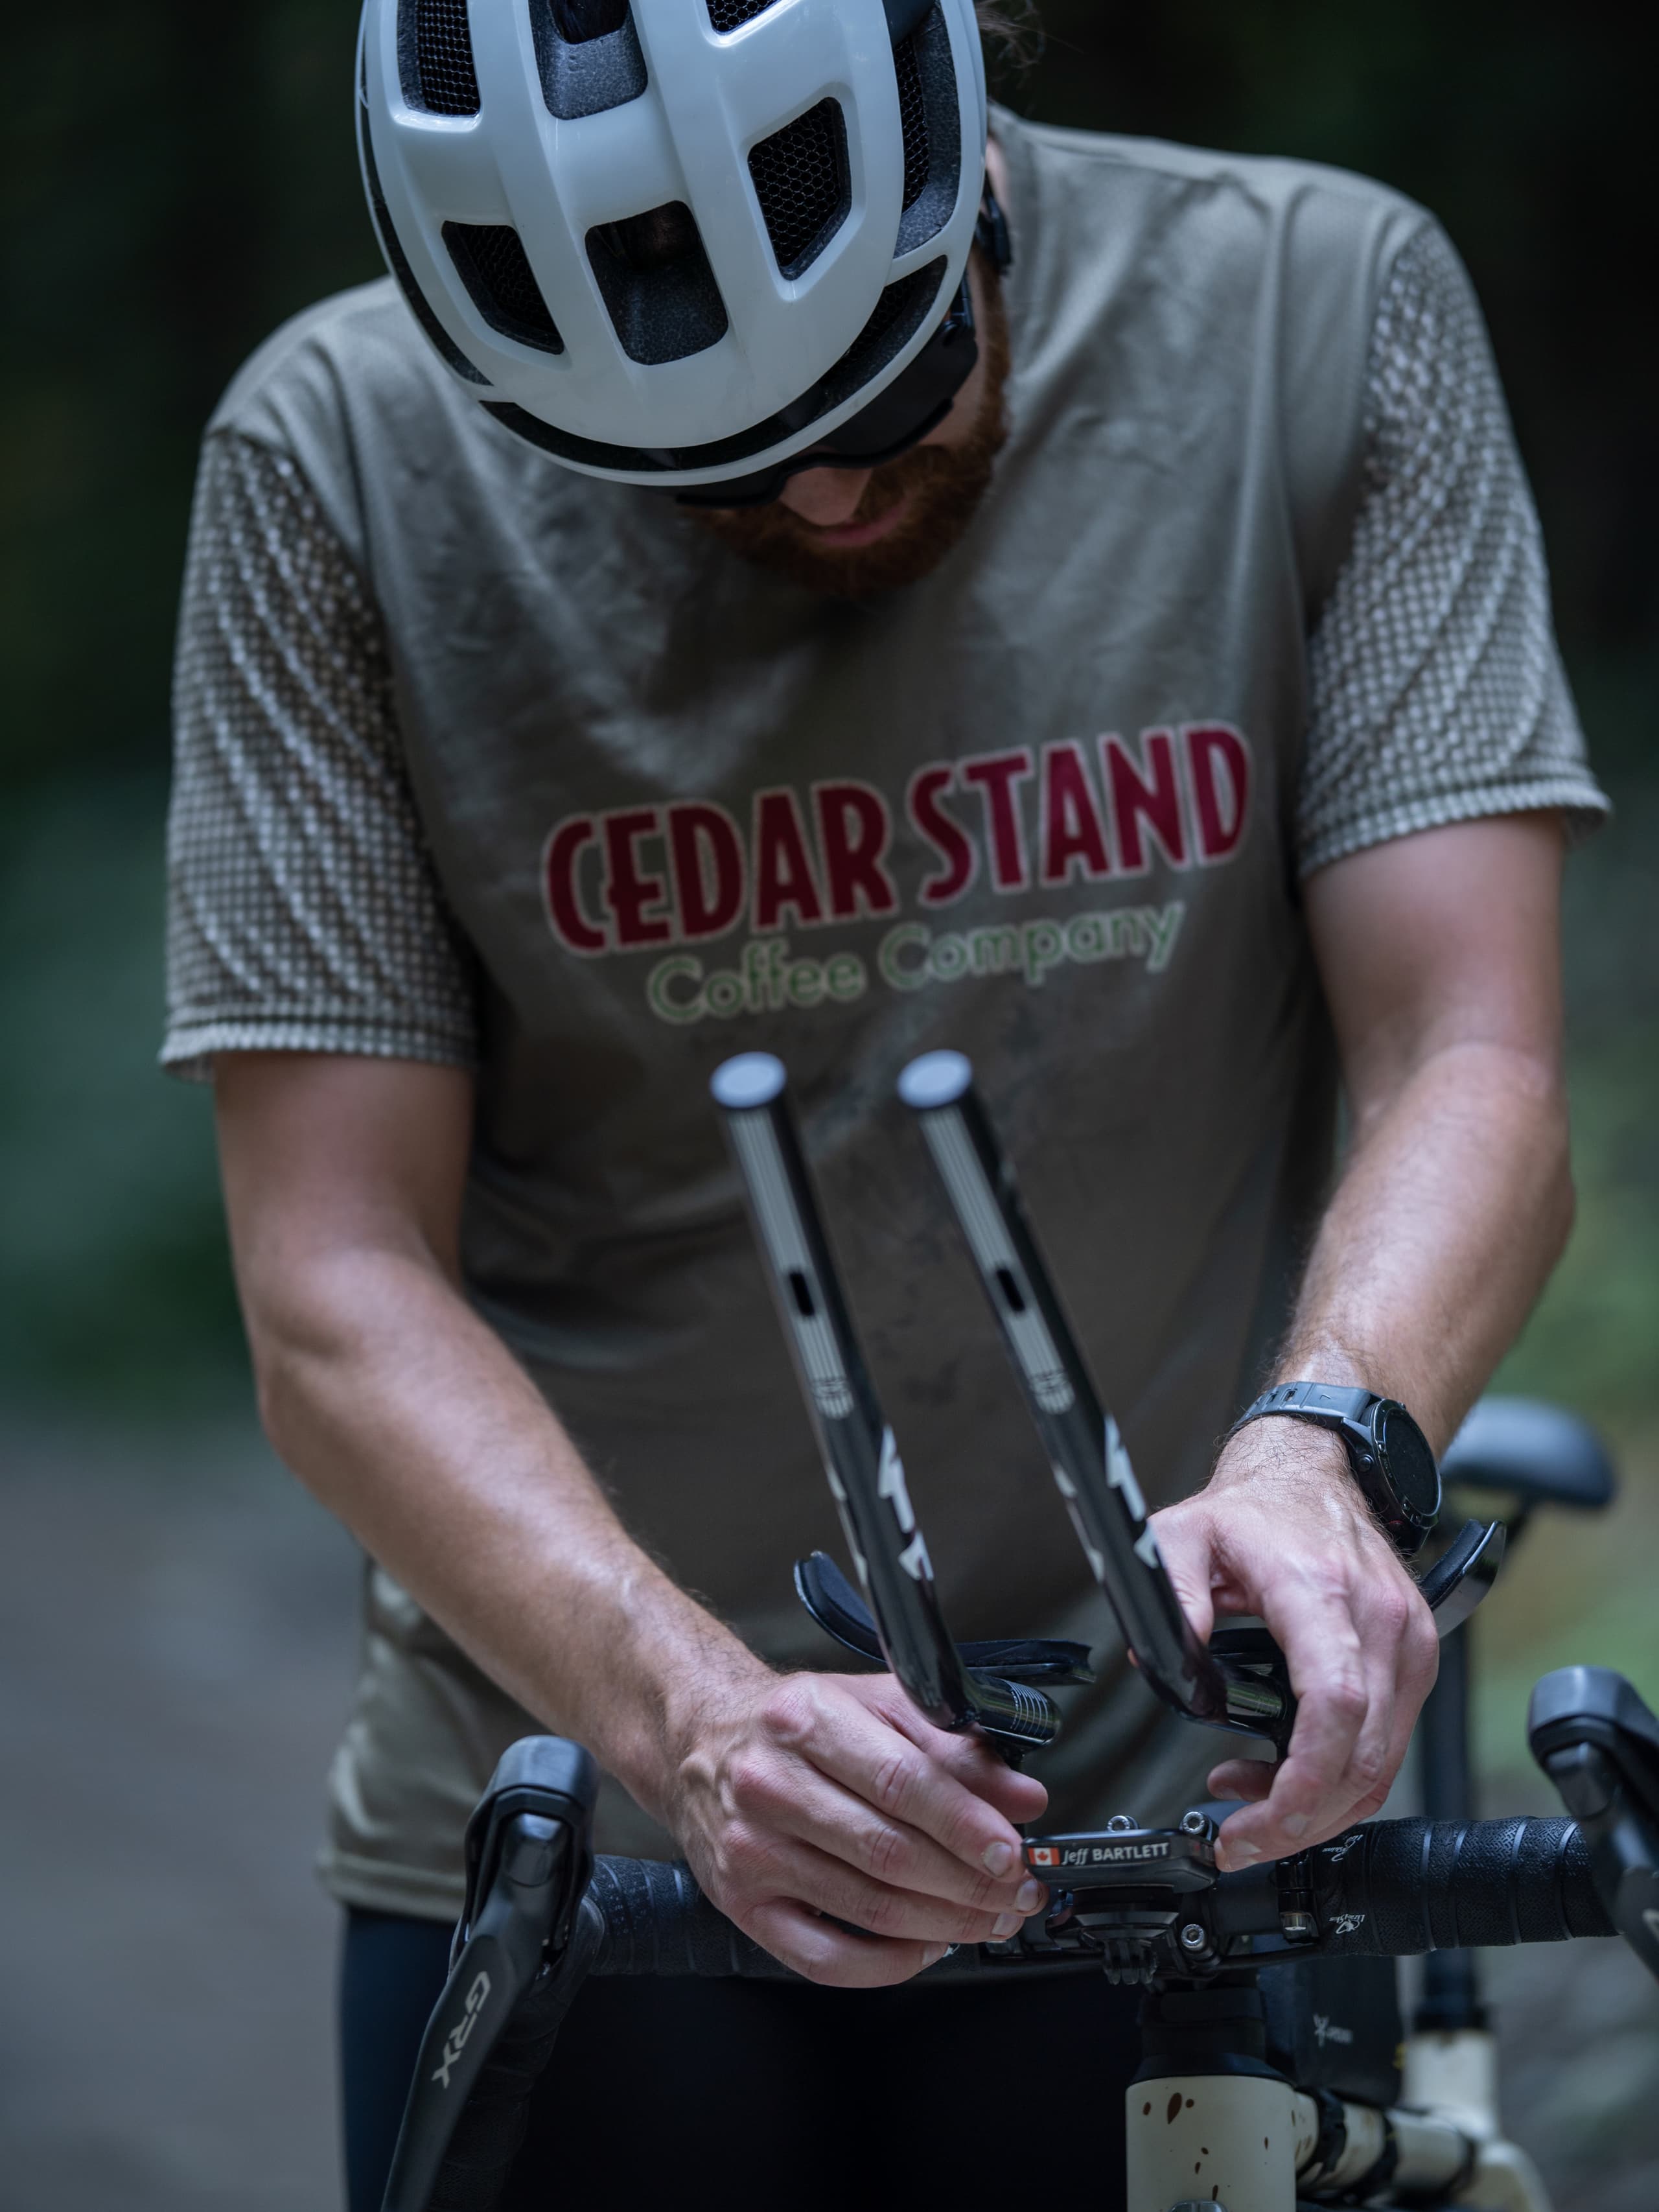
The honest tradeoff is simply getting comfortable in aero bars. It takes real flexibility, although taller spacers will make them more comfortable. I do constantly remind myself that I can't brake or shift while I'm in them, so I try to hold a steady effort when tucked into the aero position. I just avoid them when terrain gets technical and I might need quick reactions.
Dialed In for the Long Haul
If you're building a gravel bike for long bikepacking days, or racing gravel events where comfort and sustained speed matter more than outright speed, this cockpit is worth the money. Riders chasing all-day comfort and ultra-distance racers alike are exactly who USE built this for.
If I could only buy one piece, it's the VYBE stem, no question. I'd put it on every rigid gravel bike I own from here on. The bars are a close second; there's nothing about them I'd change. The TR2 aero bars are the specialist's pick, worth it specifically if you're chasing comfort or speed on long days, not a default upgrade for every gravel rider. There is no getting around the fact that they look out of place on a gravel bike. I take them on and off frequently, mostly because I don't want them cluttering my handlebars if I don't need them.
The routing on my Kaha is external now because I wanted to run this cockpit. It is expensive, with the full cockpit running $850 USD / $1200 CAD before bar tape. But months of chunder, climbs, and long gravel rides later, I'd make the same call again even if I was paying full retail.
Pros
- VYBE stem: rebound and preload adjusters make the ride feel personalized, not one-size-fits-all.
- VYBE stem: 20mm of suspension travel is noticeable on rough terrain.
- VYBE stem: essentially service-free once installed.
- Escape GR 24 bars: nail width, flare, and hand position.
- Escape GR 24 bars: clear markings make install simple.
- Escape GR 24 bars: multiple width options.
- TR2 Clip-On Chassis: simple to install.
- TR2 Clip-On Chassis: delivers a real, measurable speed gain.
- TR2 Clip-On Chassis: additional hand position adds comfort on longer rides.
Cons
- VYBE stem: suspension can feel like it dives on big, unexpected hits until you learn to trust it.
- VYBE stem: suspension doesn't engage from the drops, only from the hoods.
- Escape GR 24 bars: cost is higher than some carbon alternatives.
- Escape GR 24 bars: slight weight penalty for the Max version.
- TR2 Clip-On Chassis: aero bars require real flexibility to settle into.
- TR2 Clip-On Chassis: you can't brake or shift while using them.
- TR2 Clip-On Chassis: taller spacer options aren't publicly available yet.